WebComponent Commands & Events Tutorial#
This tutorial extends the basic WebComponent tutorial to add advanced WebComponent functionality through commands and event handling. It demonstrates how to interact with the OpenVidu Meet WebComponent programmatically and respond to meeting events.
The application includes all the features from the basic WebComponent tutorial, plus:
- WebComponent commands: Control the meeting from your application, such as ending it for everyone when the participant is a moderator (see the commands reference).
- Event handling: React when the participant joins or leaves the meeting and when they ask to close OpenVidu Meet (see the events reference).
- Role-based UI: Display different interface elements based on user role (moderator/speaker).
- Meeting header: Show room information and controls above the WebComponent.
- Enhanced room management: In-memory room tracking with unique names per room.
Running this tutorial#
1. Run OpenVidu Meet#
You need Docker Desktop. You can install it on Windows , Mac or Linux .
Run this command in Docker Desktop's terminal:
Info
For a detailed guide on how to run OpenVidu Meet locally, visit Try OpenVidu Meet locally .
2. Download the tutorial code#
3. Run the application#
To run this application, you need Node.js installed on your device.
- Navigate into the application directory
- Install dependencies
- Run the application
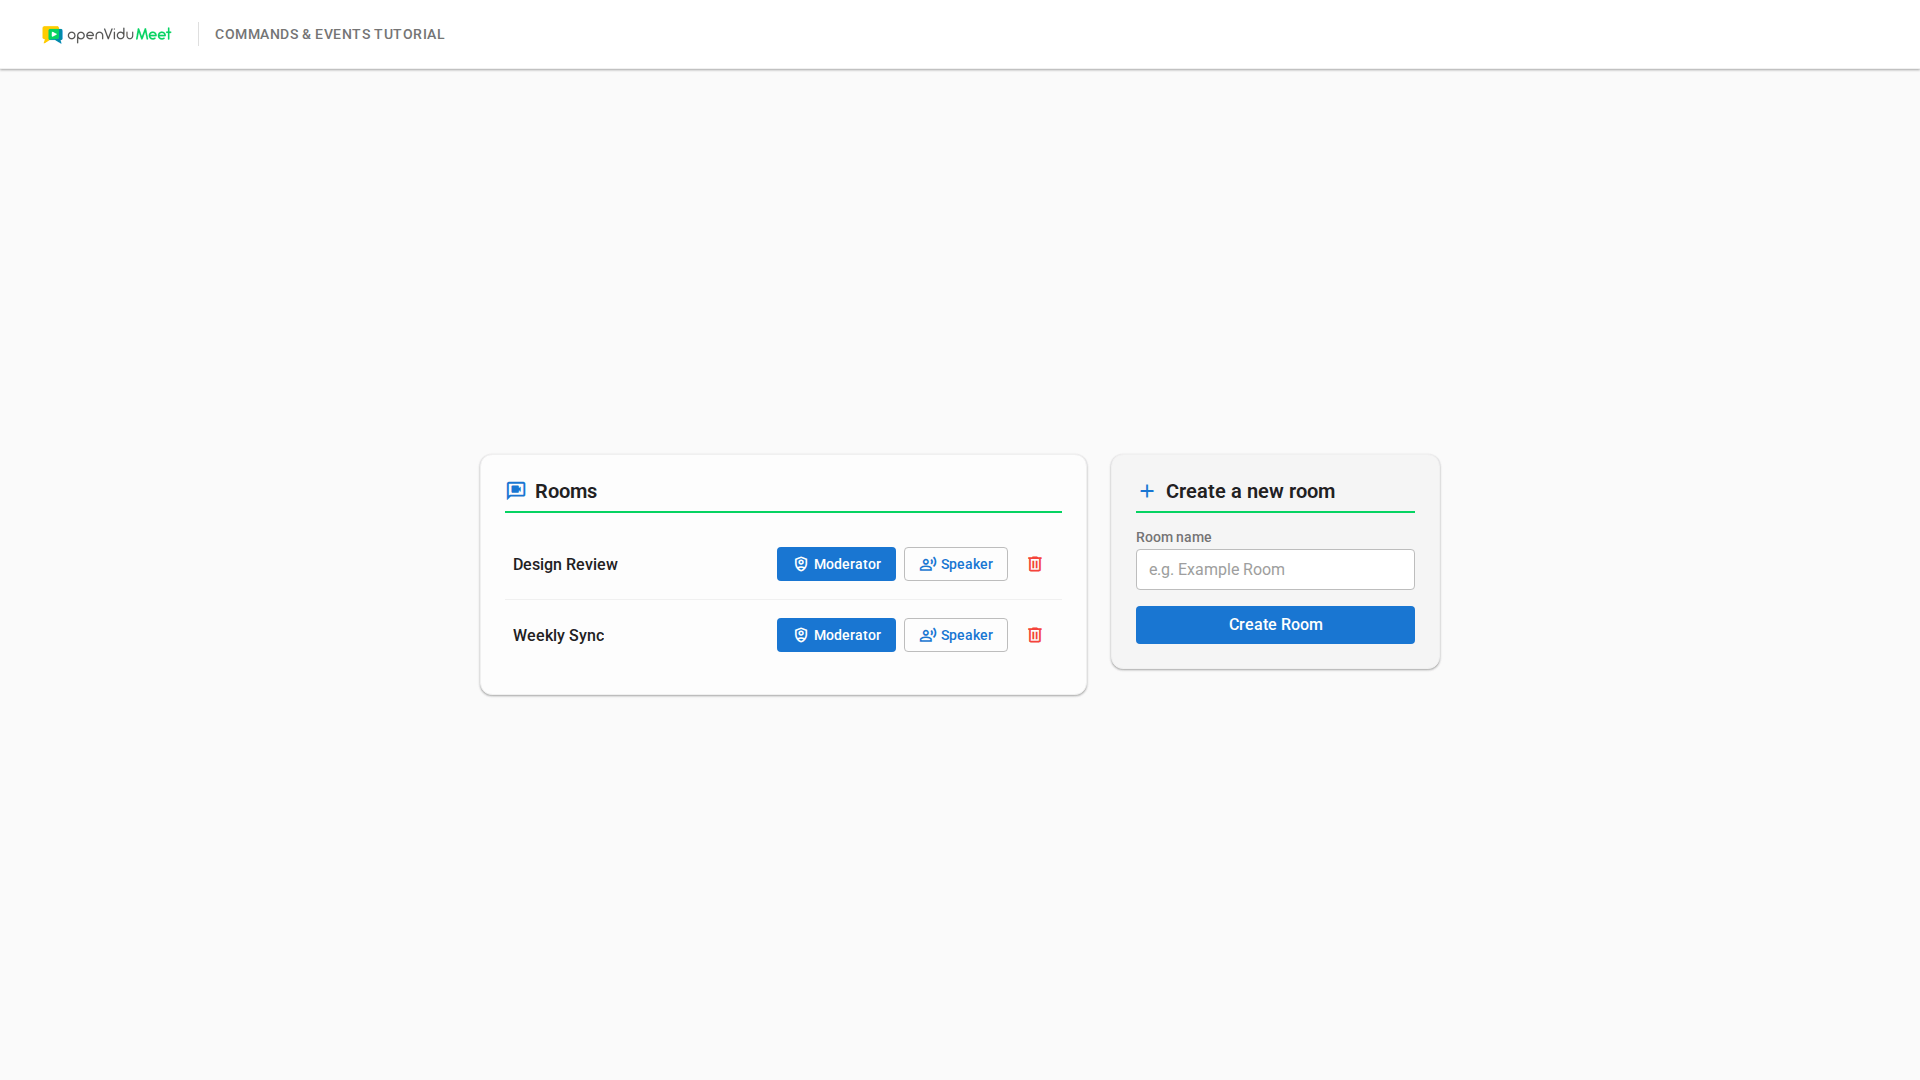
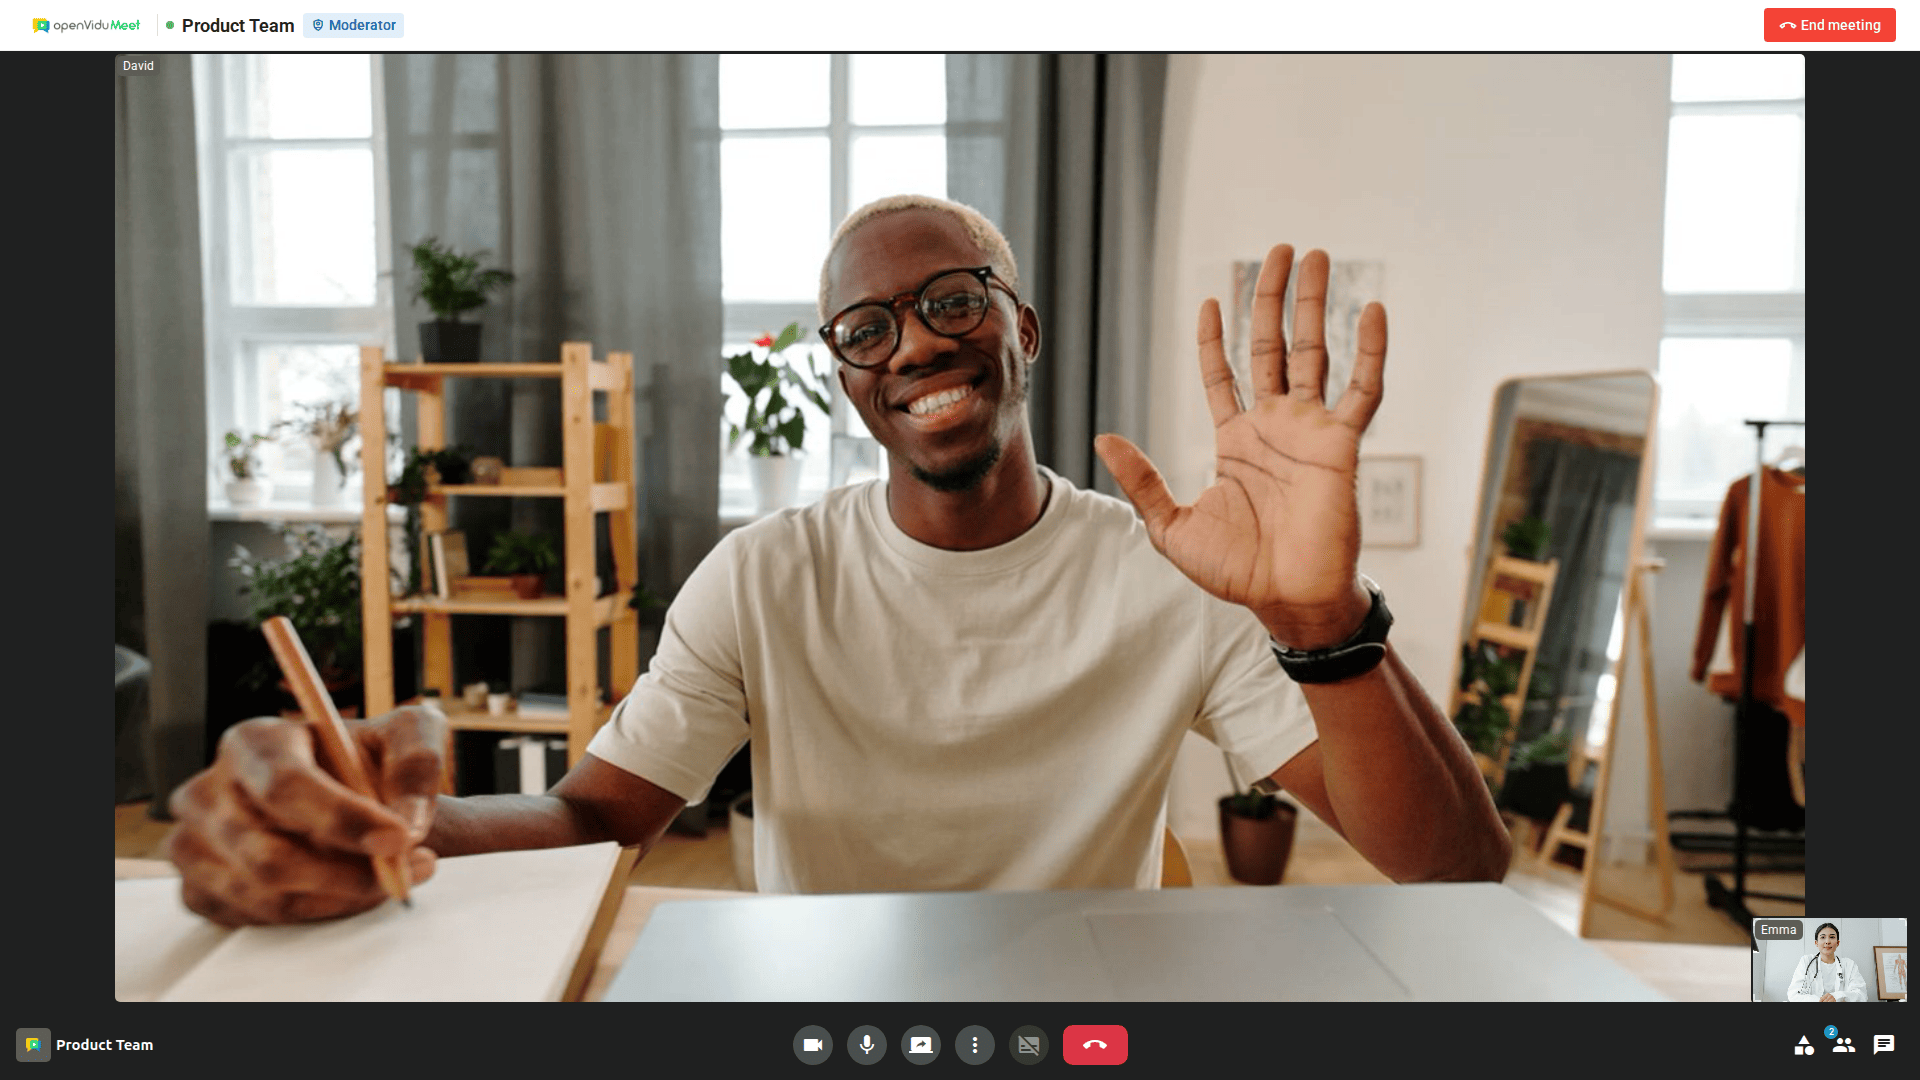
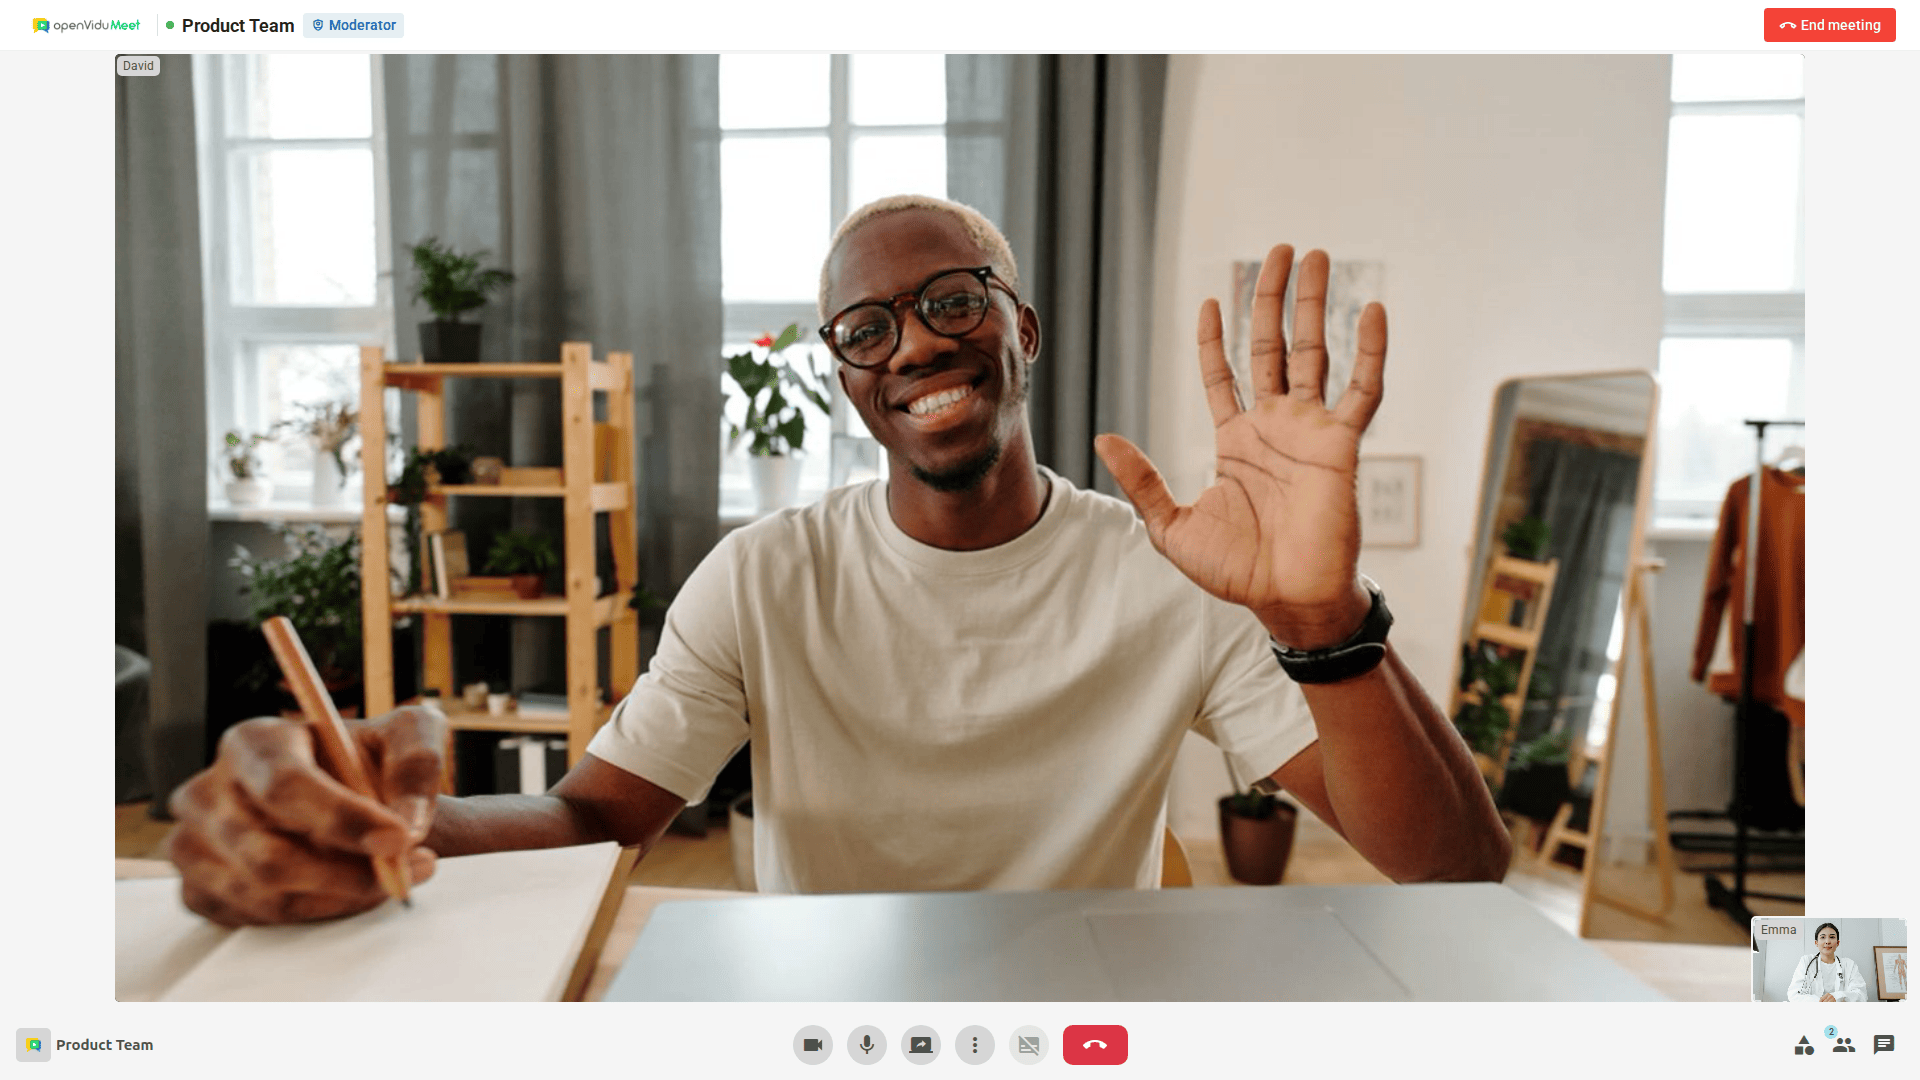
Once the server is up and running, you can test the application by visiting http://localhost:6080. You should see a screen like this:
Understanding the code#
This tutorial builds upon the basic WebComponent tutorial, adding advanced WebComponent interaction capabilities and enhanced room management. We'll focus on the key differences and new functionality.
Backend#
The backend is identical to previous tutorials. It provides the same three REST API endpoints:
POST /rooms: Create a new room with the given room name.GET /rooms: Get the list of rooms.DELETE /rooms/:roomId: Delete a room with the given room ID.
For detailed backend documentation, please refer to the Direct Link tutorial backend section.
Frontend modifications#
The frontend changes focus on enhanced room management, WebComponent event handling, and role-based UI features.
Enhanced room template#
The room template now passes additional parameters including role information:
| app.js | |
|---|---|
| |
The template now provides the room name and user role to the accessRoom() function, enabling role-based functionality and proper room identification.
Advanced room access with commands and events#
The accessRoom() function has been significantly enhanced to handle WebComponent events and commands:
| app.js | |
|---|---|
| |
- Hide the home screen.
- Show the room screen.
- Hide the room header until the local participant joins the meeting.
- Inject the OpenVidu Meet WebComponent into the meet container with the specified room URL.
- Add an event listener for the
meetingJoinedevent, which is triggered when the local participant joins the meeting. - Set the room name in the header.
- Display the participant's role as a badge, choosing the icon and color based on whether the user is a moderator or a speaker.
- Show the
End meetingbutton only when the user is a moderator. - Wire the
End meetingbutton to themeetingEnd()method of the OpenVidu Meet WebComponent (only for moderators). This method disconnects all participants and ends the meeting for everyone. - Add an event listener for the
meetingLeftevent, which is triggered when the local participant leaves the room. - Add an event listener for the
embeddedCloseRequestedevent, which is triggered when the participant asks to close OpenVidu Meet.
The enhanced accessRoom() function now performs the following actions:
- Hides the home screen and shows the room screen.
- Hides the room header until the local participant joins the meeting.
- Injects the OpenVidu Meet WebComponent into the meet container with the specified room URL.
- Configures event listeners for the OpenVidu Meet WebComponent to handle different events:
meetingJoined: This event is triggered when the local participant joins the meeting. It shows the room header with the room name and a badge indicating the participant's role. It also displays theEnd meetingbutton only for moderators and wires it to themeetingEnd()method of the OpenVidu Meet WebComponent. This method disconnects all participants and ends the meeting for everyone.meetingLeft: This event is triggered when the local participant leaves the room. It hides the room header.embeddedCloseRequested: This event is triggered when the participant asks to close OpenVidu Meet. It removes the component from the DOM (by clearing the container's inner HTML) and shows the home screen again.
Accessing this tutorial from other computers or phones#
To access this tutorial from other computers or phones, follow these steps:
-
Ensure network connectivity: Make sure your device (computer or phone) is connected to the same network as the machine running OpenVidu Meet and this tutorial.
-
Configure OpenVidu Meet for network access: Start OpenVidu Meet by following the instructions in the Accessing OpenVidu Meet from other computers or phones section.
-
Update the OpenVidu Meet server URL: Modify the
OV_MEET_SERVER_URLenvironment variable in your.envfile to match the URL shown when OpenVidu Meet starts. -
Update the OpenVidu Meet WebComponent script URL: In the
public/index.htmlfile, update the<script>tag that includes the OpenVidu Meet WebComponent to use the same base URL as above. -
Restart the tutorial to apply the changes:
-
Access the tutorial: Open your browser and navigate to
https://192-168-1-100.openvidu-local.dev:6443(replacing192-168-1-100with your actual private IP) on the computer where you started the tutorial or any device in the same network.
Connecting this tutorial to an OpenVidu Meet production deployment#
If you have a production deployment of OpenVidu Meet (installed in a server following deployment steps ), you can connect this tutorial to it by following these steps:
-
Update the server URL: Modify the
OV_MEET_SERVER_URLenvironment variable in the.envfile to point to your OpenVidu Meet production deployment URL. -
Update the API key: Ensure the
OV_MEET_API_KEYenvironment variable in the.envfile matches the API key configured in your production deployment. See Generate an API Key section to learn how to obtain it. -
Update the OpenVidu Meet WebComponent script URL: In the
public/index.htmlfile, update the<script>tag that includes the OpenVidu Meet WebComponent to use the same base URL as above. -
Restart the tutorial to apply the changes:
Make this tutorial accessible from other computers or phones
By default, this tutorial runs on http://localhost:6080 and is only accessible from the local machine. If you want to access it from other computers or phones, you have the following options:
- Use tunneling tools: Configure tools like VS Code port forwarding , ngrok , localtunnel , or similar services to expose this tutorial to the internet with a secure (HTTPS) public URL.
- Deploy to a server: Upload this tutorial to a web server and configure it to be accessible with a secure (HTTPS) public URL. This can be done by updating the source code to manage SSL certificates or configuring a reverse proxy (e.g., Nginx, Apache) to serve it.