Webhooks Tutorial#
This tutorial extends the recordings tutorial to add real-time updates through webhooks and Server-Sent Events (SSE). It demonstrates how to receive and process OpenVidu Meet webhooks to provide live status updates for rooms and recordings.
The application includes all the features from the recordings tutorial, plus:
- Real-time room status updates: Live updates when meetings start or end.
- Live recording updates: Instant updates when recordings are completed.
- Webhook validation: Secure webhook processing with signature verification.
- Room status badges: Visual indicators showing room status (open, active, closed).
- Server-Sent Events: Efficient real-time communication between server and client.
Running this tutorial#
1. Run OpenVidu Meet#
You need Docker Desktop. You can install it on Windows , Mac or Linux .
Run this command in Docker Desktop's terminal:
Info
For a detailed guide on how to run OpenVidu Meet locally, visit Try OpenVidu Meet locally .
2. Download the tutorial code#
3. Run the application#
To run this application, you need Node.js (≥ 18) installed on your device.
- Navigate into the application directory
- Install dependencies
- Run the application
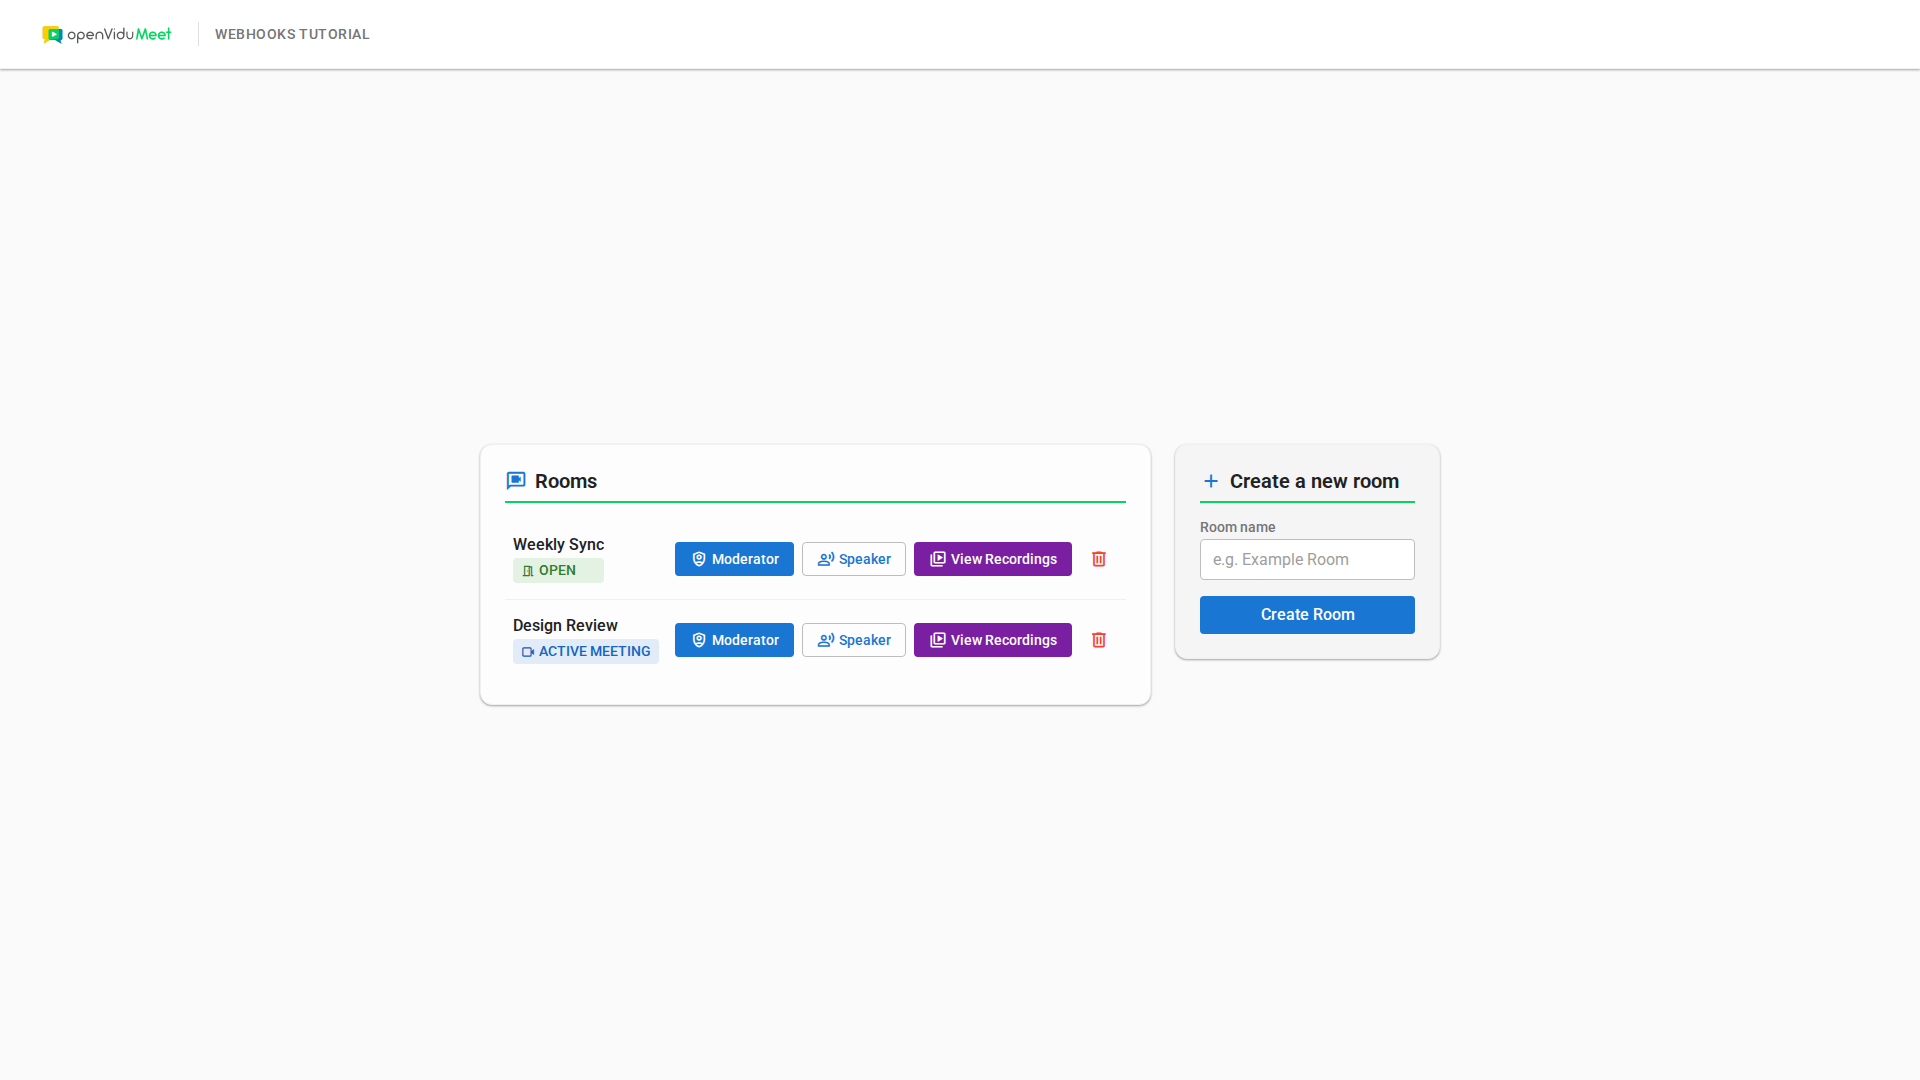
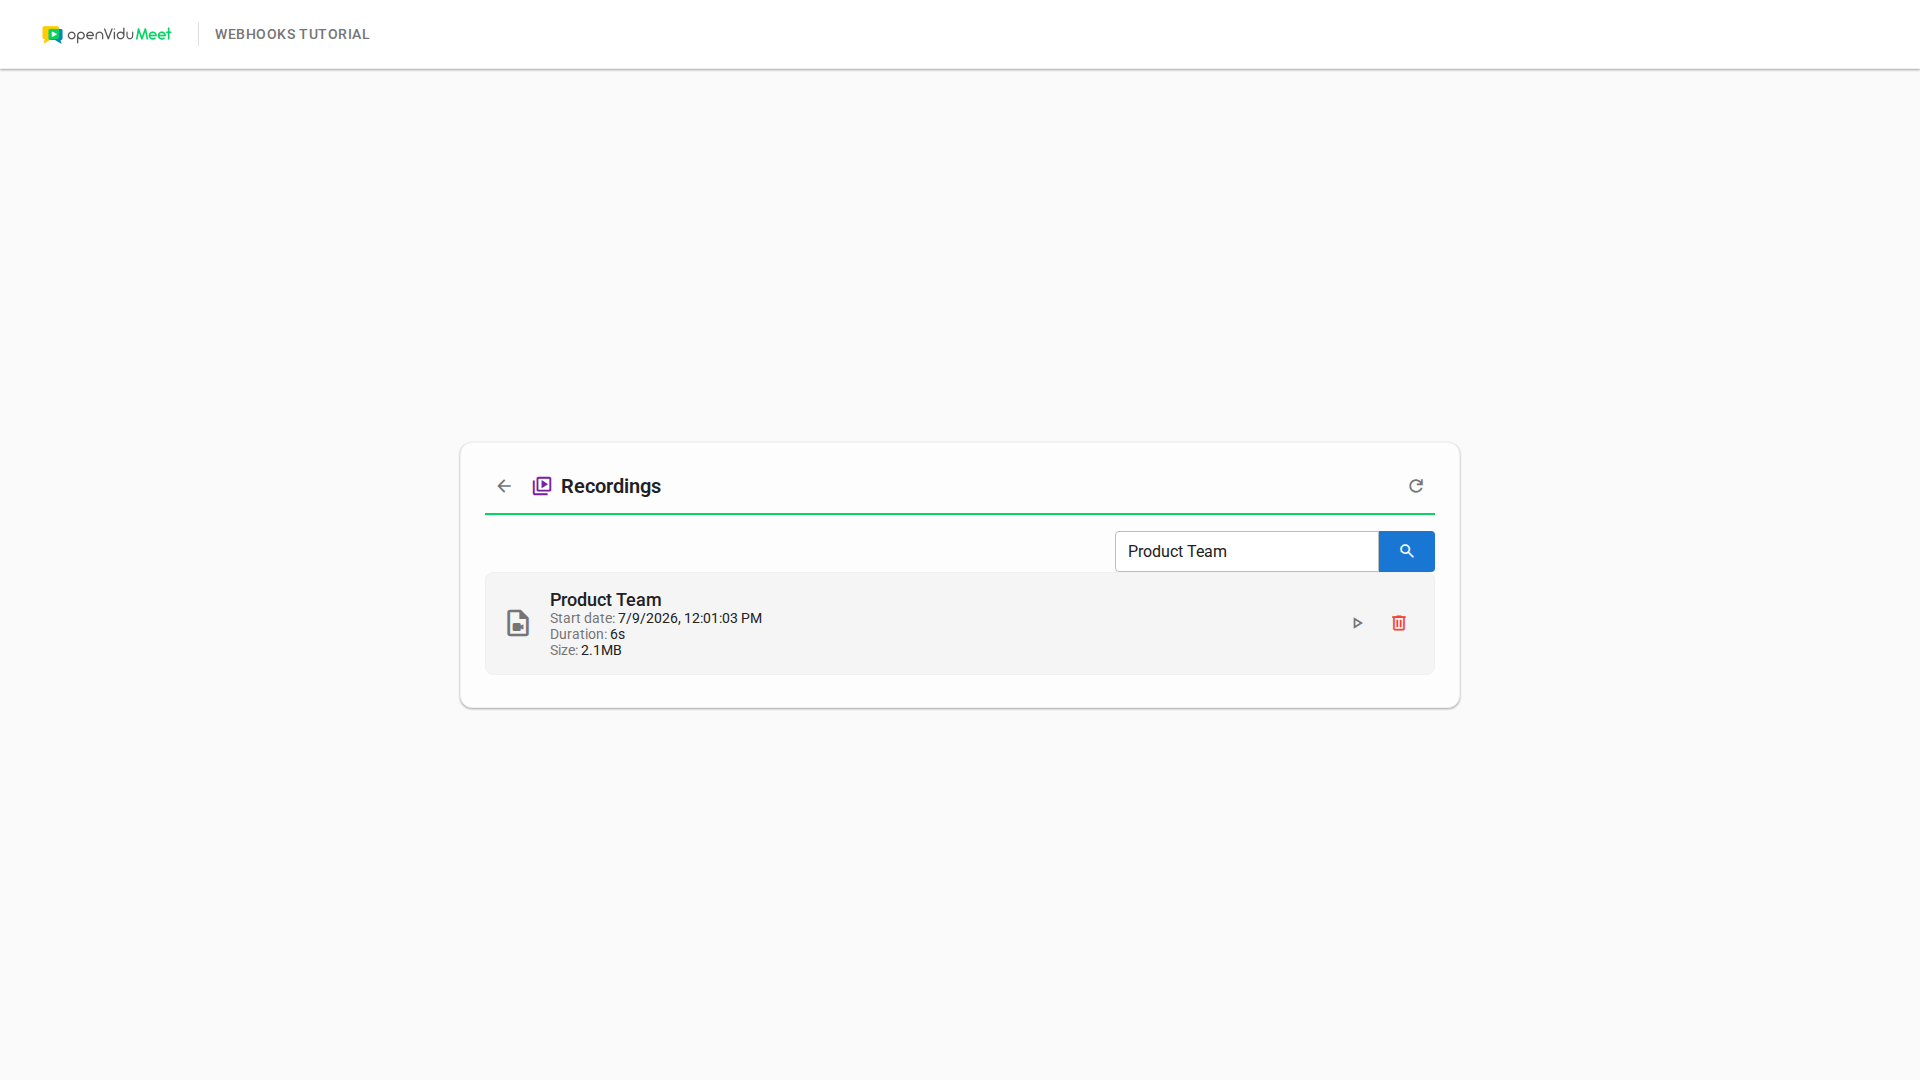
Once the server is up and running, you can test the application by visiting http://localhost:6080. You should see a screen like this:
Understanding the code#
This tutorial builds upon the recordings tutorial, adding real-time functionality through webhooks and Server-Sent Events. We'll focus on the new webhook handling capabilities and live update features.
Backend modifications#
The main backend changes involve implementing webhook processing, SSE communication, and security validation.
Server-Sent Events setup#
The backend now includes SSE support for real-time client notifications:
| index.js | |
|---|---|
| |
- Import the
express-sselibrary for Server-Sent Events functionality. - Create an SSE instance to manage real-time notifications to connected clients.
This code sets up the backend to support Server-Sent Events (SSE), enabling the server to push real-time notifications to connected clients. It imports the express-sse library and initializes an SSE instance for managing live event streams.
SSE endpoint for client subscriptions#
A new endpoint allows clients to subscribe to real-time notifications:
- Create an SSE endpoint that clients can connect to for receiving real-time webhook notifications.
This endpoint enables clients to establish a persistent connection for receiving live updates about room status changes and recording completions.
Webhook processing endpoint#
A new endpoint handles incoming webhooks from OpenVidu Meet:
| index.js | |
|---|---|
| |
- Validate the webhook signature and timestamp to ensure authenticity and prevent replay attacks.
- Broadcast the validated webhook event to all connected SSE clients for real-time updates.
This endpoint receives webhook events from OpenVidu Meet, validates their authenticity, and broadcasts them to all connected clients through Server-Sent Events.
Webhook signature validation#
A security function validates webhook authenticity:
| index.js | |
|---|---|
| |
- Extract the webhook signature from the
x-signatureheader. - Extract and parse the timestamp from the
x-timestampheader. - Return false if required headers are missing or invalid.
- Reject webhooks older than the maximum allowed age to prevent replay attacks.
- Create the signed payload by combining timestamp and JSON body.
- Generate the expected signature using HMAC-SHA256 with the API key.
- Use timing-safe comparison to validate the signature against the expected value.
This function implements webhook security by validating both the cryptographic signature and the timestamp to ensure webhooks are authentic and recent.
Verifying webhooks in other languages
You can find examples of how to verify OpenVidu Meet webhooks in other programming languages in the Validate events section of the Webhooks reference.
Frontend modifications#
The frontend has been enhanced with real-time update capabilities and improved visual feedback for room status.
Real-time notifications setup#
The application now establishes an SSE connection on page load:
- Call
startWebhookNotifications()to establish SSE connection for real-time updates.
Server-Sent Events connection#
A new function establishes and manages the SSE connection:
| app.js | |
|---|---|
| |
- Create an
EventSourceconnection to the/eventsSSE endpoint. - Log successful connection establishment.
- Parse incoming SSE messages as JSON webhook data.
- Process webhook notifications through the
handleWebhookNotification()function. - Handle connection errors with automatic browser reconnection.
This function creates a persistent connection to receive real-time webhook notifications from the server by creating an EventSource instance to the /events endpoint. When a message is received, it parses the JSON data and calls handleWebhookNotification() to process the event. The function also handles connection errors, allowing the browser to automatically attempt reconnection.
Webhook notification processing#
A new function processes incoming webhook notifications and updates the UI accordingly:
| app.js | |
|---|---|
| |
- Extract the event type and data from the webhook payload.
- Update the rooms map with the new room info and re-render the room list with the updated status.
- Check if the user is viewing recordings for the relevant room before adding new recordings.
- Prepend the new recording to the recordings map and re-render the recordings list so it appears first.
This function processes different webhook event types and updates the appropriate UI elements:
- For
meetingStartedandmeetingEndedevents, it updates the room status in theroomsmap and re-renders the room list, so the home view always reflects the current status. - For
recordingEndedevents, it adds the new recording to the list and re-renders the recordings list, but only if the user is currently viewing recordings for the relevant room.
The prependToMap() helper used here adds an entry to the start of a Map so newly created items appear first, matching the order returned by the OpenVidu Meet API. It is inherited from the previous tutorials in this series.
The recordingEnded case relies on a helper that checks the current screen context:
| app.js | |
|---|---|
| |
- Return false if the recordings screen is not visible.
- Return true only when there is no room filter, or the room name matches the current filter, so recording updates are applied only when relevant.
This helper ensures that UI updates are only applied when the recordings view is being shown and the incoming recording matches the room currently being filtered, avoiding unnecessary re-renders.
Enhanced room status display#
The room template has been updated to include visual status indicators:
| app.js | |
|---|---|
| |
- Define a
STATUSlookup object that maps each room status value to its display label, badge CSS class and Material Symbols icon. - Destructure the entry for the room's current status, falling back to the
closedentry for any unknown status.
The room template now includes status badges that provide immediate visual feedback about room state. The badge label, color (through the ov-badge--* design-system class) and icon are all resolved from the STATUS lookup object:
- ACTIVE MEETING (
videocamicon,ov-badge--active): A meeting is currently in progress. - OPEN (
meeting_roomicon,ov-badge--open): The room is available for access. - CLOSED (
lockicon,ov-badge--closed): The room is closed and cannot be accessed.
Accessing this tutorial from other computers or phones#
To access this tutorial from other computers or phones, follow these steps:
-
Ensure network connectivity: Make sure your device (computer or phone) is connected to the same network as the machine running OpenVidu Meet and this tutorial.
-
Configure OpenVidu Meet for network access: Start OpenVidu Meet by following the instructions in the Accessing OpenVidu Meet from other computers or phones section.
-
Update the OpenVidu Meet server URL: Modify the
OV_MEET_SERVER_URLenvironment variable in your.envfile to match the URL shown when OpenVidu Meet starts. -
Update the OpenVidu Meet WebComponent script URL: In the
public/index.htmlfile, update the<script>tag that includes the OpenVidu Meet WebComponent to use the same base URL as above. -
Restart the tutorial to apply the changes:
-
Access the tutorial: Open your browser and navigate to
https://192-168-1-100.openvidu-local.dev:6443(replacing192-168-1-100with your actual private IP) on the computer where you started the tutorial or any device in the same network.
Connecting this tutorial to an OpenVidu Meet production deployment#
If you have a production deployment of OpenVidu Meet (installed in a server following deployment steps ), you can connect this tutorial to it by following these steps:
-
Update the server URL: Modify the
OV_MEET_SERVER_URLenvironment variable in the.envfile to point to your OpenVidu Meet production deployment URL. -
Update the API key: Ensure the
OV_MEET_API_KEYenvironment variable in the.envfile matches the API key configured in your production deployment. See Generate an API Key section to learn how to obtain it. -
Update the OpenVidu Meet WebComponent script URL: In the
public/index.htmlfile, update the<script>tag that includes the OpenVidu Meet WebComponent to use the same base URL as above. -
Restart the application to apply the changes:
-
Make the tutorial accessible to OpenVidu Meet deployment: As OpenVidu Meet needs to send webhooks to this tutorial, it must be accessible from the internet. To achieve this, you have the following options:
- Using tunneling tools: Configure tools like VS Code port forwarding , ngrok , localtunnel , or similar services to expose this tutorial to the internet with a secure (HTTPS) public URL.
- Deploying to a public server: Upload this tutorial to a web server and configure it to be accessible with a secure (HTTPS) public URL. This can be done by updating the source code to manage SSL certificates or configuring a reverse proxy (e.g., Nginx, Apache) to serve it.
A the end, you should have a public URL (e.g.,
https://your-tutorial-domain.com:XXXX) that points to this tutorial. -
Configure webhooks in OpenVidu Meet: Set up webhooks in your OpenVidu Meet production deployment to point to this tutorial. Follow the instructions in the Webhooks configuration section to learn how to configure a webhook URL. Use the public URL of this tutorial followed by
/webhook(e.g.,https://your-tutorial-domain.com:XXXX/webhook). -
Access the tutorial: Access the tutorial from any device connected to the internet using its public URL (e.g.,
https://your-tutorial-domain.com:XXXX).