Live Captions#
OpenVidu Meet includes a built-in Live Captions feature that turns speech into text in real-time. This is a powerful tool for making your meetings more accessible to hearing-impaired participants, helping participants in noisy environments, and assisting non-native speakers.
How to Enable Live Captions in OpenVidu Meet#
Local Meet Deployment Limitation
Live Captions are not available in local Meet deployments. You must use either the OpenVidu Local deployment or an OpenVidu production deployment to enable this feature.
1. Connect to your OpenVidu deployment#
SSH into an OpenVidu Node and navigate to your OpenVidu deployment directory.
Depending on your OpenVidu deployment type:
If you are using OpenVidu Local (Development), simply navigate to the configuration folder of the project:
If you are using OpenVidu Single Node, SSH into the only OpenVidu node and navigate to:
If you are using OpenVidu Elastic, SSH into the only Master Node and navigate to:
If you are using OpenVidu High Availability, SSH into any of your Master Nodes (doesn't matter which one) and navigate to:
2. Enable the Speech Processing Agent#
Modify file agent-speech-processing.yaml to enable the Live Captions Service with processing: manual:
docker_image: docker.io/openvidu/agent-speech-processing-vosk:3.9.0

enabled: true # (1)!

live_captions:
    processing: manual # (2)!
- Set
enabledtotrueto activate the Speech Processing Agent. - Set processing to
manual; participants will activate captions on demand via a toolbar button.
Info
By default, the Speech Processing Agent uses a local Vosk model for speech-to-text transcription.
For a more advanced setup, consider using a cloud-based provider. See Cloud providers for more information.
Default language is English
The Speech Processing Agent uses English for speech-to-text transcription by default. To use a different language, you must configure a different Vosk model. See Vosk models configuration for details on changing the language model.
3. Enable Captions in OpenVidu Meet configuration#
Edit the meet.env file and ensure the following configuration variable is set:
4. Restart OpenVidu#
Apply your changes by restarting OpenVidu. This ensures the system recognizes the new live captioning capabilities.
Depending on your OpenVidu deployment type:
5. Enable/Disable Captions for specific Rooms#
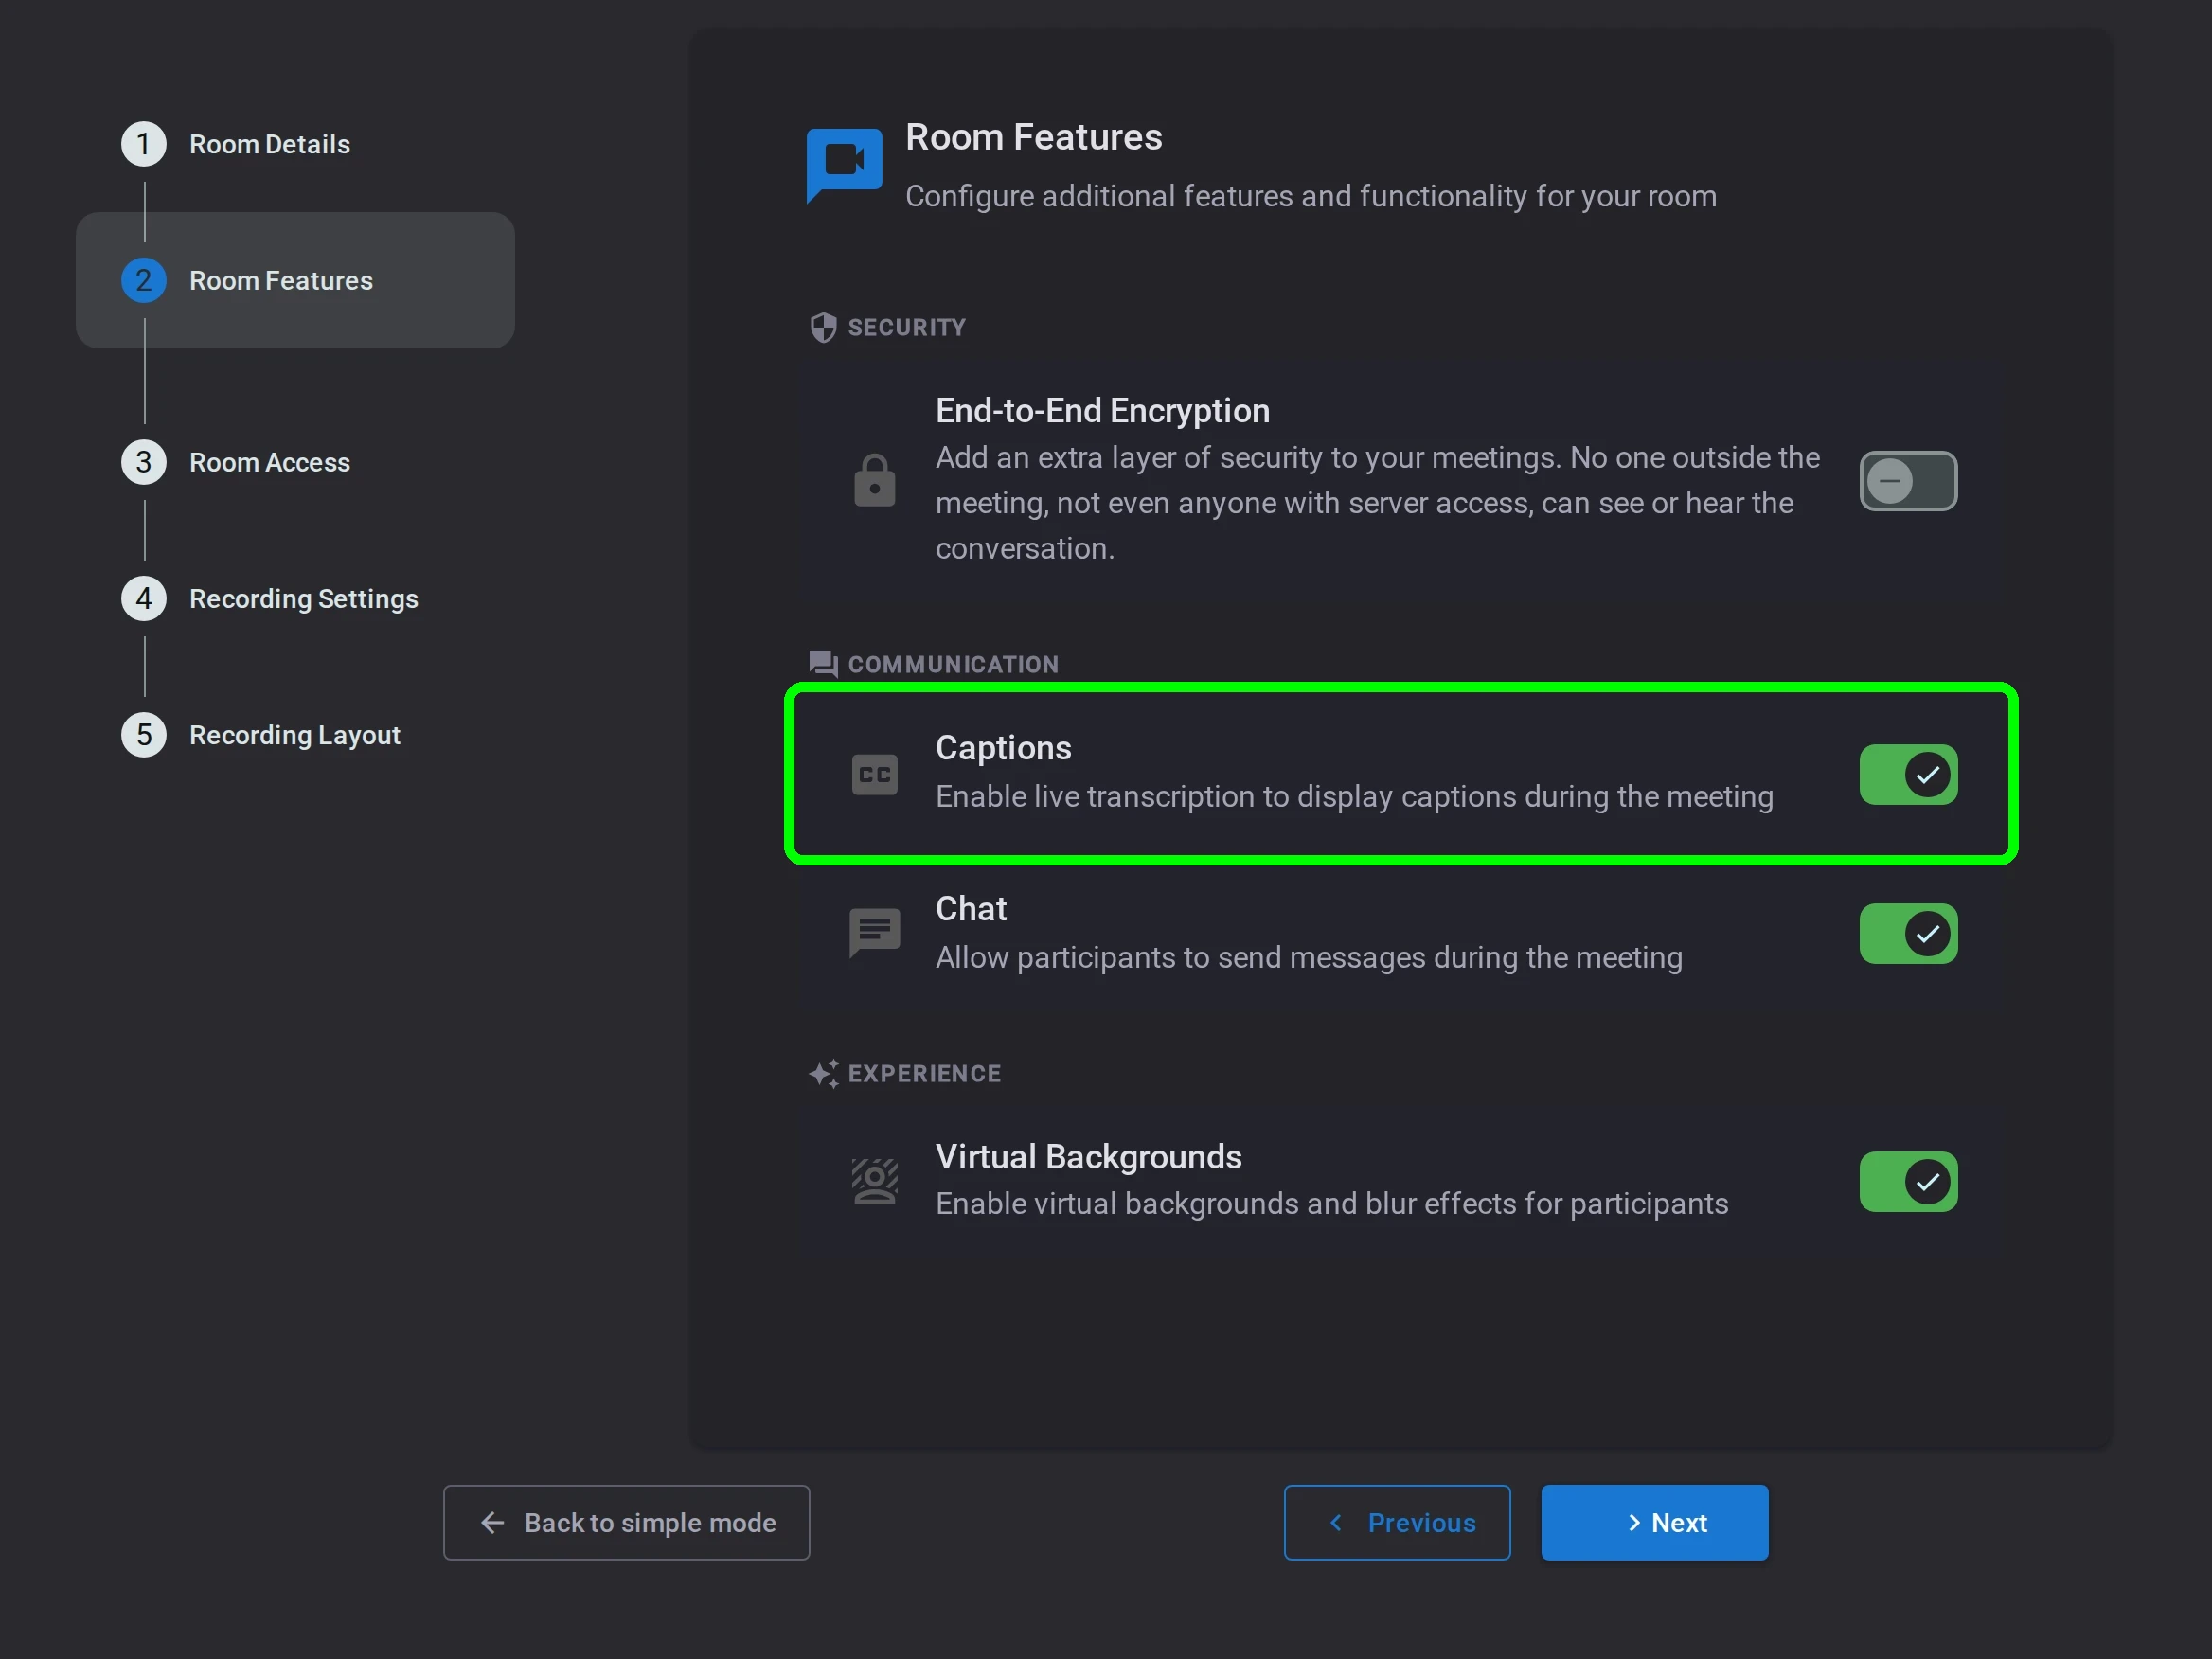
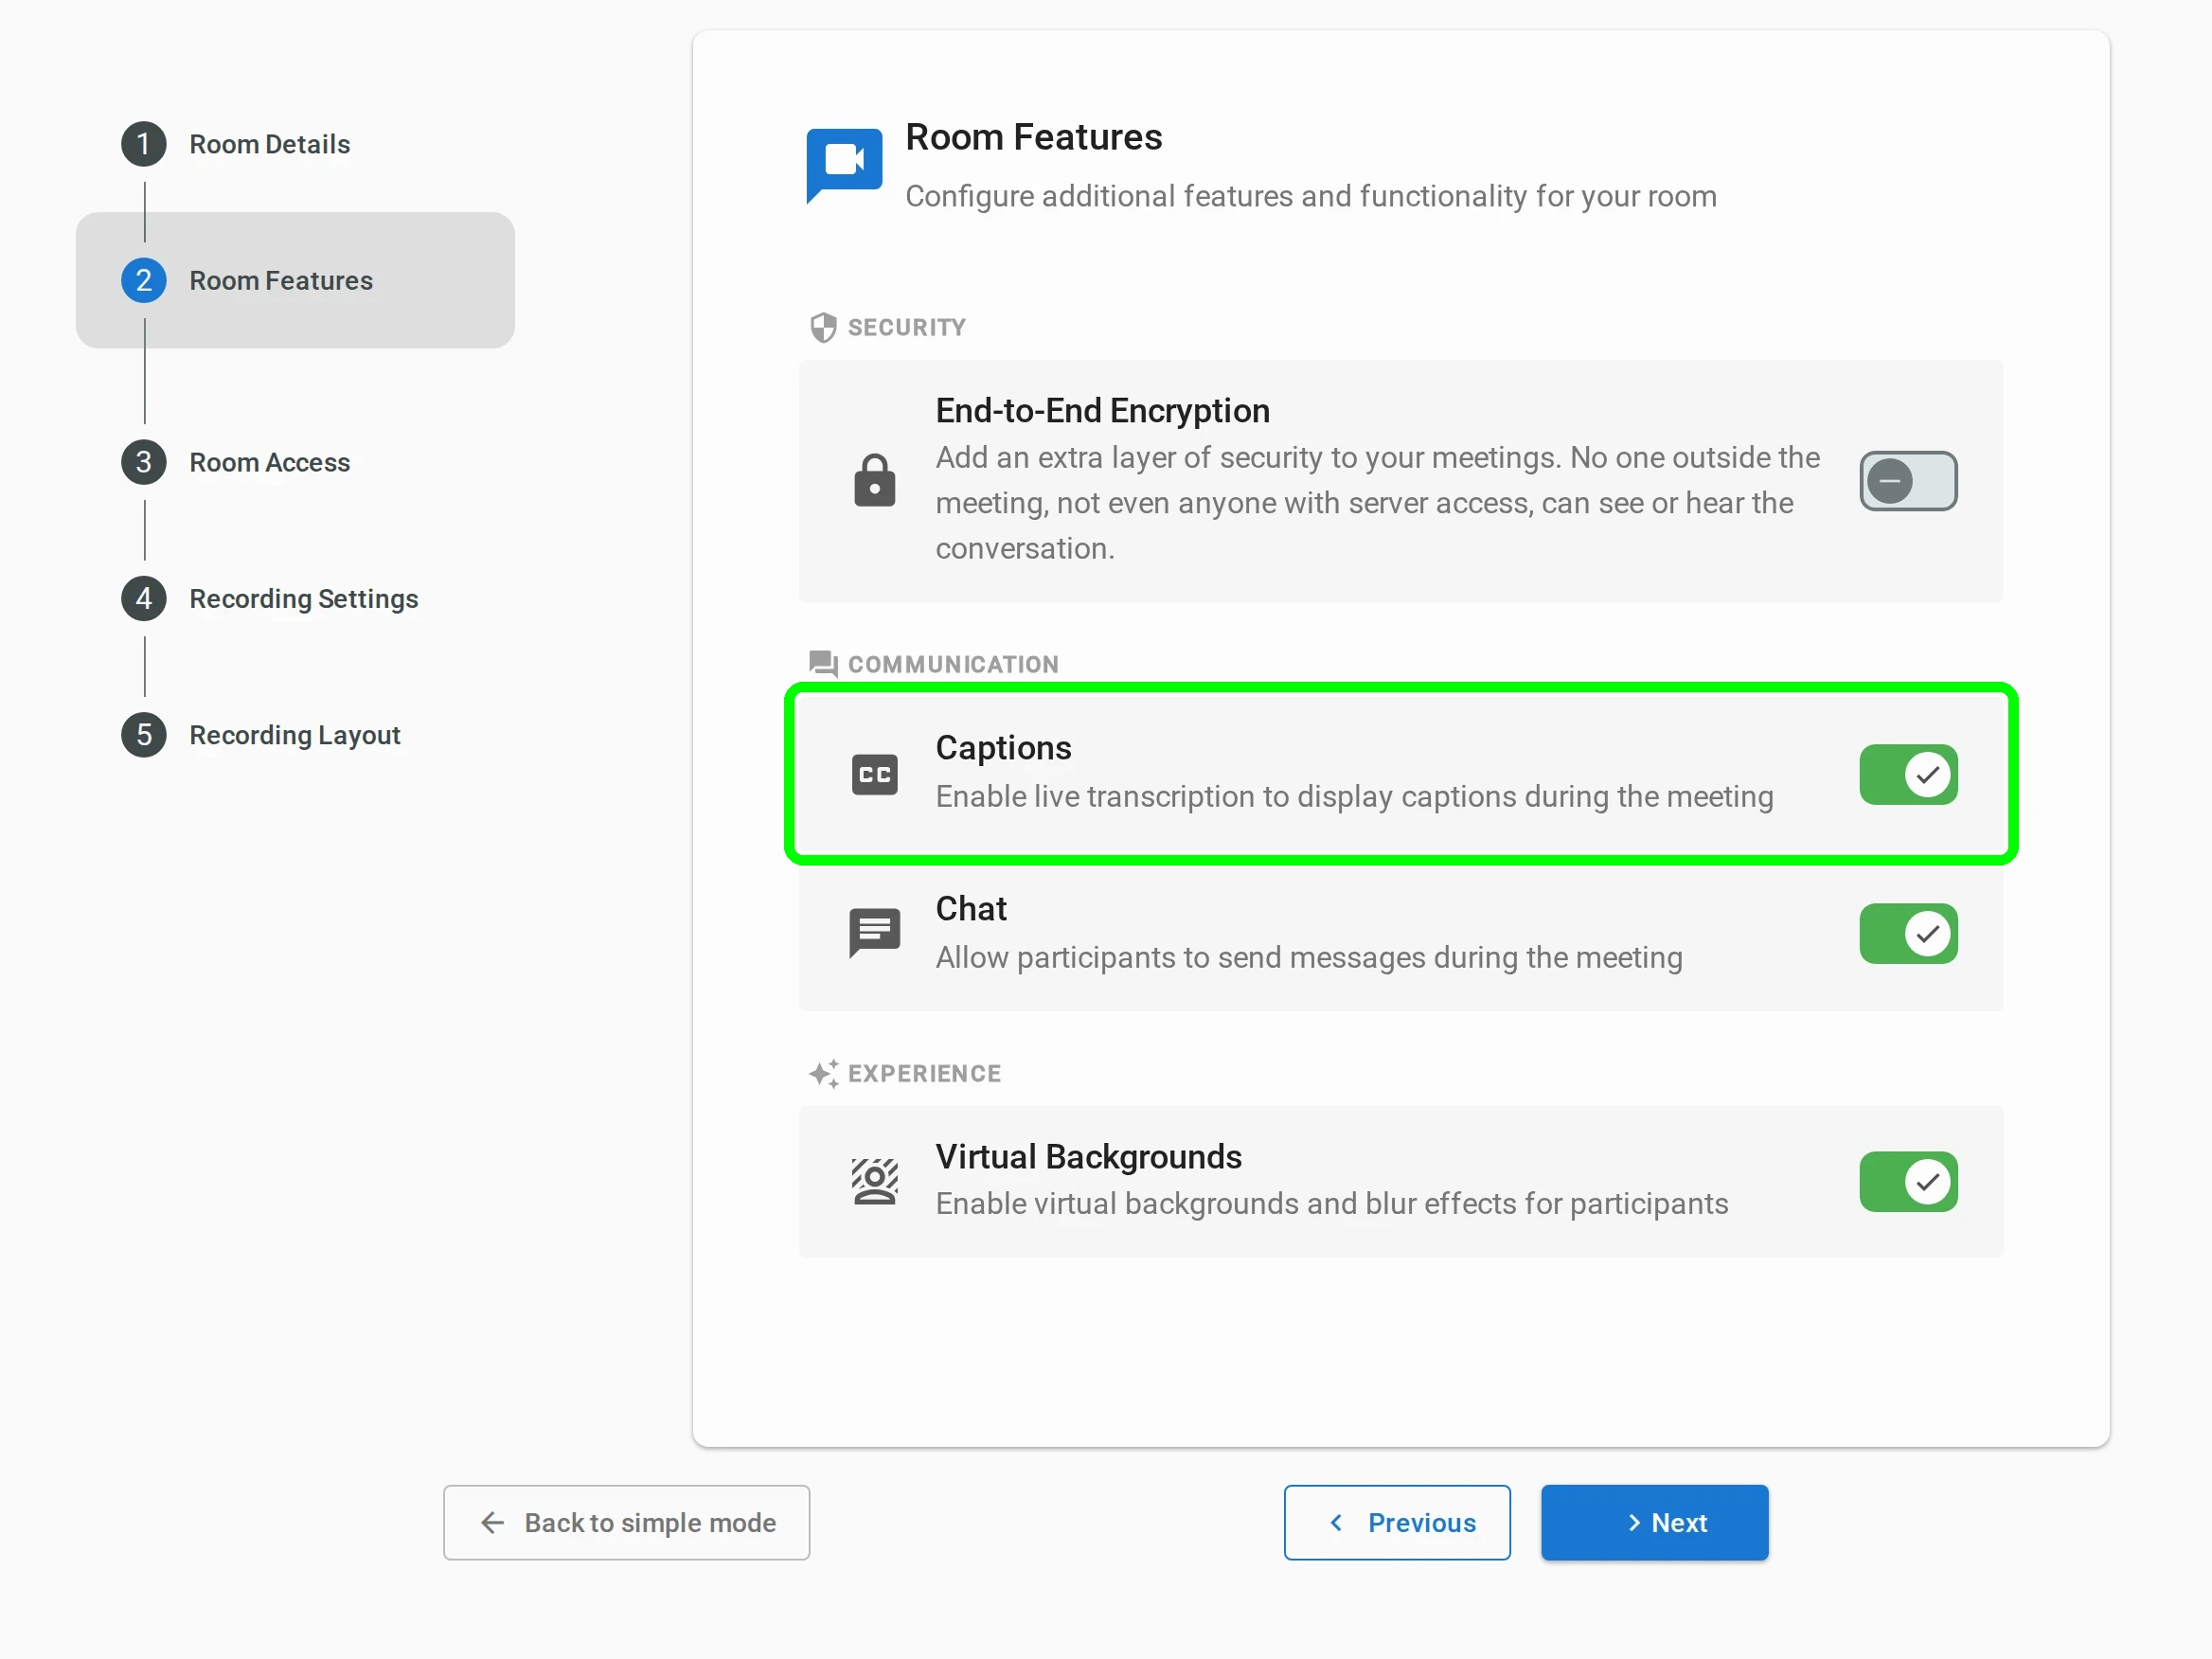
Captions are enabled by default when a room is created, whether through the UI or the REST API . This behavior can be overridden to enable or disable captions on a per-room basis from the Features section of the Meeting step of the room configuration wizard, using the Live captions toggle. The same step also sets the room's participant and duration limits, and toggles End-to-End Encryption, Chat and Virtual Background.
Using Live Captions in a Meeting#
Once live captions are enabled for a room, any participant can turn them on during the meeting by clicking the captions button in the toolbar. Captions then appear instantly at the bottom of the screen as participants speak, with no additional configuration required. The interface is designed to be easy to read without blocking the video feed.