3 ways to integrate video conferencing into your app with OpenVidu#
Most products reach a point where a chat window or a phone number is no longer enough, and people need to see each other. Sooner or later the ticket lands on your board: "Add video calls to the app". The WebRTC part is a solved problem. The question that actually shapes the project is a different one: how much of the meeting do you want to own? The buttons, the layout, the media tracks themselves? Or just a <div> where a meeting shows up?
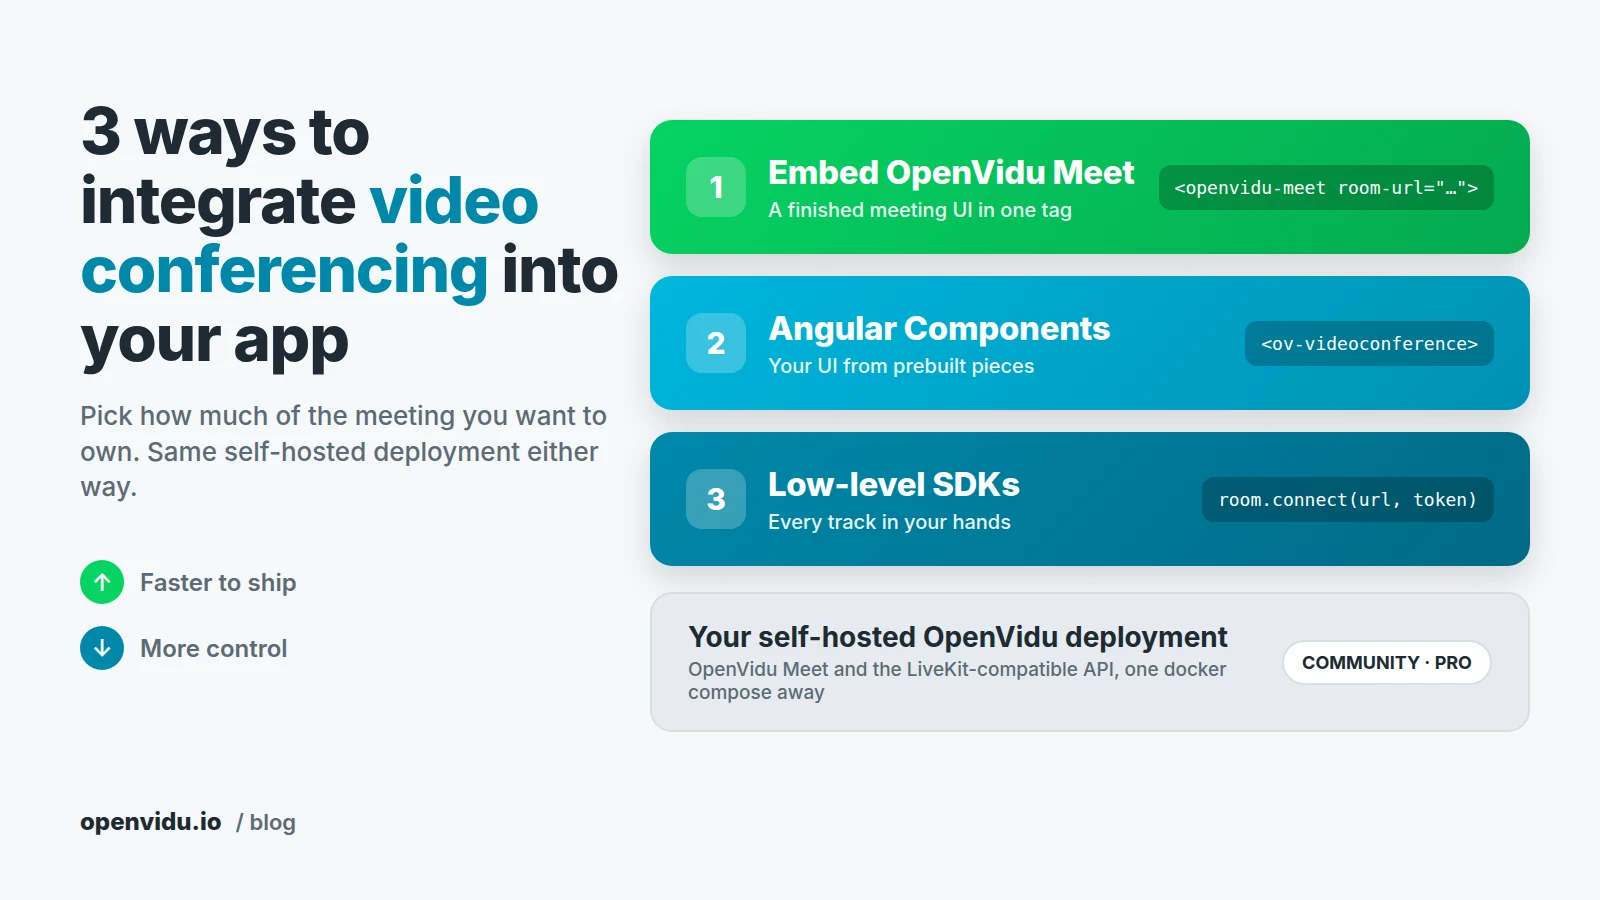
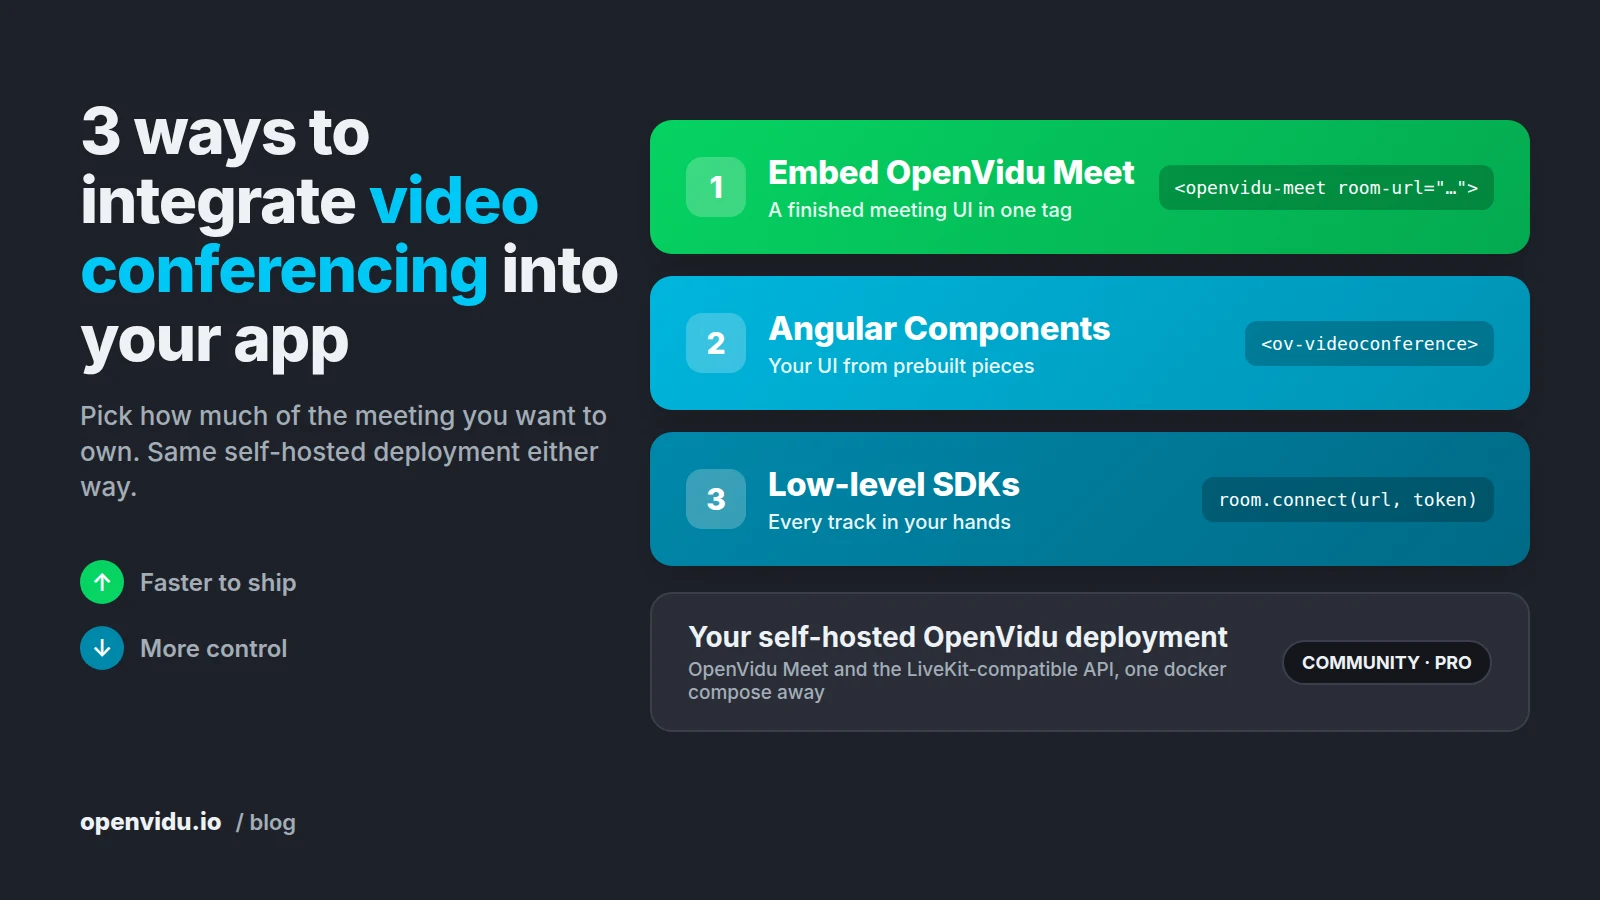
There are three ways to integrate video conferencing into your app with OpenVidu, and all of them run on the same self-hosted deployment. You can embed OpenVidu Meet, a finished meeting UI, with one HTML tag. You can assemble your own meeting screen from Angular Components. Or you can go down to the OpenVidu Platform SDKs and handle every audio and video track yourself.
This post walks through the three, with working code for each, so you can choose the level that fits your product rather than the first one you come across.
The three levels at a glance#
Here is the overview before we get into the details. Each level gives you more speed in exchange for less control, and the three build on each other: OpenVidu Meet is built with Angular Components, and Angular Components are built on the same client SDK you would use at the lowest level. Whichever one you pick, the media flows through your own OpenVidu deployment.
| Embed OpenVidu Meet | Angular Components | Low-level SDKs | |
|---|---|---|---|
| What you write | One HTML tag and a REST call | An Angular template built from prebuilt components | Everything: connection, tracks, layout |
| What you get | The complete OpenVidu Meet UI: chat, recording, screen share, virtual backgrounds, captions, E2EE | A working meeting screen you adapt, extend or replace piece by piece | A Room object and its tracks |
| Customization | Colors, per-room features, permissions | Any component: toolbar, layout, streams, panels, CSS variables | Unlimited |
| Platforms | Web | Angular web apps | Browsers, iOS, Android, Flutter, React Native, Unity... |
| Product | OpenVidu Meet | OpenVidu Platform | OpenVidu Platform |
None of this changes what you pay. Both products work in OpenVidu COMMUNITY and OpenVidu PRO, and the pricing depends on the deployment, not on how you integrate.
Before the code: one deployment, three example apps#
Every snippet below is trimmed to the lines that carry the idea. The complete, runnable version lives in openvidu-integration-levels , where each level is an independent application with its own backend, frontend and README. Clone it, pick a folder, and run two commands. Each section below links to the code it comes from.
The scenario is the same throughout: a support desk where an agent starts a call and a customer joins.
All three levels need an OpenVidu deployment, and one is enough for the three of them. OpenVidu Local brings up both products with Docker:
git clone https://github.com/OpenVidu/openvidu-local-deployment -b 3.9.0
cd openvidu-local-deployment/community
./configure_lan_private_ip_linux.sh   # configure_lan_private_ip_macos.sh | .bat on Windows
docker compose up
That gives you OpenVidu Meet at http://localhost:9080, with API key meet-api-key, and the OpenVidu API at ws://localhost:7880, with API key devkey and secret secret. Those are the values in the snippets that follow.
Level 1: embed OpenVidu Meet#
This is the fastest path. OpenVidu Meet is a complete video conferencing application, and OpenVidu Meet Embedded puts that application inside yours. On the client you have three ways to show a room: a direct link, an iframe or the <openvidu-meet> Web Component. On the server you have a REST API to manage rooms, members, recordings and users, and webhooks to react to what happens in them.
Create the room from your backend#
Rooms are created with one authenticated request, which your backend makes because it holds the API key:
const response = await fetch(`${MEET_URL}/api/v1/rooms`, {
  method: "POST",
  headers: { "Content-Type": "application/json", "X-API-KEY": MEET_API_KEY },
  body: JSON.stringify({ roomName: "Ticket #4821" }),
});
const room = await response.json();
What comes back includes the room's access links, and the link you give to each person decides their role in the meeting: room.access.anonymous.moderator.url for your agent, room.access.anonymous.speaker.url for your customer. Registered users and identified guests get their own kind of link, all described in Room Access. We covered how to map that model to your own users in 3 access models for video conferencing apps.
Put the meeting on the page#
Load the Web Component from your deployment, then use the tag with the link you just got. In plain HTML, that is the whole client-side integration:
<script src="http://localhost:9080/meet/v1/openvidu-meet.js"></script>

<openvidu-meet room-url="http://localhost:9080/meet/room/ticket_4821-xyz?secret=abc"></openvidu-meet>
Inside a framework it is the same tag with bindings. In Angular, the room your backend created goes into a signal, and the template renders the element once it is there:
@if (room(); as current) {
  <openvidu-meet
    #meet
    [attr.room-url]="current.access.anonymous.moderator.url"
    participant-name="Support agent"
    (meetingJoined)="onJoined($event)"
    (embeddedCloseRequested)="onClosed()"
  ></openvidu-meet>
}
From there the element talks to your app in both directions, and you use it like any other element in your template. It emits events when participants come and go, which you bind with the usual (event) syntax, and it accepts commands so your own buttons can drive the meeting, which you call through a viewChild reference:
export class App {
  protected readonly room = signal<MeetRoom | null>(null);
  private readonly meet = viewChild<ElementRef<MeetElement>>('meet');

  protected async createRoom() {
    const response = await fetch(`${BACKEND_URL}/rooms`, { method: 'POST', /* ... */ });
    this.room.set(await response.json());
  }

  protected onJoined(event: Event) {
    console.log((event as CustomEvent).detail.participantIdentity, 'joined the meeting');
  }

  protected endMeeting() {
    this.meet()?.nativeElement.meetingEnd();
  }
}
The one thing to remember is schemas: [CUSTOM_ELEMENTS_SCHEMA] on the component, so that Angular accepts a tag it does not know.
If you cannot use a Web Component, the iframe accepts the same attributes and supports the same commands and events through postMessage. And if you do not need the meeting inside your page at all, the direct link opens the full OpenVidu Meet UI in its own tab, with leave-redirect-url to bring the user back.
See it running
1-meet-embedded/ is this level as a standalone app: server.js creates the room, app.html and app.ts embed it. Run it, hit Start call, and open the customer link in a second tab to see both sides of the meeting.
What you can customize#
The meeting UI belongs to OpenVidu Meet, but it is not a black box. Today you can adjust it in these ways:
- Colors. Five color slots (main background, main controls, secondary elements, highlights and accents, panels and dialogs) plus a light or dark base. Admins set them from the "Configuration" page, and they apply globally to every room.
- Features per room. Chat, captions, virtual backgrounds, end-to-end encryption and recording, with the recording layout, from the room wizard or the
configobject of the room creation request. The API additionally exposes the recording encoding. Note that an encrypted room cannot be recorded. - Access and permissions. Anonymous links per role, registered users, identified guests, and per-member permission overrides on top of the
ModeratorandSpeakerroles. - Per-participant attributes. The display name, an E2EE key, a redirect URL on leave, and a recordings-only view.
- Language. The interface is translated into ten languages and follows the user's browser.
What you cannot do yet is reshape the meeting UI itself: replace the toolbar, restyle one room differently from another, or place your own components inside the meeting view. More branding and customization options are on the roadmap, and it is an area we are actively working on. If you need that level of control today, keep reading: it is exactly what the next level gives you.
Pick this level when
Your use case is video conferencing (telehealth, e-learning, customer support, team collaboration), you want recording, chat and screen sharing without building them, and applying your colors to a proven UI is enough for your brand. This is the path we took in Building a video-enabled CRM with an AI agent.
Level 2: Angular Components#
The second level is Angular Components, the library we use to build OpenVidu Meet itself. It gives you a <ov-videoconference> element that renders a complete meeting, and lets you adapt, extend or replace any part of it. You get a working screen in minutes and then work on your customizations from there.
Generate access tokens in your backend#
The backend changes at this level. You are no longer talking to OpenVidu Meet but to OpenVidu directly, through the LiveKit-compatible server SDK, and the one thing your server must do is generate access tokens. An access token is a JWT signed with your API secret that states who the participant is and which room they may join:
const at = new AccessToken(OPENVIDU_API_KEY, OPENVIDU_API_SECRET, { identity: participantName });
at.addGrant({ roomJoin: true, room: roomName });

res.json({ token: await at.toJwt() });
roomJoin and room are the only grants this token needs: publishing and subscribing are allowed unless you turn them off. The API key and secret never leave the server, because anyone holding them can create a token for any identity. This same endpoint also serves Level 3.
Render the meeting#
The component asks your app for a token when the participant is ready to join, and takes it from there:
<ov-videoconference
  [token]="token()"
  [livekitUrl]="OPENVIDU_URL"
  (onTokenRequested)="onTokenRequested($event)"
></ov-videoconference>
The component side of it is just as short. onTokenRequested fires with the name the participant typed in the prejoin screen, you ask your backend for a token, and setting it connects the room:
export class App {
  protected readonly OPENVIDU_URL = 'ws://localhost:7880';
  protected readonly token = signal('');

  protected async onTokenRequested(participantName: string) {
    const response = await fetch(`${BACKEND_URL}/token`, {
      method: 'POST',
      headers: { 'Content-Type': 'application/json' },
      body: JSON.stringify({ roomName: 'support-desk', participantName }),
    });
    const { token } = await response.json();

    this.token.set(token);
  }
}
With that one element you have a prejoin page, a toolbar, a responsive layout, chat, participants and activities panels, screen sharing and the recording controls. Only recording needs some backend work: the component emits onRecordingStartRequested and onRecordingStopRequested, and your server starts and stops the Egress, as the recording tutorial shows.
Make it yours#
There are three ways to customize it, and you can combine them:
- CSS variables for the look. Redefine
--ov-background-color,--ov-primary-action-color,--ov-accent-action-color, the border radius and the rest in your global stylesheet, and every component follows. - Inputs for behavior. Attribute directives on
<ov-videoconference>such as[prejoin],[participantName],[minimal]or[toolbarChatPanelButton]show, hide and preconfigure parts of the UI. - Structural directives for structure. Place your own markup inside the component and it becomes part of the meeting.
That last one is where your product shows up inside the call. Our support desk wants a button that resolves the ticket without leaving the meeting:
<ov-videoconference [token]="token()" [livekitUrl]="OPENVIDU_URL" (onTokenRequested)="onTokenRequested($event)">
  <div *ovToolbarAdditionalButtons>
    <button (click)="resolveTicket()">Resolve ticket</button>
  </div>
</ov-videoconference>
*ovToolbarAdditionalButtons adds to the default toolbar. Its siblings replace pieces outright: *ovToolbar swaps the whole toolbar, *ovLayout the video grid, *ovStream each tile, *ovChatPanel and *ovParticipantsPanel the side panels. Everything you do not replace keeps working and keeps receiving improvements with each OpenVidu release.
The Angular Components tutorials walk through each one of them separately, from a custom toolbar to a custom layout, custom streams, custom panels and an admin dashboard, and the reference lists every component, directive and CSS variable you can reach.
See it running
2-angular-components/ is this level as a standalone app, token server included. It stays on Angular 20, the newest version openvidu-components-angular 3.9.0 supports.
Pick this level when
You want your own meeting screen inside an Angular app, you want it working this week, and you would rather customize a proven UI than write one. It is also the natural next step when Level 1 stops being enough.
Level 3: low-level SDKs#
At the bottom of the stack there is no UI at all, just a Room and its tracks. OpenVidu is a fork of LiveKit that keeps 100% API compatibility, so any LiveKit client SDK works unchanged against your deployment. In the browser, that SDK is livekit-client, and the token server from Level 2 is all the backend you need:
protected async join() {
  const room = new Room();

  // One event per track any other participant publishes.
  room.on(RoomEvent.TrackSubscribed, (track) => {
    this.remoteTracks.update((tracks) => [...tracks, track]);
  });
  room.on(RoomEvent.TrackUnsubscribed, (track) => {
    this.remoteTracks.update((tracks) => tracks.filter((t) => t.sid !== track.sid));
  });

  const token = await this.getToken('support-desk', participantName);

  await room.connect(OPENVIDU_URL, token);
  await room.localParticipant.enableCameraAndMicrophone();
}
That is a working video call: connect with a token, publish your camera and microphone, and collect every track you receive. TrackSubscribed fires once per remote track, which is how other participants appear.
Rendering them is the other half, and it is entirely yours. A track is not a DOM element: you attach it to a <video> or an <audio> element and detach it when that element goes away.
ngAfterViewInit() {
  this.track().attach(this.media().nativeElement);
}

ngOnDestroy() {
  this.track().detach();
}
Notice what is not there: no prejoin page, no toolbar, no layout, no chat. You decide whether a participant publishes or only subscribes, which tracks to render and where, what a "mute" button does. Every client performs the same four operations: connect with a token, publish tracks, subscribe to tracks and mute them. They work the same way in every SDK, and the client SDK reference documents the model they all share.
This level unlocks two things the other two do not. First, platforms: the same pattern works in iOS, Android, Flutter, React Native, Unity and even embedded devices, and the application client tutorials cover eight platforms, from plain JavaScript to Android and iOS. Second, use cases beyond meetings: live streaming to thousands of viewers, ingesting IP cameras or RTMP feeds, server-side recording with custom layouts, telephony, and AI agents that join a room as participants. OpenVidu Meet and Angular Components are built around rooms and meetings; the SDKs are built around tracks.
See it running
3-low-level-sdk/ is this level as a standalone app, with the two snippets above in app.ts and track-view.ts .
Pick this level when
Your UI is not a meeting grid, you need native mobile or desktop clients, you need control over codecs, bitrates and subscriptions, or video conferencing is only one part of a larger real-time product.
Not on Angular?#
All example apps are built on Angular, but only the middle level actually requires it:
- Level 1 is framework-agnostic.
<openvidu-meet>is a standard custom element, so the two lines above work the same in plain HTML, React, Vue or a server-rendered page. The iframe and the direct link cover everything else, including apps that cannot load third-party scripts. - Level 2 in React means the React Components listed in our docs under UI Components. A
<LiveKitRoom>with a<VideoConference>inside gets you a prebuilt meeting, and its hooks and contexts let you build your own. - Level 3 has tutorials for JavaScript, React, Angular, Vue, Electron, Ionic, Android and iOS on the client, and Node.js, Go, Ruby, Java, Python, Rust, PHP and .NET for the token server. Any client works with any server.
Which level should you pick?#
If you are still not sure how to integrate video conferencing into your app, here are three simple rules that have worked for the teams we have helped:
- Start as high as your requirements allow. If a meeting with chat, recording and screen sharing is what your users need, Level 1 gets you there in an afternoon, and every new OpenVidu Meet feature arrives without any work on your side. You can always move down a level later; in practice, nobody needs to move up.
- Move down a level when the UI is the problem, not the media. The moment you need a toolbar button that does not exist or a layout Meet does not have, Level 2 gives you exactly that without touching a single track.
- Go to the bottom when the product is not a meeting. Live streaming, robotics, AI pipelines and native apps are Level 3 by definition, and there the flexibility of the SDKs is exactly what you need.
You do not have to pick one level for the whole product either. Both products run on the same deployment, so a telehealth platform can embed OpenVidu Meet for consultations and use the SDKs for a one-way waiting-room stream. The Meet vs Platform comparison has the side-by-side table, and OpenVidu Meet vs OpenVidu Platform in 2026 goes deeper into why we split the two products in the first place.
Need more than this?#
Clone the examples and run them against one deployment. Everything in this post is in openvidu-labs/openvidu-integration-levels : three independent applications, each with a README that takes you from an empty folder to a working meeting. Then go deeper:
- OpenVidu Meet Embedded step-by-step guide and the progressive Meet tutorials, from direct links to webhooks.
- Angular Components tutorials, one per customizable piece.
- Build your app and the Getting started page for the SDK path.
- Deployment types when you are ready to leave
localhost: Single Node, Elastic or High Availability, on your servers or any major cloud.