Android Tutorial#
This tutorial is a simple video-call application built for Android, using Kotlin, that allows:
- Joining a video call room by requesting a token from any application server.
- Publishing your camera and microphone.
- Subscribing to all other participants' video and audio tracks automatically.
- Leaving the video call room at any time.
It uses the LiveKit Android Kotlin SDK to connect to the LiveKit server and interact with the video call room.
Running this tutorial#
1. Run OpenVidu Server#
-
Download OpenVidu
-
Configure the local deployment
-
Run OpenVidu
To use a production-ready OpenVidu deployment, visit the official deployment guide.
Configure Webhooks
All application servers have an endpoint to receive webhooks from OpenVidu. For this reason, when using a production deployment you need to configure webhooks to point to your local application server in order to make it work. Check the Send Webhooks to a Local Application Server section for more information.
2. Download the tutorial code#
3. Run a server application#
To run this server application, you need Node.js installed on your device.
- Navigate into the server directory
- Install dependencies
- Run the application
For more information, check the Node.js tutorial.
To run this server application, you need Go installed on your device.
- Navigate into the server directory
- Run the application
For more information, check the Go tutorial.
To run this server application, you need Ruby installed on your device.
- Navigate into the server directory
- Install dependencies
- Run the application
For more information, check the Ruby tutorial.
To run this server application, you need Java and Maven installed on your device.
- Navigate into the server directory
- Run the application
For more information, check the Java tutorial.
To run this server application, you need Python 3 installed on your device.
-
Navigate into the server directory
-
Create a python virtual environment
-
Activate the virtual environment
-
Install dependencies
-
Run the application
For more information, check the Python tutorial.
To run this server application, you need Rust installed on your device.
- Navigate into the server directory
- Run the application
For more information, check the Rust tutorial.
To run this server application, you need PHP and Composer installed on your device.
- Navigate into the server directory
- Install dependencies
- Run the application
Warning
LiveKit PHP SDK requires library BCMath . This is available out-of-the-box in PHP for Windows, but a manual installation might be necessary in other OS. Run sudo apt install php-bcmath or sudo yum install php-bcmath
For more information, check the PHP tutorial.
To run this server application, you need .NET installed on your device.
- Navigate into the server directory
- Run the application
Warning
This .NET server application needs the LIVEKIT_API_SECRET env variable to be at least 32 characters long. Make sure to update it here and in your OpenVidu Server.
For more information, check the .NET tutorial.
4. Run the client application#
To run the client application tutorial, you need Android Studio installed on your development computer.
-
Open Android Studio and import the project located at
openvidu-livekit-tutorials/application-client/openvidu-android. -
Run the application in an emulator or a physical device by clicking the "Run" button in Android Studio. Check out the official documentation for further information.
The application will initiate as a native Android program. Once the application is opened, you should see a screen like this:
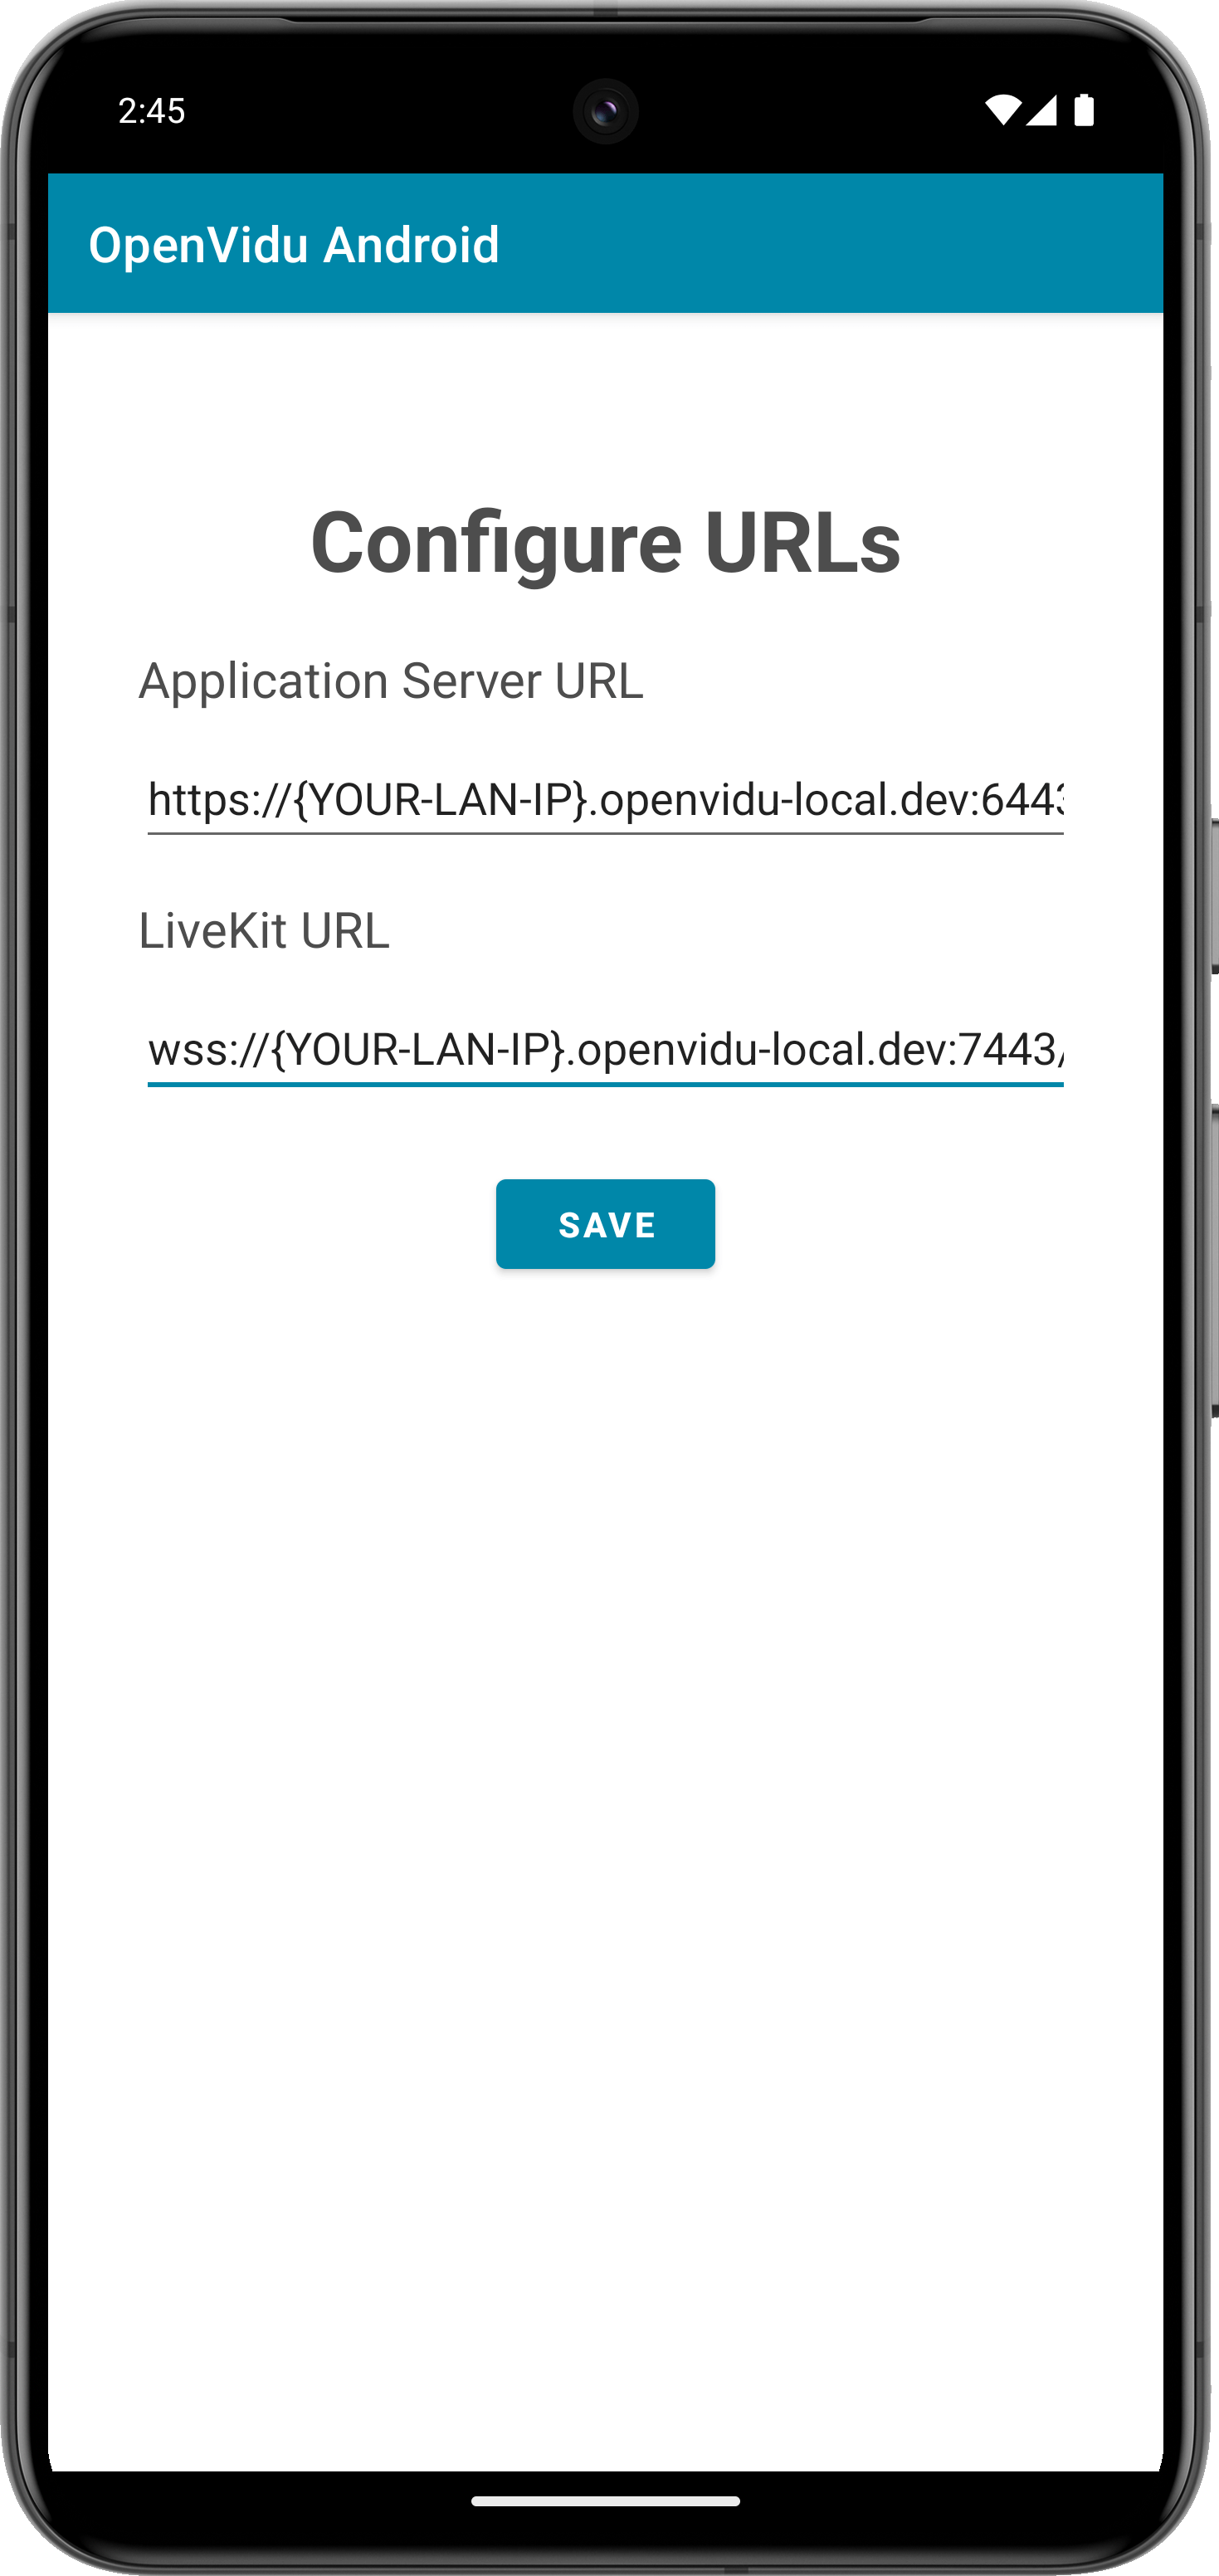
This screen allows you to configure the URLs of the application server and the LiveKit server. You need to set them up for requesting tokens to your application server and connecting to the LiveKit server.
Connecting real Android device to application server running in you local network
One advantage of running OpenVidu locally is that you can test your application client in a real Android device and be able to reach the application server very easily without worrying about SSL certificates if they are both running in the same local network. For more information, see section Accessing your local deployment from other devices on your network.
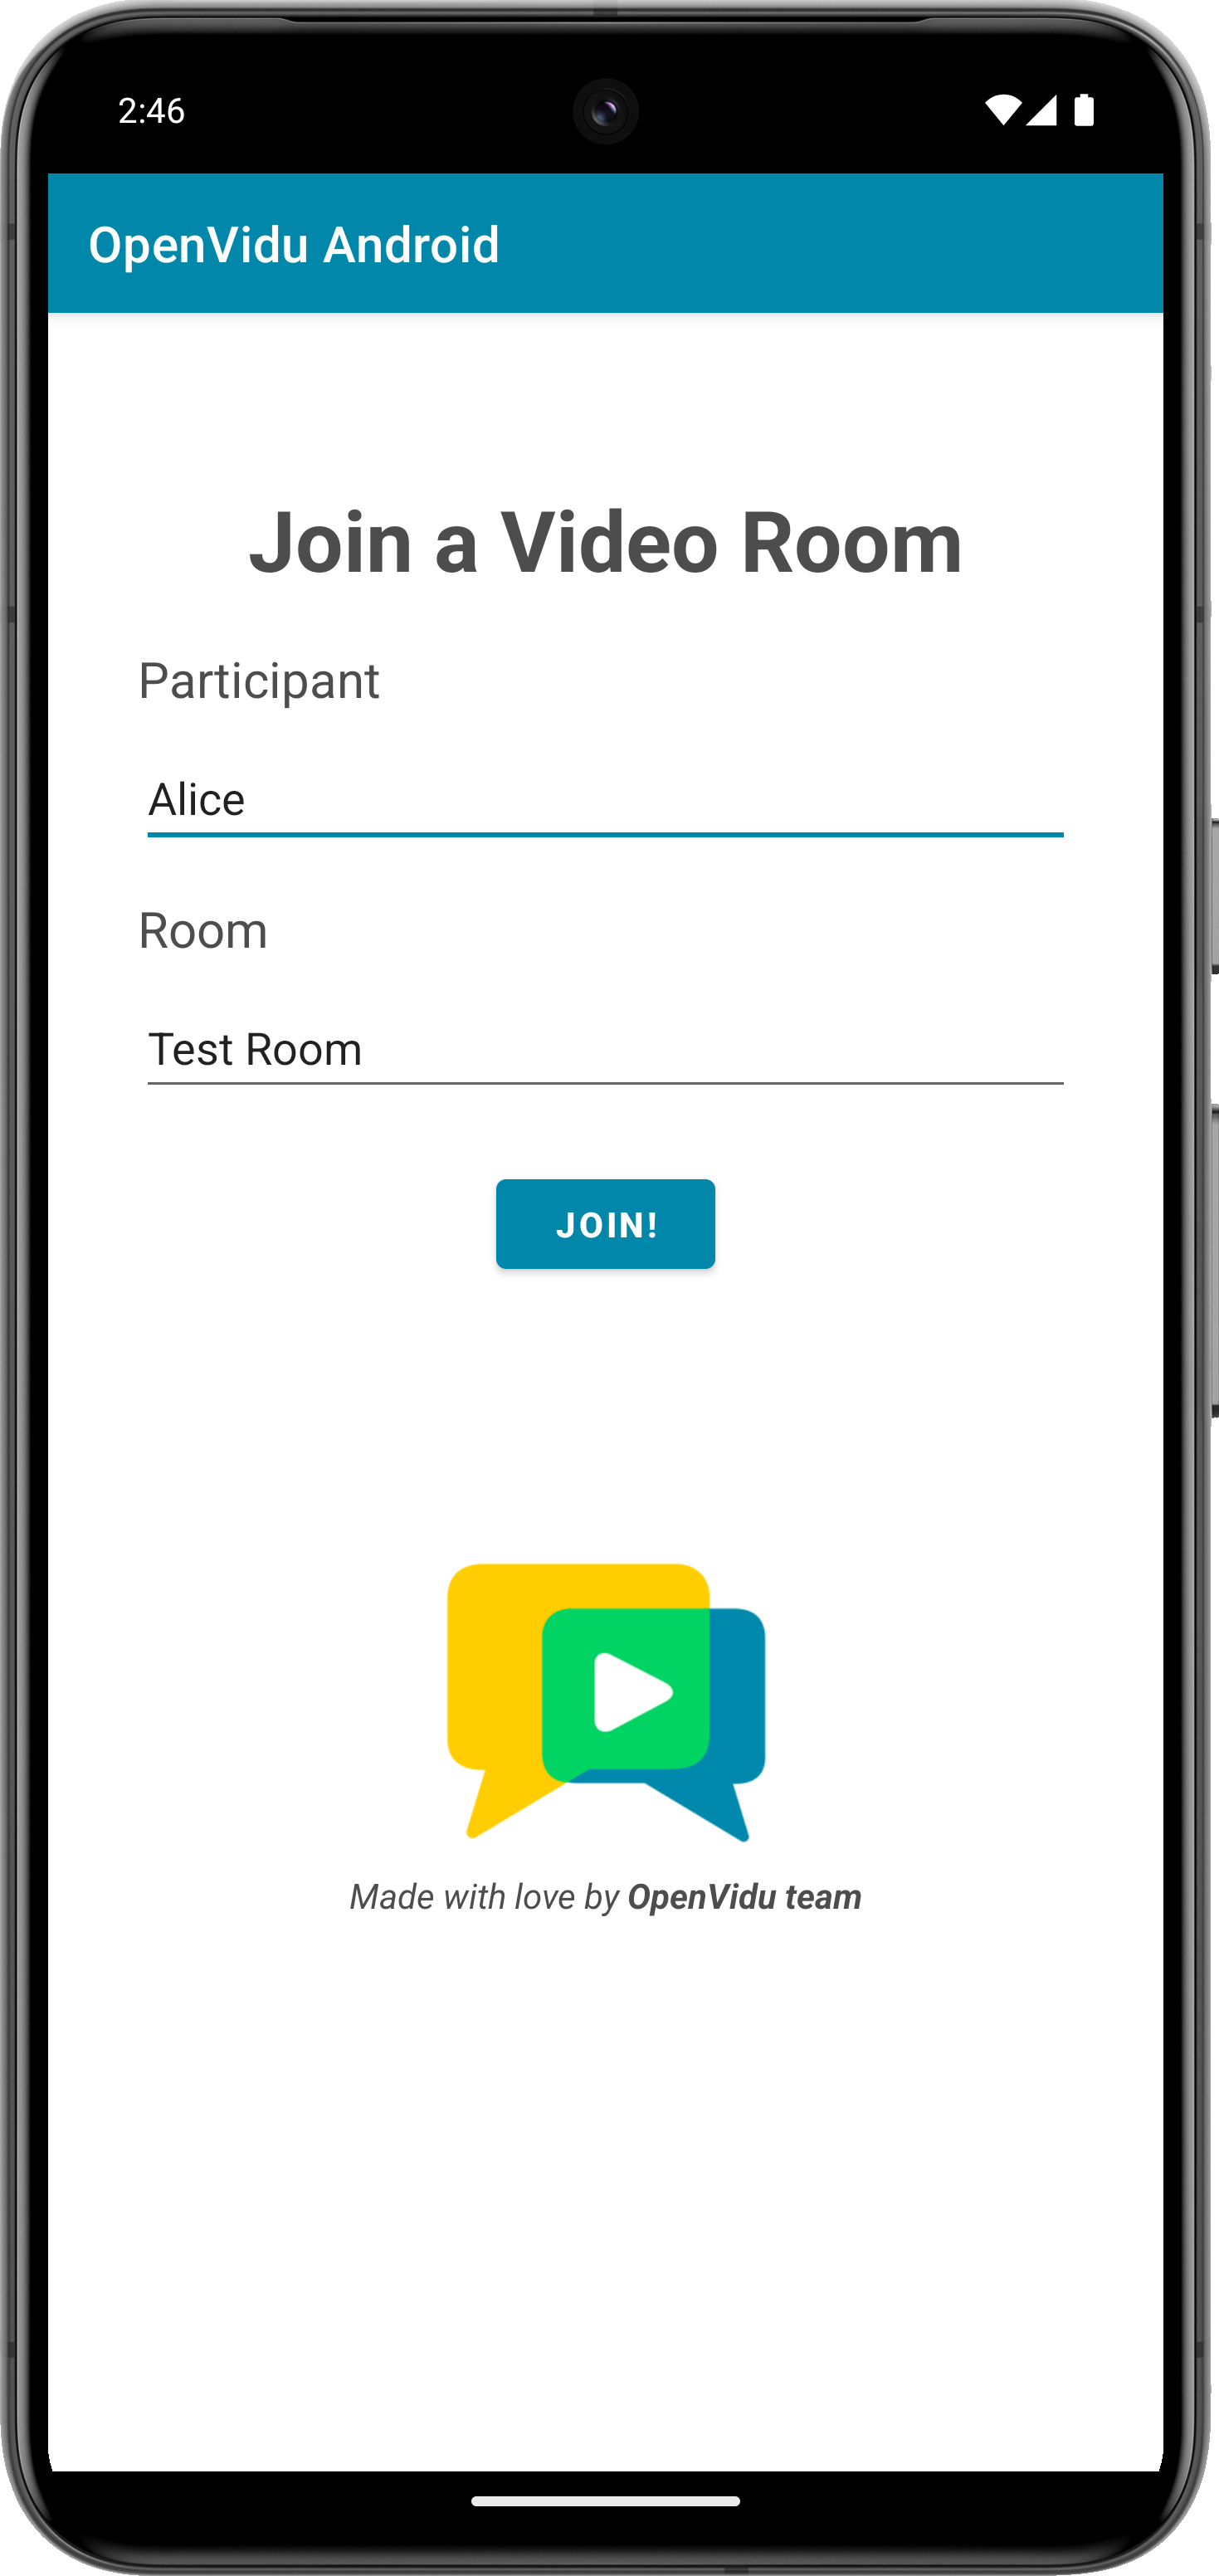
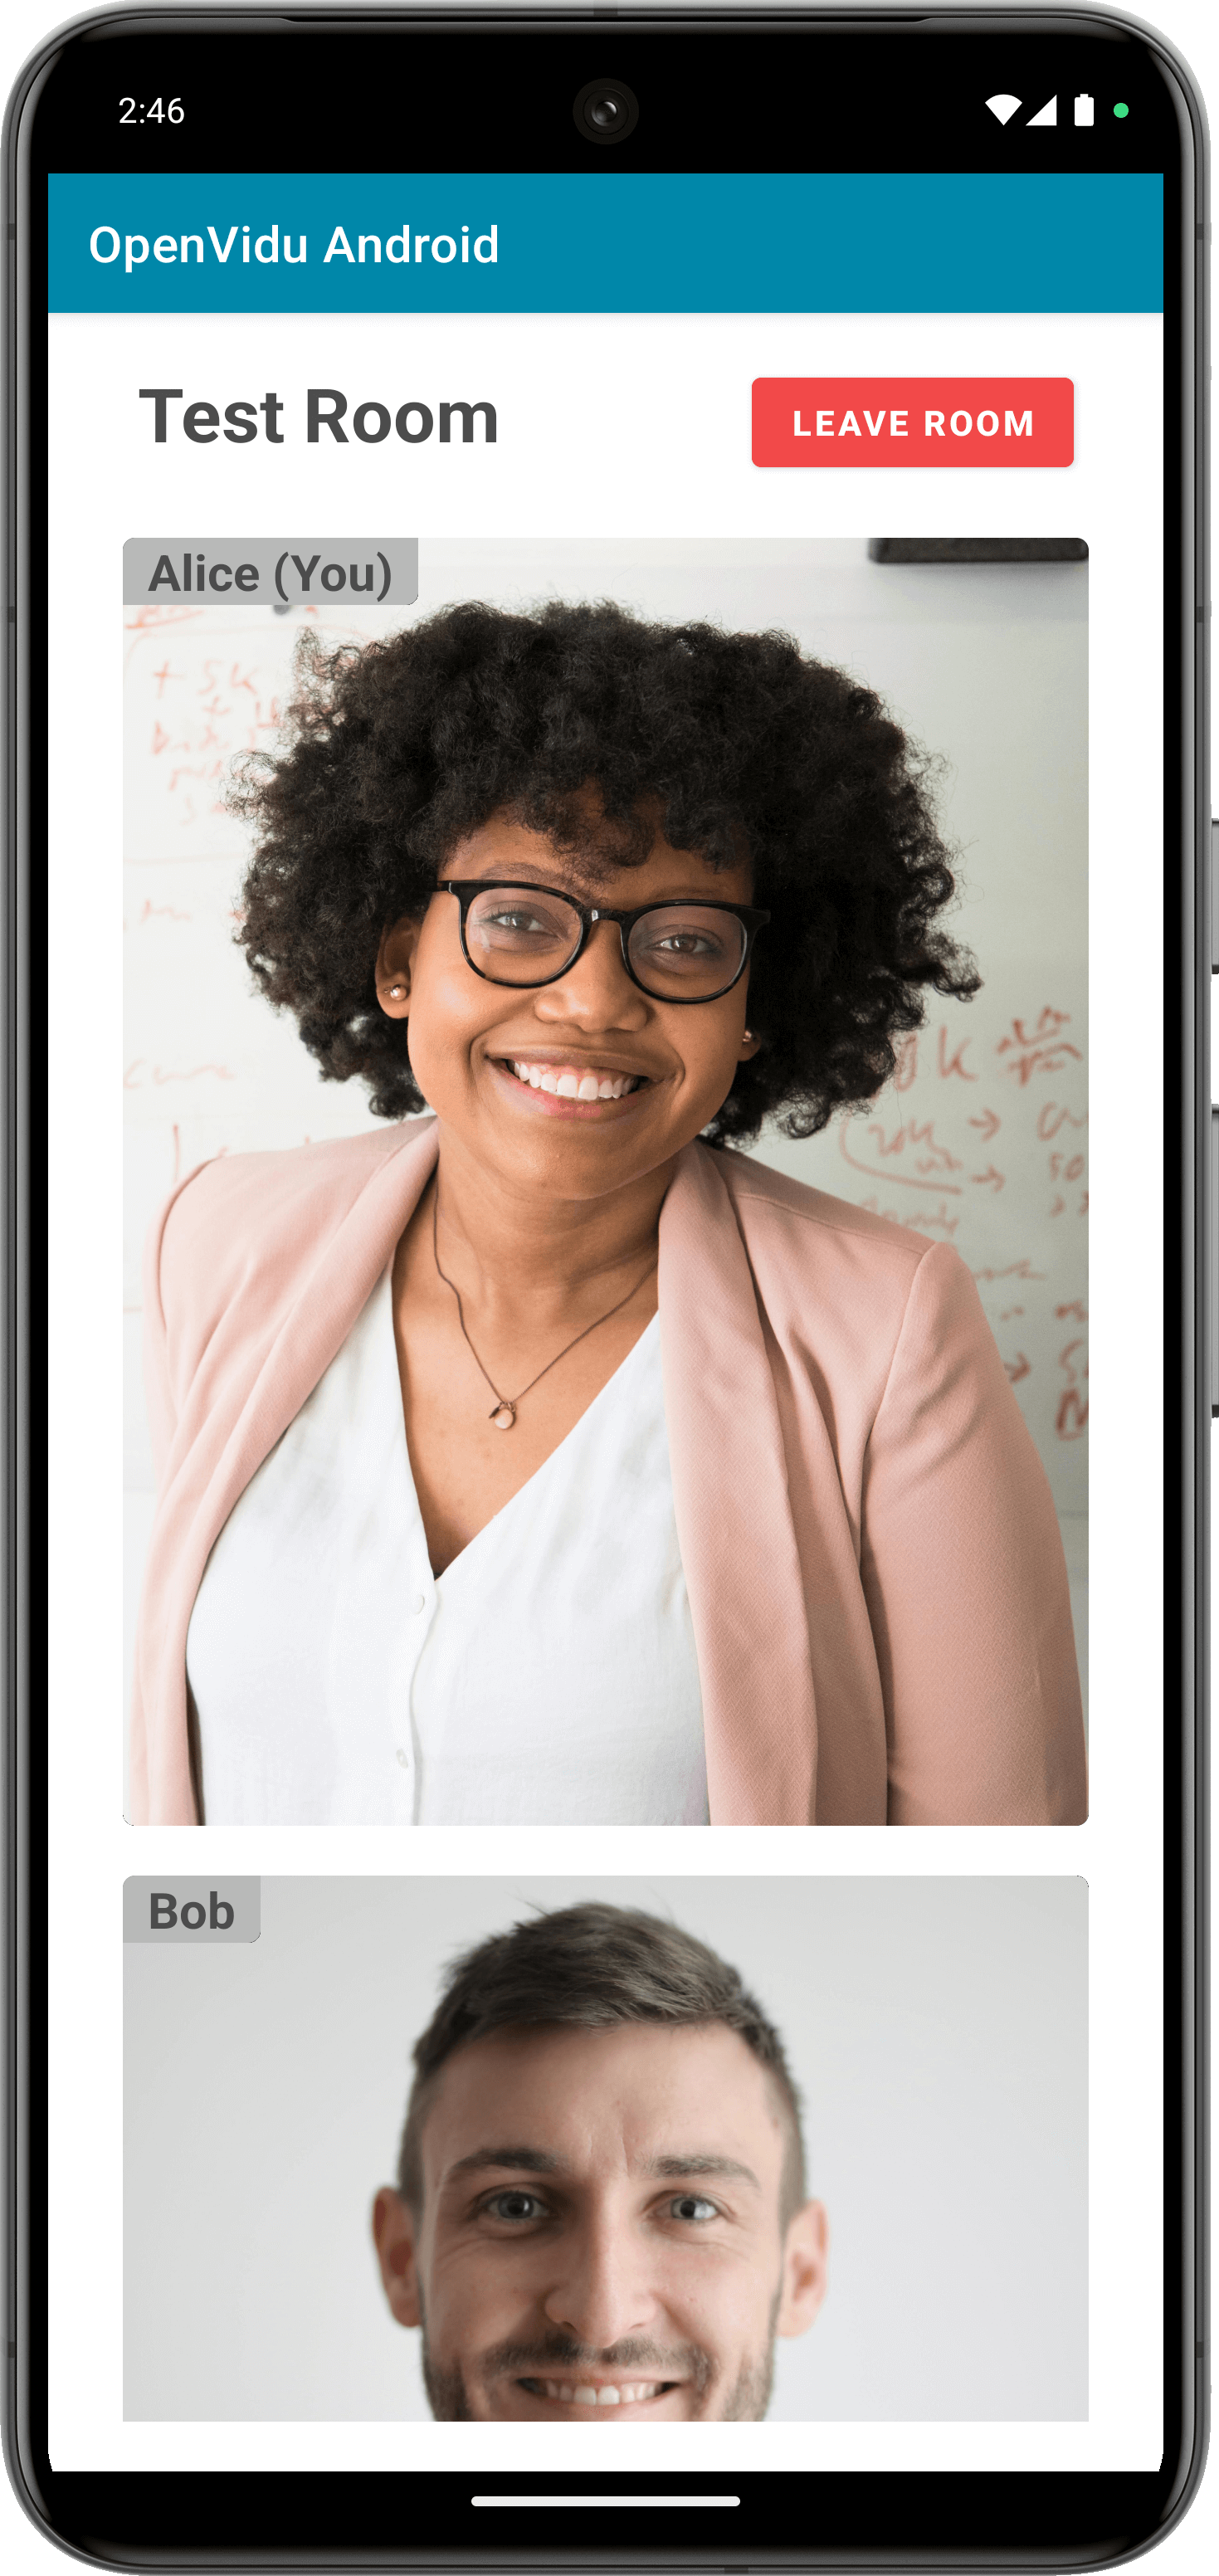
Once you have configured the URLs, you can join a video call room by providing a room name and a user name. After joining the room, you will be able to see your own video and audio tracks, as well as the video and audio tracks of the other participants in the room.
Understanding the code#
This Android project has been generated with Android Studio. You may come across various configuration files and other items that are not essential for this tutorial. Our focus will be on the key files located within the app/src/main/java directory:
MainActivity.kt: This file defines the main activity of the application, which allows the user to join a video call room by providing a room name and a user name.RoomLayoutActivity.kt: Activity responsible for managing the video call room, including publishing and subscribing to video and audio tracks.PaticipantAdapter.ktandParticipantViewHolder.kt: These files define the Adapter and ViewHolder for the RecyclerView that displays the participants video tracks in the video call room.Urls.kt: Object that contains the URLs of the application server and the LiveKit server.ConfigureUrlsActivity.kt: Activity that allows the user to configure the URLs of the application server and the LiveKit server.
The activity layout files are located in the app/src/main/res/layout directory.
To use LiveKit in an Android application, you need to add the LiveKit Android Kotlin SDK as a dependency in the build.gradle.kts file. This dependecy provides the necessary classes and methods to interact with the LiveKit server:
dependencies {
    implementation 'io.livekit:livekit-android:2.5.0'
}
You will also need JitPack as a repository in the settings.gradle.kts file:
dependencyResolutionManagement {
    //...
    repositories {
        google()
        mavenCentral()
        maven("https://jitpack.io")
    }
}
Android specific requirements#
In order to be able to test the application on an Android device, the application must ask for the necessary permissions to access the device's camera and microphone.
First, you need to add the following permissions to the AndroidManifest.xml file located in the app/src/main directory:
Then, the app need to request these permissions when the user joins the video call room. This is done in the RoomLayoutActivity.kt file by calling the requestNeededPermissions method in the onCreate method:
| RoomLayoutActivity.kt | |
|---|---|
| |
Configuring URLs#
The Urls.kt file defines an object that contains the following URLs required for the application:
applicationServerUrl: The URL of the application server. This variable is used to make requests to the server to obtain a token for joining the video call room.livekitUrl: The URL of the LiveKit server. This variable is used to connect to the LiveKit server and interact with the video call room.
You should configure these URLs according to your deployment settings. In case you are running OpenVidu locally, you can set the applicationServerUrl to https://xxx-yyy-zzz-www.openvidu-local.dev:6443 and the livekitUrl to wss://xxx-yyy-zzz-www.openvidu-local.dev:7443, where xxx-yyy-zzz-www part of the domain is the LAN private IP address of the machine running OpenVidu, with dashes (-) instead of dots (.).
If these URLs are left empty, the user will be prompted to enter the URLs when the application starts. This configuration is managed in the ConfigureUrlsActivity.kt file:
When the user clicks the Save button, the onSaveUrls() method is called, which saves the URLs in the Urls object and finishes the activity, returning to the MainActivity:
| ConfigureUrlsActivity.kt | |
|---|---|
| |
Joining a room#
Before joining a room, the user must provide a room name and a user name. After the user specifies them, when they click the Join button, the navigateToRoomLayoutActivity() method of the MainActivity.kt file is called, which simply set the values of the participant name and room name in the intent and starts the RoomLayoutActivity:
| MainActivity.kt | |
|---|---|
| |
Now let's see the code of the RoomLayoutActivity.kt file:
| RoomLayoutActivity.kt | |
|---|---|
| |
TrackInfodata class, which groups a video track with the participant's identity.- The binding object for the activity layout.
- The adapter for the RecyclerView that displays the participants' video tracks.
- The room object, which represents the video call room.
- A list of
TrackInfoobjects, which represent the video tracks of the participants in the room. - The HTTP client used to make requests to the application server.
The RoomLayoutActivity.kt file defines the following variables:
room: The room object, which represents the video call room.participantTracks: A list ofTrackInfoobjects, which represent the video tracks of the participants in the room.
When the activity is created, the onCreate method is called. This method initializes the activity layout, create a Room object, initializes the RecyclerView and request needed permissions:
| RoomLayoutActivity.kt | |
|---|---|
| |
After the application check if the user has granted permissions, the connectToRoom() method is called:
| RoomLayoutActivity.kt | |
|---|---|
| |
- Get the room name and participant name from the intent.
- Set the room title in the layout.
- Event handling for when a new track is received in the room.
- Event handling for when a track is destroyed.
- Get a token from the application server with the room name and participant name.
- Connect to the room with the LiveKit URL and the token.
- Publish your camera and microphone.
- Add local video track to the
participantTrackslist
The connectToRoom() method performs the following actions:
- It retrieves the room name and participant name from the intent.
- Set the room title in the layout.
-
Event handling is configured for different scenarios within the room. These events are fired when new tracks are subscribed to and when existing tracks are unsubscribed.
RoomEvent.TrackSubscribed: This event is triggered when a new track is received in the room. It manages the storage of the new track in theparticipantTrackslist if it is a video track and notify the Adapter that a new item has been inserted.
RoomLayoutActivity.kt private fun onTrackSubscribed(event: RoomEvent.TrackSubscribed) { val track = event.track // If the track is a video track, add it to the participantTracks list if (track is VideoTrack) { participantTracks.add(TrackInfo(track, event.participant.identity!!.value)) participantAdapter.notifyItemInserted(participantTracks.size - 1) } }RoomEvent.TrackUnsubscribed: This event occurs when a track is destroyed, and it takes care of removing the video track from theparticipantTrackslist and notify the Adapter that an item has been removed.
RoomLayoutActivity.kt private fun onTrackUnsubscribed(event: RoomEvent.TrackUnsubscribed) { val track = event.track // If the track is a video track, remove it from the participantTracks list if (track is VideoTrack) { val index = participantTracks.indexOfFirst { it.track.sid == track.sid } if (index != -1) { participantTracks.removeAt(index) participantAdapter.notifyItemRemoved(index) } } }These event handlers are essential for managing the behavior of tracks within the video call.
Take a look at all events
You can take a look at all the events in the Livekit Documentation
-
It requests a token from the application server using the room name and participant name. This is done by calling the
getToken()method:RoomLayoutActivity.kt /** * -------------------------------------------- * GETTING A TOKEN FROM YOUR APPLICATION SERVER * -------------------------------------------- * The method below request the creation of a token to * your application server. This prevents the need to expose * your LiveKit API key and secret to the client side. * * In this sample code, there is no user control at all. Anybody could * access your application server endpoints. In a real production * environment, your application server must identify the user to allow * access to the endpoints. */ private suspend fun getToken(roomName: String, participantName: String): String { val response = client.post(Urls.applicationServerUrl + "token") { contentType(ContentType.Application.Json) setBody(TokenRequest(participantName, roomName)) } return response.body<TokenResponse>().token }This method sends a POST request using Ktor Client to the application server's
/tokenendpoint. The request body contains the room name and participant name. The server responds with a token that is used to connect to the room. -
It connects to the room using the LiveKit URL and the token.
- It publishes the camera and microphone tracks to the room using
setMicrophoneEnabled()andsetCameraEnabled()methods fromroom.localParticipant. - It adds the local video track to the
participantTrackslist.
Displaying Video Tracks#
In order to display the video tracks of the participants in the room, the RoomLayoutActivity uses a RecyclerView with a custom Adapter and ViewHolder. This allows the application to load and display the video tracks dynamically as they are received.
Whenever a new video track is added to the participantTracks list, the ParticipantAdapter is notified that a new item has been inserted. The ParticipantAdapter then updates the RecyclerView to display the new video track by calling the render method of the ParticipantViewHolder:
| ParticipantViewHolder.kt | |
|---|---|
| |
- Set the participant identity in the layout.
- Initialize the video renderer for the participant.
- Add the video track to the renderer.
The render method performs the following actions:
- It sets the participant identity in the layout.
- It initializes the video renderer for the participant. This is done only once for each participant.
- It adds the video track to the renderer.
Leaving the room#
When the user wants to leave the room, they can click the Leave Room button. This action calls the leaveRoom() method:
- Disconnect the user from the room.
- Close the HTTP client.
- Finish the activity and go back to the previous activity.
- Call the
leaveRoom()method when the activity is destroyed.
The leaveRoom() method performs the following actions:
- It disconnects the user from the room by calling the
disconnect()method on theroomobject. - It closes the HTTP client.
- It finishes the activity and goes back to the previous activity.
The onDestroy() lifecycle method is used to ensure that the user leaves the room when the activity is destroyed.