Rooms and meetings in OpenVidu Meet#
Understanding Rooms and Meetings is essential to getting the most out of OpenVidu Meet. These core concepts define how participants interact and how video calls are organized.
Room vs meeting#
- Room: A persistent virtual space designed to host one or more meetings. Think of it as a physical conference room—customizable with a name, appearance, and security settings.
- Meeting: A temporary session within a room where participants join in real-time to communicate, share content, and collaborate. It's like a scheduled event in a conference room.
Key principles#
- Create a room first, then start meetings within it.
- One room can host just one meeting at a time, but it can be reused for multiple meetings over time.
- Every room has a room link. Users connecting to this link will either start a new meeting (if none is active) or join the ongoing meeting.
Rooms#
Creating a room#
As an administrator, you can create a new room directly from the "Rooms" page in OpenVidu Meet. Each room requires a name and can be customized with Advanced Setup options:
- Set up an auto-deletion date.
- Set up recording settings and access control.
- Enable/disable features like chat, virtual backgrounds, and E2EE (end-to-end encryption).
Available rooms can be managed from the Rooms page, where administrators can:
- Start a meeting in a room.
- Edit room settings anytime (if no meeting is active).
- Delete rooms individually or in bulk.
- Access recordings.
- Share room links with different permissions (see Users and permissions).
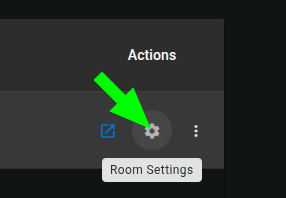
Editing a room#
Modify room settings anytime from the Rooms page if no meeting is active. You can:
- Rename the room.
- Set or update an auto-deletion date.
- Configure recording and access control.
- Enable or disable features like chat, virtual backgrounds, and E2EE.
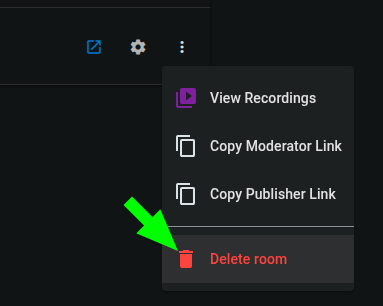
Deleting a room#
Rooms can be deleted individually or in bulk from the Rooms page. Deleting a room removes it and all associated data.
Room auto-deletion#
Rooms can be configured with an auto-deletion date. You can set this date when creating or editing a room. This helps keeping OpenVidu Meet clean and organized, avoiding clutter from old rooms that are no longer needed.


Room auto-deletion policies#
When the auto-deletion date is reached, the room will be deleted. The Auto-deletion policies determine how to handle active meetings and stored recordings when attempting to delete the room:
- Active meetings policy
Force: the meeting will be immediately ended without waiting for participants to leave, and the room will be deleted.When meeting ends: the room will be deleted after the active meeting ends.
- Recordings policy
Force: the room and all its recordings will be deleted.Close: the room will be closed instead of deleted, maintaining its recordings.


Room links#
Rooms have predefined room links that grant access to them. Users connecting to a room link will start a new meeting (if no meeting is currently active in the room) or join the existing meeting (if there is one).
Each room has different room links, each one granting access to the room with a specific participant role. See Participant roles in a meeting for more information.
Get a room link from the "Rooms" page#
Every room item allows sharing the room link for every participant role.
Get a room link from an active meeting#
Participants with the Moderator role can share room links from the active meeting view.
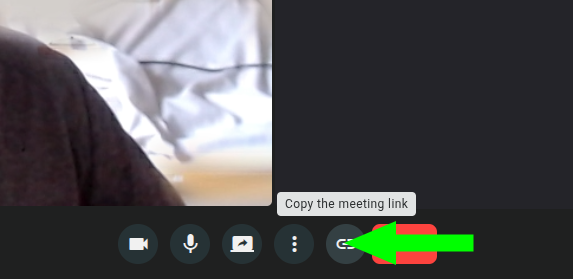
Info
Links copied from the meeting view will always grant access to the room with Speaker role. If necessary, users with role Moderator can upgrade other user's roles during the meeting. See Changing participant roles during a meeting for more information.
Get a room link from the REST API#
Available in properties moderatorUrl and speakerUrl of object MeetRoom .
Room visual customization#
Rooms can be customized to fit your branding needs. As for now, you can setup the color scheme of your rooms from the "Configuration" page.


You can set separately the color of:
- Main background: background color of the meeting view.
- Main controls: colors for the main control buttons (mic, camera, etc.)
- Secondary elements: colors for logos, icons, borders and subtle details.
- Highlights & accents: colors for active states and highlighted items.
- Panels & dialogs: background color for side panels and dialog boxes.
You can also choose between a light and a dark background style, to ensure the displayed text is always readable after applying your color scheme.
Room REST API#
Every possible action against a room can be done through OpenVidu Meet REST API:
| Operation | HTTP Method | Reference |
|---|---|---|
| Create a room | POST | Reference |
| Get a room | GET | Reference |
| Get all rooms | GET | Reference |
| Delete a room | DELETE | Reference |
| Bulk delete rooms | DELETE | Reference |
| Get room config | GET | Reference |
| Update room config | PUT | Reference |
Meetings#
Starting a meeting#
A meeting will start as soon as a participant enters an empty room using a valid room link. You can learn everything about room links here.
Users with access to OpenVidu Meet can join a meeting directly from the "Rooms" page:
Info
Doing this simply opens a new tab with a Moderator room link.
Users with access to OpenVidu Meet can also copy a room link and share it with external participants:
Meeting Lifecycle#
Meetings consist of different views:
Join view#
This is the first view participants see when accessing a room link. It allows setting a nickname before joining the meeting. If the participant has the required permissions, they can also access the Recording view of this room from here.


Device view#
This view allows participants tuning their microphone and camera before joining the meeting, as well as setting a virtual background.
Meeting view#
The Meeting View is the central interface where all participants can see, hear, and interact with each other in real time. It features a smart, dynamic layout that automatically adapts to the number of active participants, ensuring an optimal viewing experience at all times.
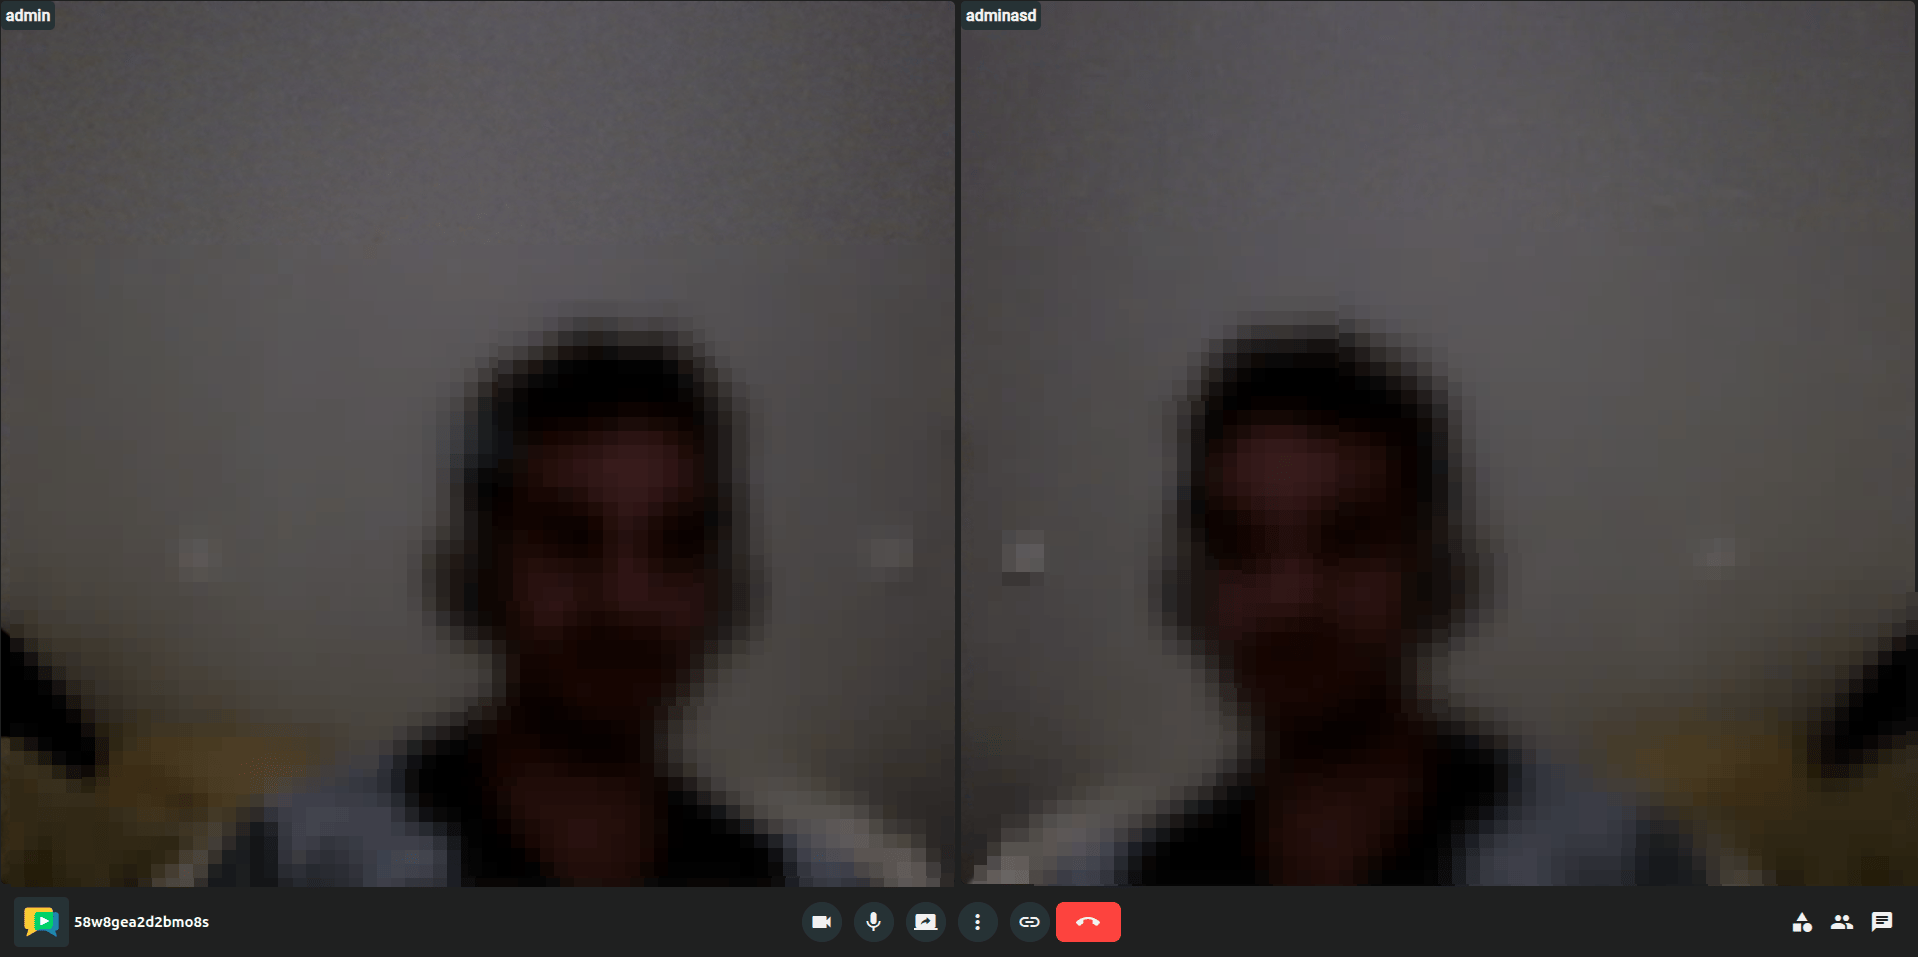
Users can customize the layout to suit their preferences or meeting requirements. When the number of participants exceeds the maximum visible capacity of the selected layout, a visual badge appears to indicate how many additional participants are currently hidden. This ensures a clean, organized interface while keeping users informed of all attendees.
This intelligent meeting layout enhances collaboration, improves usability, and supports seamless communication in both small and large meetings.
Recording view#
This view allows to manage the recording of the meeting while it is active. Participants with the required permissions can review, play, download, delete, and share the recording via a link.


Info
Recordings can also be accessed from the "Recordings" page in OpenVidu Meet, even after the meeting has ended. See Managing recordings.
End view#
This view is shown to a participant when the meeting ends, at least for that participant. It informs about the specific reason why the meeting ended (an administrator ended it, the participant was evicted from the meeting, etc.).

