OpenVidu Meet Recordings Tutorial#
This tutorial extends the advanced OpenVidu Meet WebComponent tutorial to add recording management capabilities. It demonstrates how to list, view, and delete recordings from your OpenVidu Meet meetings.
The application includes all the features from the basic tutorial, plus:
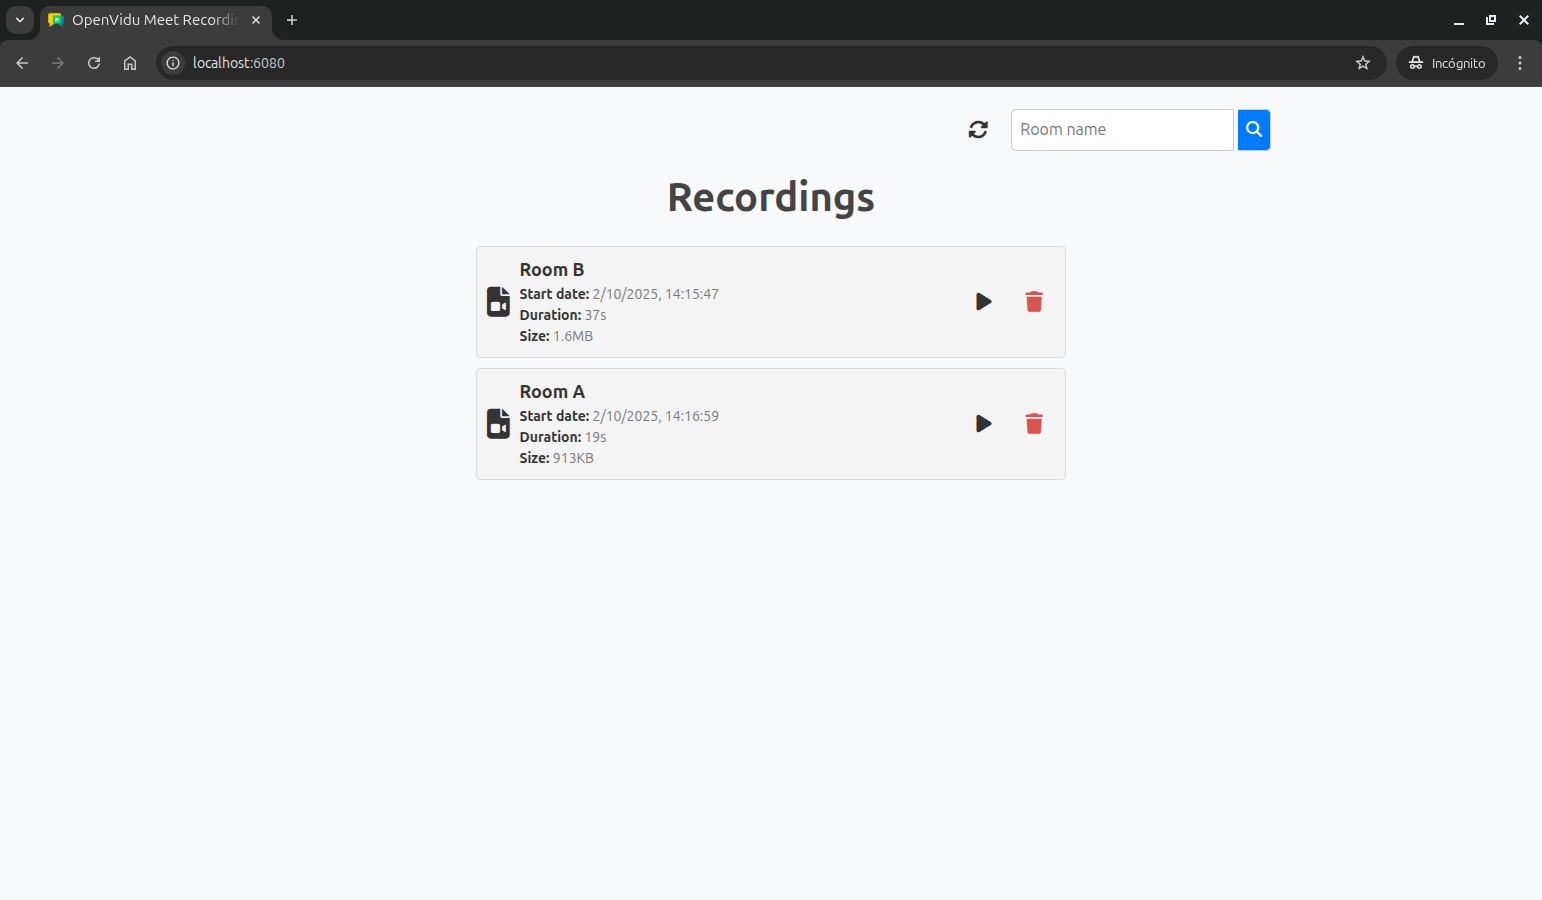
- List recordings: View all available recordings from past meetings, with optional filtering by room.
- View recordings: Play recordings directly in the browser using the OpenVidu Meet WebComponent.
- Delete recordings: Remove recordings from the server.
Running this tutorial#
1. Run OpenVidu Meet#
You need Docker Desktop. You can install it on Windows , Mac or Linux .
Run this command in Docker Desktop's terminal:
Info
For a detailed guide on how to run OpenVidu Meet locally, visit Try OpenVidu Meet locally .
2. Download the tutorial code#
3. Run the application#
To run this application, you need Node.js (≥ 18) installed on your device.
- Navigate into the application directory
- Install dependencies
- Run the application
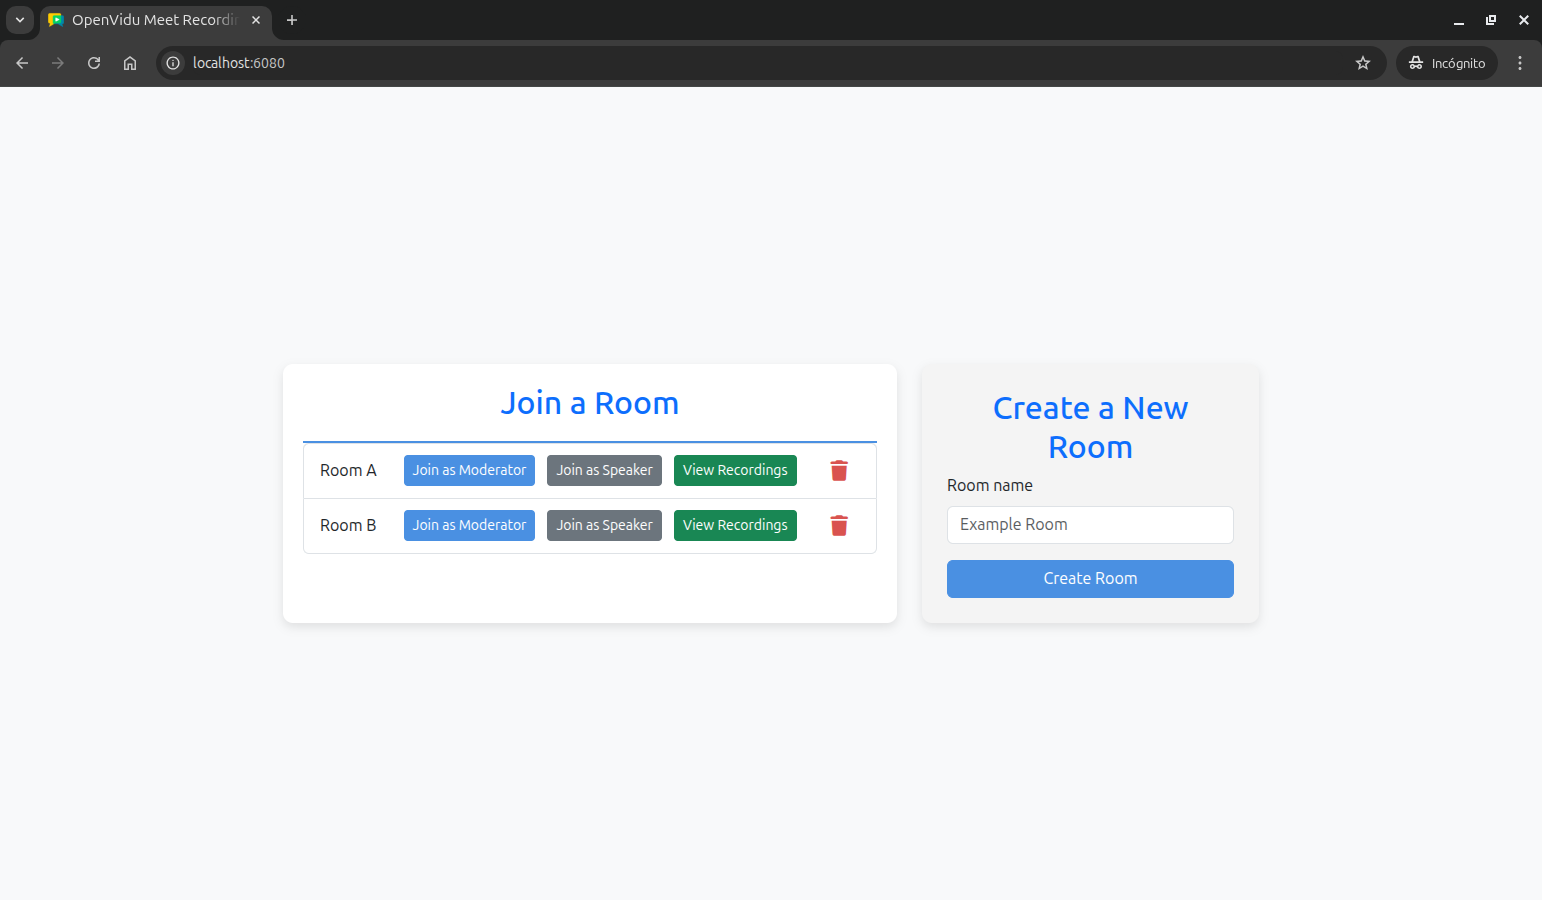
Once the server is up and running, you can test the application by visiting http://localhost:6080. You should see a screen like this:
Understanding the code#
This tutorial builds upon the advanced OpenVidu Meet WebComponent tutorial, adding recording management functionality. We'll focus on the new features and modifications related to recordings.
Backend modifications#
The main changes to the backend involve adding new endpoints for recording management in the src/index.js file:
GET /recordings: List all recordings, with optional filtering by room.DELETE /recordings/:recordingId: Delete a specific recording.GET /recordings/:recordingId/url: Get the playback URL for a specific recording.
Let's see the code of each new endpoint:
List recordings#
The GET /recordings endpoint retrieves the list of recordings, with optional room filtering:
| index.js | |
|---|---|
| |
- Create the base path for fetching recordings, including a
maxItemsparameter to limit the number of recordings returned to 100. - Extract optional room name from query parameters for filtering.
- If a room name is provided, it appends the
roomIdparameter to the recordings path to filter recordings by that room. - Fetch recordings using the OpenVidu Meet API by sending a
GETrequest to the constructedrecordingsPath. - The server returns a
200 OKresponse with the list of recordings in JSON format.
This endpoint does the following:
- Creates the base path for fetching recordings, including a
maxItemsparameter to limit the number of recordings returned to 100. - Extracts an optional room name from the query parameters for filtering. If a room name is provided, it appends the
roomIdparameter to the recordings path to filter recordings by that room. - Fetches recordings using the OpenVidu Meet API by sending a
GETrequest to the constructedrecordingsPath. - If successful, it returns a
200 OKresponse with the list of recordings in JSON format. Otherwise, the error is handled by thehandleApiErrorfunction.
Delete recording#
The DELETE /recordings/:recordingId endpoint deletes the specified recording:
| index.js | |
|---|---|
| |
- The
recordingIdparameter is obtained from the request parameters. - The recording is deleted using the OpenVidu Meet API by sending a
DELETErequest to therecordings/:recordingIdendpoint. - The server returns a
200 OKresponse with a success message.
This endpoint simply deletes the specified recording using the OpenVidu Meet API by sending a DELETE request to the recordings/:recordingId endpoint. If the deletion is successful, it returns a 200 OK response with a success message. Otherwise, the error is handled by the handleApiError function.
Get recording URL#
A new GET /recordings/:recordingId/url endpoint retrieves the recording URL for playback:
| index.js | |
|---|---|
| |
- The
recordingIdparameter is obtained from the request parameters. - Fetch the recording URL from the OpenVidu Meet API by sending a
GETrequest to therecordings/:recordingId/urlendpoint. - The server returns a
200 OKresponse with the recording URL.
This endpoint retrieves the playback URL for a specific recording by sending a GET request to the recordings/:recordingId/url endpoint. If successful, it returns a 200 OK response with the recording URL. Otherwise, the error is handled by the handleApiError function.
Frontend modifications#
The frontend has been enhanced to include recording management functionality. The main changes are in the public/js/app.js file:
Additional state management#
A new Map is created to store recordings indexed by their recording ID:
- Added a recordings map to store recording data indexed by recording ID.
Enhanced room list template#
The room list template is updated to include a View Recordings button for each room:
| app.js | |
|---|---|
| |
This button calls the listRecordingsByRoom() function when clicked, passing the room name as an argument. This allows users to view recordings for that specific room.
| app.js | |
|---|---|
| |
- Hide the home screen
- Show the recordings screen.
- Pre-fill the room search input with the selected room name.
- Call the
listRecordings()function to fetch and display recordings for the room.
This function sets up the recordings view by hiding the home screen, showing the recordings screen, pre-filling the room search input with the selected room name, and calling the listRecordings() function to fetch and display recordings for that room.
Listing recordings#
The listRecordings() function fetches and displays recordings, optionally filtering by room name:
| app.js | |
|---|---|
| |
- Get the room name from the search input for filtering.
- Build the API URL with optional room filter parameter.
- Make a
GETrequest to the/recordingsendpoint to fetch the list of recordings. - Call the
filterCompletedRecordings()function to filter out recordings not completed. - For each recording in the filtered list, add it to the
recordingsmap indexed by recording ID. - Call the
renderRecordings()function to display the list of recordings in the UI. - Filter recordings to include only those with 'complete' status.
The listRecordings() function performs the following actions:
- Gets the room name from the search input field to optionally filter recordings by room.
- Makes a
GETrequest to the/recordingsendpoint to fetch the list of recordings, including the room filter parameter if specified. - Filters the recordings to show only those with
completestatus using thefilterCompletedRecordings()function. - For each recording in the filtered list, it adds the recording to the
recordingsmap. This map is used to store the recordings indexed by their recording IDs to make it easier to access them later. - Calls the
renderRecordings()function to display the list of recordings. - If an error occurs during the request, it logs the error and displays an appropriate error message.
The renderRecordings() function is responsible for updating the UI with the list of recordings:
| app.js | |
|---|---|
| |
- Get the
ulelement where the list of recordings will be displayed. - Clear the previous list of recordings.
- Sort recordings by start date in ascending order.
- For each recording, get the HTML template for the recording list item.
- Append the recording item to the list element.
The renderRecordings() function performs the following actions:
- Clears the previous list of recordings by getting the
ulelement and setting its inner HTML to an empty string. - Checks if there are any recordings in the
recordingsmap. If there are no recordings, it shows a message indicating that no recordings were found for the filters applied. Otherwise, it hides the message. - Sorts the recordings by start date in ascending order using the
sortRecordingsByDate()function. - For each recording in the sorted list, it calls the
getRecordingListItemTemplate()function to get the HTML template for the recording list item. - Appends the recording item to the list element.
The getRecordingListItemTemplate() function generates the HTML template for each recording list item:
| app.js | |
|---|---|
| |
- Retrieve the recording ID.
- Retrieve the room name associated with the recording.
- Format the start date for display.
- Convert the duration from seconds to a human-readable format using the
secondsToHms()helper function. - Format the file size using the
formatBytes()helper function.
This function creates an HTML list item containing the recording's metadata, including the room name associated with the recording, start date, duration, and file size, along with buttons to play and delete the recording. The buttons call the displayRecording() and deleteRecording() functions respectively, passing the recording ID as an argument. The recording information is formatted using helper functions like secondsToHms() for duration and formatBytes() for file size to provide a user-friendly display.
Playing recording#
When the user clicks the play button for a recording, the displayRecording() function is called:
| app.js | |
|---|---|
| |
- Hide the recordings list screen.
- Show the recording playback screen.
- Fetch the recording URL from the backend using the
getRecordingUrl()function. - Inject the OpenVidu Meet WebComponent with the
recording-urlattribute for playback. - Make a
GETrequest to the/recordings/:recordingId/urlendpoint to retrieve the recording URL.
The displayRecording() function handles the playback of a specific recording by first hiding the recordings list screen and showing the display recording screen. It then fetches the recording URL from the backend using the getRecordingUrl() helper function, which makes a GET request to the /recordings/:recordingId/url endpoint. Finally, it injects the OpenVidu Meet WebComponent into the display container with the recording-url attribute set to the fetched URL, enabling the recording to be played directly in the browser. If an error occurs during URL fetching, it logs the error to the console and returns null.
Deleting recording#
When the user clicks the delete recording button, the deleteRecording() function is called:
| app.js | |
|---|---|
| |
- Make a
DELETErequest to the/recordings/:recordingIdendpoint to delete the specified recording. - Remove the recording from the
recordingsmap. - Call the
renderRecordings()function to update the list of recordings.
The deleteRecording() function simply makes a DELETE request to the /recordings/:recordingId endpoint to delete the specified recording. If the recording is successfully deleted, it removes the recording from the recordings map and calls the renderRecordings() function to update the list of recordings. If an error occurs during recording deletion, it logs the error to the console.
Accessing this tutorial from other computers or phones#
To access this tutorial from other computers or phones, follow these steps:
-
Ensure network connectivity: Make sure your device (computer or phone) is connected to the same network as the machine running OpenVidu Meet and this tutorial.
-
Configure OpenVidu Meet for network access: Start OpenVidu Meet by following the instructions in the Accessing OpenVidu Meet from other computers or phones section.
-
Update the OpenVidu Meet server URL: Modify the
OV_MEET_SERVER_URLenvironment variable in your.envfile to match the URL shown when OpenVidu Meet starts. -
Update the OpenVidu Meet WebComponent script URL: In the
public/index.htmlfile, update the<script>tag that includes the OpenVidu Meet WebComponent to use the same base URL as above. -
Restart the tutorial to apply the changes:
-
Access the tutorial: Open your browser and navigate to
https://192-168-1-100.openvidu-local.dev:6443(replacing192-168-1-100with your actual private IP) on the computer where you started the tutorial or any device in the same network.
Connecting this tutorial to an OpenVidu Meet production deployment#
If you have a production deployment of OpenVidu Meet (installed in a server following deployment steps ), you can connect this tutorial to it by following these steps:
-
Update the server URL: Modify the
OV_MEET_SERVER_URLenvironment variable in the.envfile to point to your OpenVidu Meet production deployment URL. -
Update the API key: Ensure the
OV_MEET_API_KEYenvironment variable in the.envfile matches the API key configured in your production deployment. See Generate an API Key section to learn how to obtain it. -
Update the OpenVidu Meet WebComponent script URL: In the
public/index.htmlfile, update the<script>tag that includes the OpenVidu Meet WebComponent to use the same base URL as above. -
Restart the tutorial to apply the changes:
Make this tutorial accessible from other computers or phones
By default, this tutorial runs on http://localhost:6080 and is only accessible from the local machine. If you want to access it from other computers or phones, you have the following options:
- Use tunneling tools: Configure tools like VS Code port forwarding , ngrok , localtunnel , or similar services to expose this tutorial to the internet with a secure (HTTPS) public URL.
- Deploy to a server: Upload this tutorial to a web server and configure it to be accessible with a secure (HTTPS) public URL. This can be done by updating the source code to manage SSL certificates or configuring a reverse proxy (e.g., Nginx, Apache) to serve it.