OpenVidu Meet Direct Link Tutorial#
This tutorial is a simple example of how to integrate OpenVidu Meet into a Node.js application by easily using a direct link. It is built using Node.js and Express for the backend and plain HTML/CSS/JavaScript for the frontend.
At the end of this tutorial, you will have a fully functional simple video-call application with the following features:
- Users can create rooms.
- Users can delete rooms.
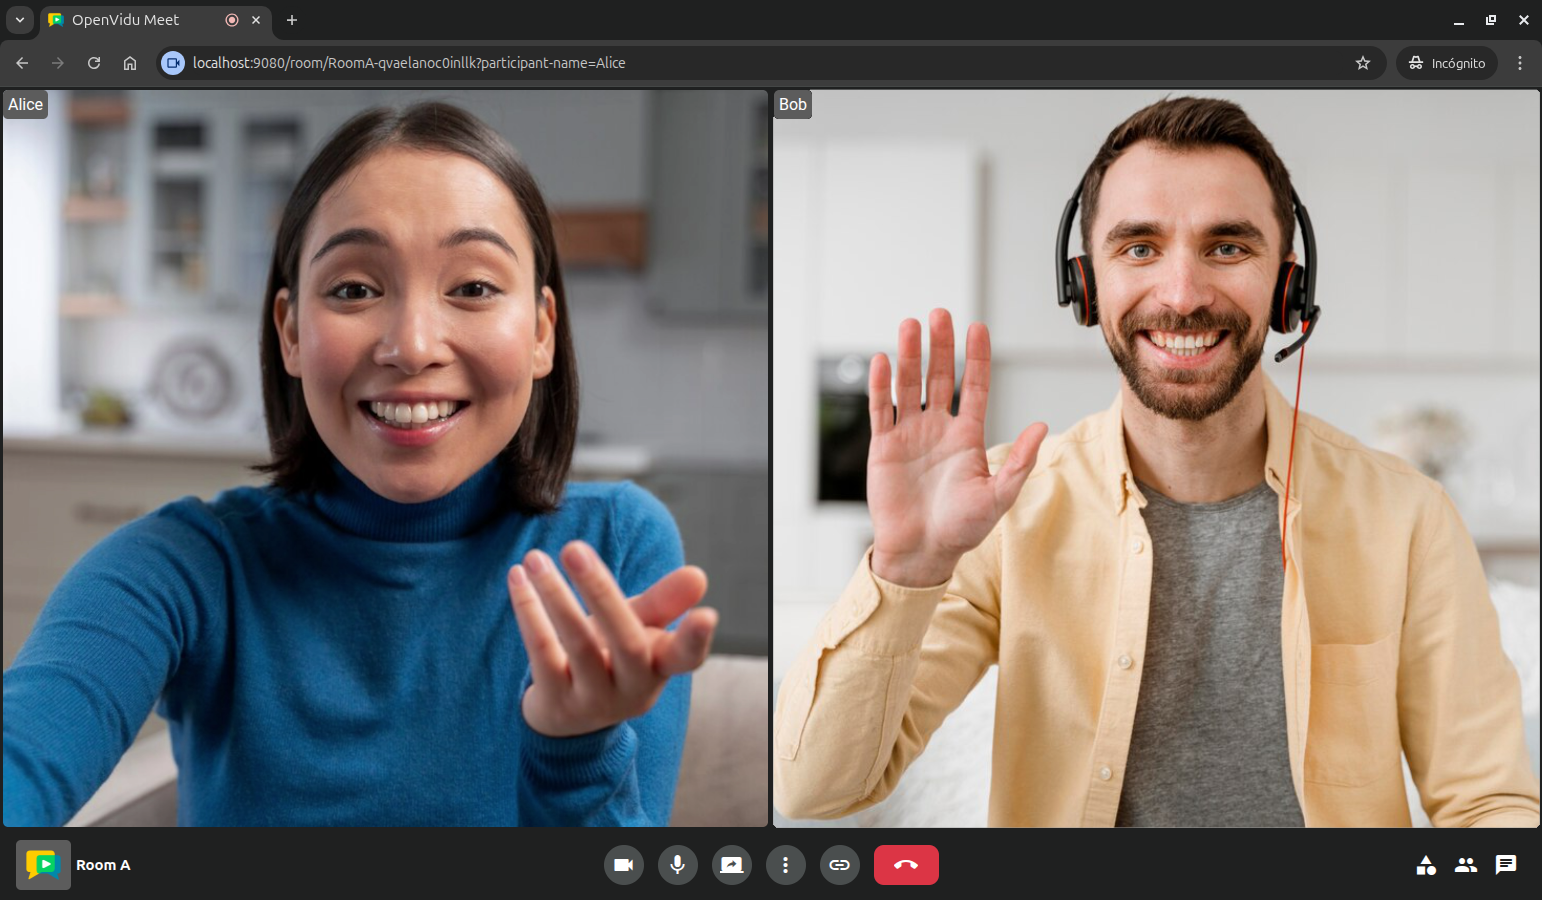
- Users can join a room as moderator or speaker.
- Users can chat with other users.
- Users may leave the room at any time.
- Users can view the recordings of the meeting.
- Moderators can record the meeting.
- Moderators may end the meeting at any time, disconnecting all users.
The application uses the OpenVidu Meet API to create and delete rooms, and direct links to the OpenVidu Meet interface to access the video call functionality.
Running this tutorial#
1. Run OpenVidu Meet#
You need Docker Desktop. You can install it on Windows , Mac or Linux .
Run this command in Docker Desktop's terminal:
Info
For a detailed guide on how to run OpenVidu Meet locally, visit Try OpenVidu Meet locally .
2. Download the tutorial code#
3. Run the application#
To run this application, you need Node.js installed on your device.
- Navigate into the application directory
- Install dependencies
- Run the application
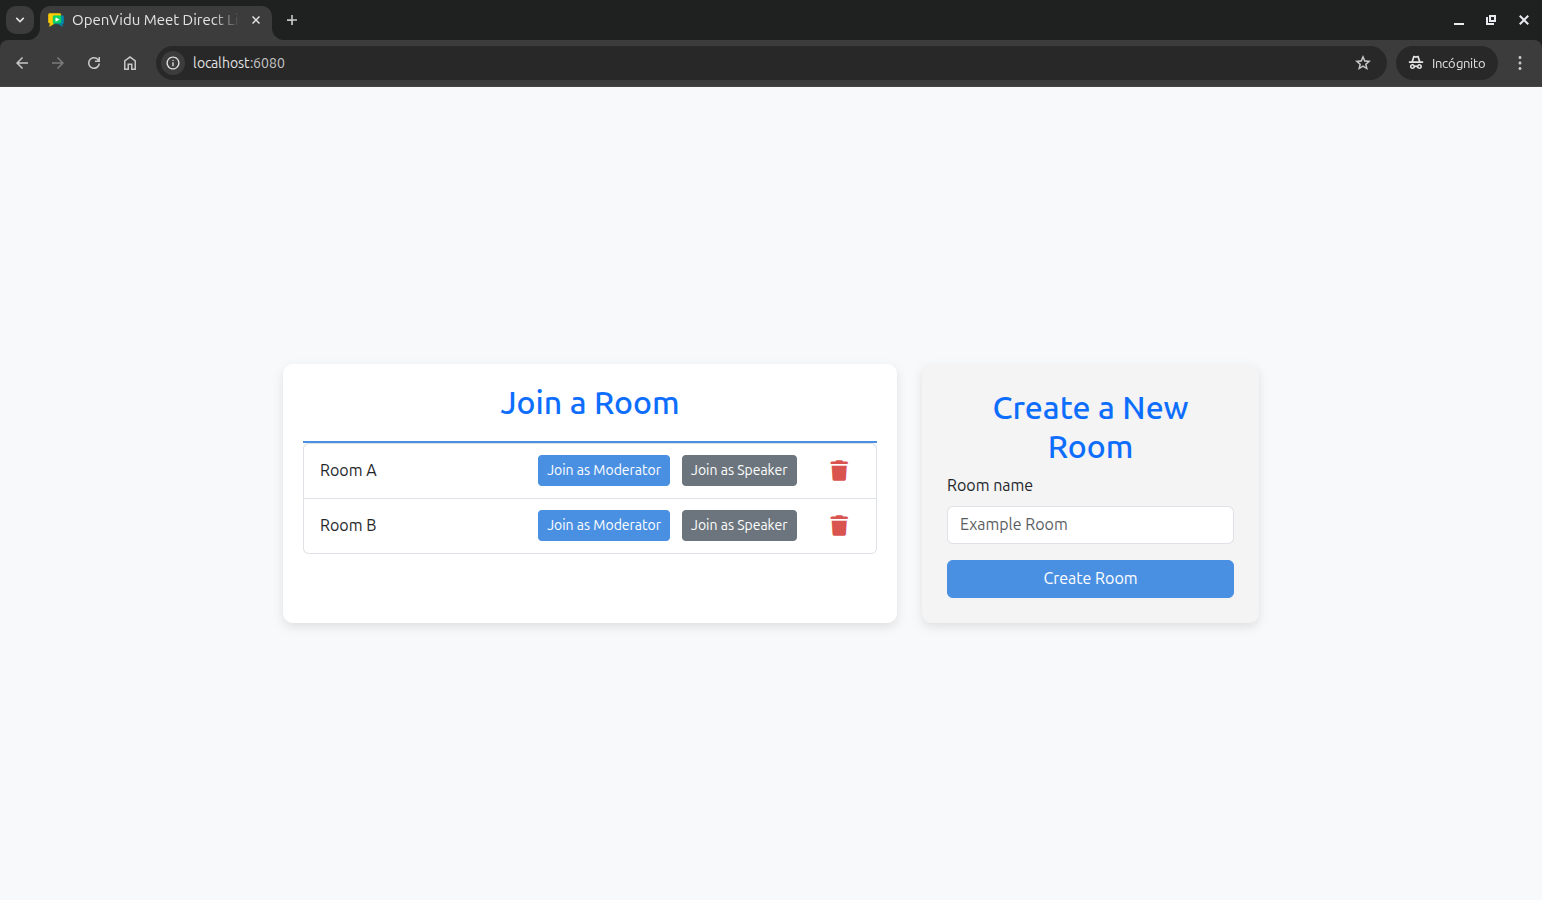
Once the server is up and running, you can test the application by visiting http://localhost:6080. You should see a screen like this:
Understanding the code#
This application is designed to be beginner-friendly and consists of one essential backend file under the src directory:
index.js: This file holds the server application and defines the REST API endpoints.
And the following essential frontend files under the public directory:
index.html: This is the client application's main HTML file.app.js: This is the main JavaScript file that interacts with the server application and handles the client application's logic and functionality.style.css: This file contains the client application's styling.
Backend#
The server application is a simple Express app with a single file index.js that exports three endpoints:
POST /rooms: Create a new room with the given room name.GET /rooms: Get the list of rooms.DELETE /rooms/:roomId: Delete a room with the given room ID.
Let's see the code of the index.js file:
| index.js | |
|---|---|
| |
- Load environment variables from
.envfile. - The port where the application will be listening.
- The OpenVidu Meet server URL.
- The OpenVidu Meet API key.
- Initialize the Express application.
- Enable CORS support.
- Enable JSON body parsing.
- Serve static files from the
publicdirectory.
The index.js file imports the required dependencies and loads the necessary environment variables:
SERVER_PORT: The port where the application will be listening.OV_MEET_SERVER_URL: The OpenVidu Meet server URL.OV_MEET_API_KEY: The OpenVidu Meet API key.
Then the express application is initialized. CORS is allowed, JSON body parsing is enabled, and static files are served from the public directory.
Now let's see the code of each endpoint:
Create room#
The POST /rooms endpoint creates a new room. It receives the room name as a body parameter and returns the newly created room:
| index.js | |
|---|---|
| |
- The
roomNameparameter is obtained from the request body. - If the
roomNameis not provided, the server returns a400 Bad Requestresponse. - Specify the name of the room.
- Set the configuration for the room, enabling chat, recording and virtual background.
- The server returns a
201 Createdresponse with the room object. - If an error occurs during room creation, it is handled by the
handleApiErrorfunction.
This endpoint does the following:
- The
roomNameparameter is obtained from the request body. If it is not provided, the server returns a400 Bad Requestresponse. -
A new room is created using the OpenVidu Meet API by sending a
POSTrequest to theroomsendpoint. The request includes the room name and additional configuration options (with default values):- Chat Configuration: Enables chat functionality for the room.
- Recording Configuration: Enables recording for the room and allows access to recordings for the roles
admin,moderatorandspeaker. - Virtual Background Configuration: Enables virtual background functionality for the room.
Info
The reference for the room configuration options can be found in the OpenVidu Meet REST API reference .
To send requests to the OpenVidu Meet API, we use the
httpRequestfunction:index.js // Function to make HTTP requests to OpenVidu Meet API const httpRequest = async (method, path, body) => { // (1)! const response = await fetch(`${OV_MEET_SERVER_URL}/api/v1/${path}`, { method, headers: { 'Content-Type': 'application/json', 'X-API-KEY': OV_MEET_API_KEY // Include the API key in the header for authentication }, body: body ? JSON.stringify(body) : undefined // (2)! }); const responseBody = await response.json(); // (3)! if (!response.ok) { console.error('Error while performing request to OpenVidu Meet API:', responseBody); // Create an error object that includes the HTTP status code from the API const error = new Error(responseBody.message || 'Failed to perform request to OpenVidu Meet API'); error.statusCode = response.status; throw error; // (4)! } return responseBody; // (5)! };- Perform an HTTP request to the OpenVidu Meet API in the specified method and path.
- Include the body in the request if provided.
- Parse the response body as JSON.
- If the response is not OK, throw an error with the message and status code from the response.
- Return the response body.
This function makes HTTP requests to the OpenVidu Meet API using the
fetchfunction. It receives the HTTP method, path and body as parameters. The API key is included in the request headers for authentication.It parses the response body as JSON and checks if the response is OK. If not, it throws an error with the message and status code from the response.
-
If the room is successfully created, the server returns a
201 Createdresponse with the room object. Otherwise, the error is handled by thehandleApiErrorfunction, which logs the error and returns an appropriate HTTP response:index.js // Helper function to handle API errors consistently const handleApiError = (res, error, message) => { console.error(`${message}: ${error.message}`); // (1)! const statusCode = error.statusCode || 500; // (2)! const errorMessage = error.statusCode ? error.message : message; // (3)! res.status(statusCode).json({ message: errorMessage }); // (4)! };- Log the error message to the console.
- Get the status code from the error object or default to
500 Internal Server Error. - Determine the error message to return based on whether the error has a status code.
- Return an HTTP response with the appropriate status code and error message.
List rooms#
The GET /rooms endpoint retrieves the list of all rooms created in OpenVidu Meet:
| index.js | |
|---|---|
| |
- Make a
GETrequest to theroomsendpoint of the OpenVidu Meet API to retrieve the list of rooms (with a maximum of 100 rooms). - The server returns a
200 OKresponse with the list of rooms.
This endpoint retrieves the list of rooms by making a GET request to the rooms endpoint (with a maximum of 100 rooms by setting the maxItems query parameter) of the OpenVidu Meet API using the httpRequest function. If the request is successful, the server returns a 200 OK response with the list of rooms. Otherwise, the error is handled by the handleApiError function.
Delete room#
The DELETE /room/:roomId endpoint deletes the specified room:
| index.js | |
|---|---|
| |
- The
roomIdparameter is obtained from the request parameters. - The room is deleted using the OpenVidu Meet API by sending a
DELETErequest to therooms/:roomIdendpoint. - The server returns a
200 OKresponse with a success message.
This endpoint does the following:
- The
roomIdparameter is obtained from the request parameters. - The room is deleted using the OpenVidu Meet API by sending a
DELETErequest to therooms/:roomIdendpoint. - If the room is successfully deleted, the server returns a
200 OKresponse with a success message. Otherwise, the error is handled by thehandleApiErrorfunction.
Frontend#
The client application consists of only three essential files that are located in the public directory:
app.js: This is the main JavaScript file for the sample application. It contains the logic for listing, creating, joining and deleting rooms.index.html: This HTML file is responsible for creating the user interface. It contains the list of created rooms, and a form to create a new room.styles.css: This file contains CSS classes that are used to style theindex.htmlpage.
Now let's see the code of the app.js file grouped by sections:
Listing rooms#
The list of rooms is displayed in the index.html file as soon as the page loads. This is done by calling the fetchRooms() function, which fetches the list of rooms from the server and updates the UI accordingly.
| app.js | |
|---|---|
| |
- Create a map to store the rooms.
- When the DOM content is loaded, call the
fetchRooms()function to fetch the list of rooms from the server. - Make a
GETrequest to the/roomsendpoint to fetch the list of rooms. - For each room in the list, add it to the
roomsmap. - Call the
renderRooms()function to display the list of rooms.
The fetchRooms() function performs the following actions:
-
Makes a
GETrequest to the/roomsendpoint to fetch the list of rooms.To send requests to the backend, we use the
httpRequestfunction:app.js // Function to make HTTP requests to the backend async function httpRequest(method, path, body) { // (1)! const response = await fetch(path, { method, headers: { 'Content-Type': 'application/json' }, body: body ? JSON.stringify(body) : undefined // (2)! }); const responseBody = await response.json(); // (3)! if (!response.ok) { throw new Error(responseBody.message || 'Failed to perform request to backend'); // (4)! } return responseBody; // (5)! }- Perform an HTTP request to the backend in the specified method and path.
- Include the body in the request if provided.
- Parse the response body as JSON.
- If the response is not OK, throw an error with the message from the response.
- Return the response body.
This function makes HTTP requests to the server API using the
fetchfunction. It receives the HTTP method, path and body as parameters. Then, it parses the response body as JSON and checks if the response is OK. If not, it throws an error with the message from the response. -
For each room in the list, it adds the room to the
roomsmap. This map is used to store the rooms indexed by their IDs to make it easier to access them later. - Calls the
renderRooms()function to display the list of rooms. - If an error occurs during the request, it logs the error and displays an appropriate error message.
The renderRooms() function is responsible for updating the UI with the list of rooms:
| app.js | |
|---|---|
| |
- Get the
ulelement where the list of rooms will be displayed. - Clear the previous list of rooms.
- For each room, get the HTML template for the room list item.
- Append the room item to the list element.
The renderRooms() function performs the following actions:
- Clears the previous list of rooms by getting the
ulelement and setting its inner HTML to an empty string. - Checks if there are any rooms in the
roomsmap. If there are no rooms, it shows a message indicating that no rooms were found. Otherwise, it hides the message. - For each room in the
roomsmap, it calls thegetRoomListItemTemplate()function to get the HTML template for the room list item. - Appends the room item to the list element.
The getRoomListItemTemplate() function generates the HTML template for each room list item. It includes anchor links to join the room as a moderator or speaker using direct URLs, and a button to delete the room. The anchor links use the moderatorUrl and speakerUrl properties from the room object to redirect users directly to the OpenVidu Meet interface, while the delete button calls the deleteRoom() function passing the room ID to remove the room from the server.
Creating a room#
After the user specifies the room name and clicks the Create Room button, the createRoom() function is called:
| app.js | |
|---|---|
| |
- Get the room name from the input field.
- Make a
POSTrequest to the/roomsendpoint to create a new room with the specified name. - Add the new room to the
roomsmap. - Call the
renderRooms()function to update the list of rooms. - Reset the form to clear the input field.
The createRoom() function performs the following actions:
- Clears any previous error messages.
- Gets the room name from the input field.
- Makes a
POSTrequest to the/roomsendpoint to create a new room with the specified name. - If the room is successfully created, it adds the new room to the
roomsmap and calls therenderRooms()function to update the list of rooms. - Resets the form to clear the input field.
- If an error occurs during room creation, it logs the error and displays an appropriate error message.
Deleting a room#
When the user clicks the delete room button, the deleteRoom() function is called:
- Make a
DELETErequest to the/rooms/:roomIdendpoint to delete the specified room. - Remove the room from the
roomsmap. - Call the
renderRooms()function to update the list of rooms.
The deleteRoom() function simply makes a DELETE request to the /rooms/:roomId endpoint to delete the specified room. If the room is successfully deleted, it removes the room from the rooms map and calls the renderRooms() function to update the list of rooms. If an error occurs during room deletion, it logs the error to the console.
Accessing this tutorial from other computers or phones#
To access this tutorial from other computers or phones, follow these steps:
-
Ensure network connectivity: Make sure your device (computer or phone) is connected to the same network as the machine running OpenVidu Meet and this tutorial.
-
Configure OpenVidu Meet for network access: Start OpenVidu Meet by following the instructions in the Accessing OpenVidu Meet from other computers or phones section.
-
Update the OpenVidu Meet server URL: Modify the
OV_MEET_SERVER_URLenvironment variable in your.envfile to match the URL shown when OpenVidu Meet starts. -
Restart the tutorial to apply the changes:
-
Access the tutorial: Open your browser and navigate to
https://192-168-1-100.openvidu-local.dev:6443(replacing192-168-1-100with your actual private IP) on the computer where you started the tutorial or any device in the same network.
Connecting this tutorial to an OpenVidu Meet production deployment#
If you have a production deployment of OpenVidu Meet (installed in a server following deployment steps ), you can connect this tutorial to it by following these steps:
-
Update the server URL: Modify the
OV_MEET_SERVER_URLenvironment variable in the.envfile to point to your OpenVidu Meet production deployment URL. -
Update the API key: Ensure the
OV_MEET_API_KEYenvironment variable in the.envfile matches the API key configured in your production deployment. See Generate an API Key section to learn how to obtain it. -
Restart the tutorial to apply the changes:
Make this tutorial accessible from other computers or phones
By default, this tutorial runs on http://localhost:6080 and is only accessible from the local machine. If you want to access it from other computers or phones, you have the following options:
- Use tunneling tools: Configure tools like VS Code port forwarding , ngrok , localtunnel , or similar services to expose this tutorial to the internet. You can use HTTP or HTTPS URLs.
- Deploy to a server: Upload this tutorial to a web server. You can use HTTP or HTTPS URLs.