Rust Server Tutorial#
This is a minimal server application built for Rust with Axum that allows:
- Generating LiveKit tokens on demand for any application client.
- Receiving LiveKit webhook events .
It internally uses the LiveKit Rust SDK .
Running this tutorial#
1. Run OpenVidu Server#
-
Download OpenVidu
-
Configure the local deployment
-
Run OpenVidu
To use a production-ready OpenVidu deployment, visit the official deployment guide.
Configure Webhooks
All application servers have an endpoint to receive webhooks from OpenVidu. For this reason, when using a production deployment you need to configure webhooks to point to your local application server in order to make it work. Check the Send Webhooks to a Local Application Server section for more information.
2. Download the tutorial code#
3. Run the server application#
To run this server application, you need Rust installed on your device.
- Navigate into the server directory
- Run the application
4. Run a client application to test against this server#
To run the client application tutorial, you need an HTTP web server installed on your development computer. A great option is http-server . You can install it via NPM :
-
Navigate into the application client directory:
-
Serve the application:
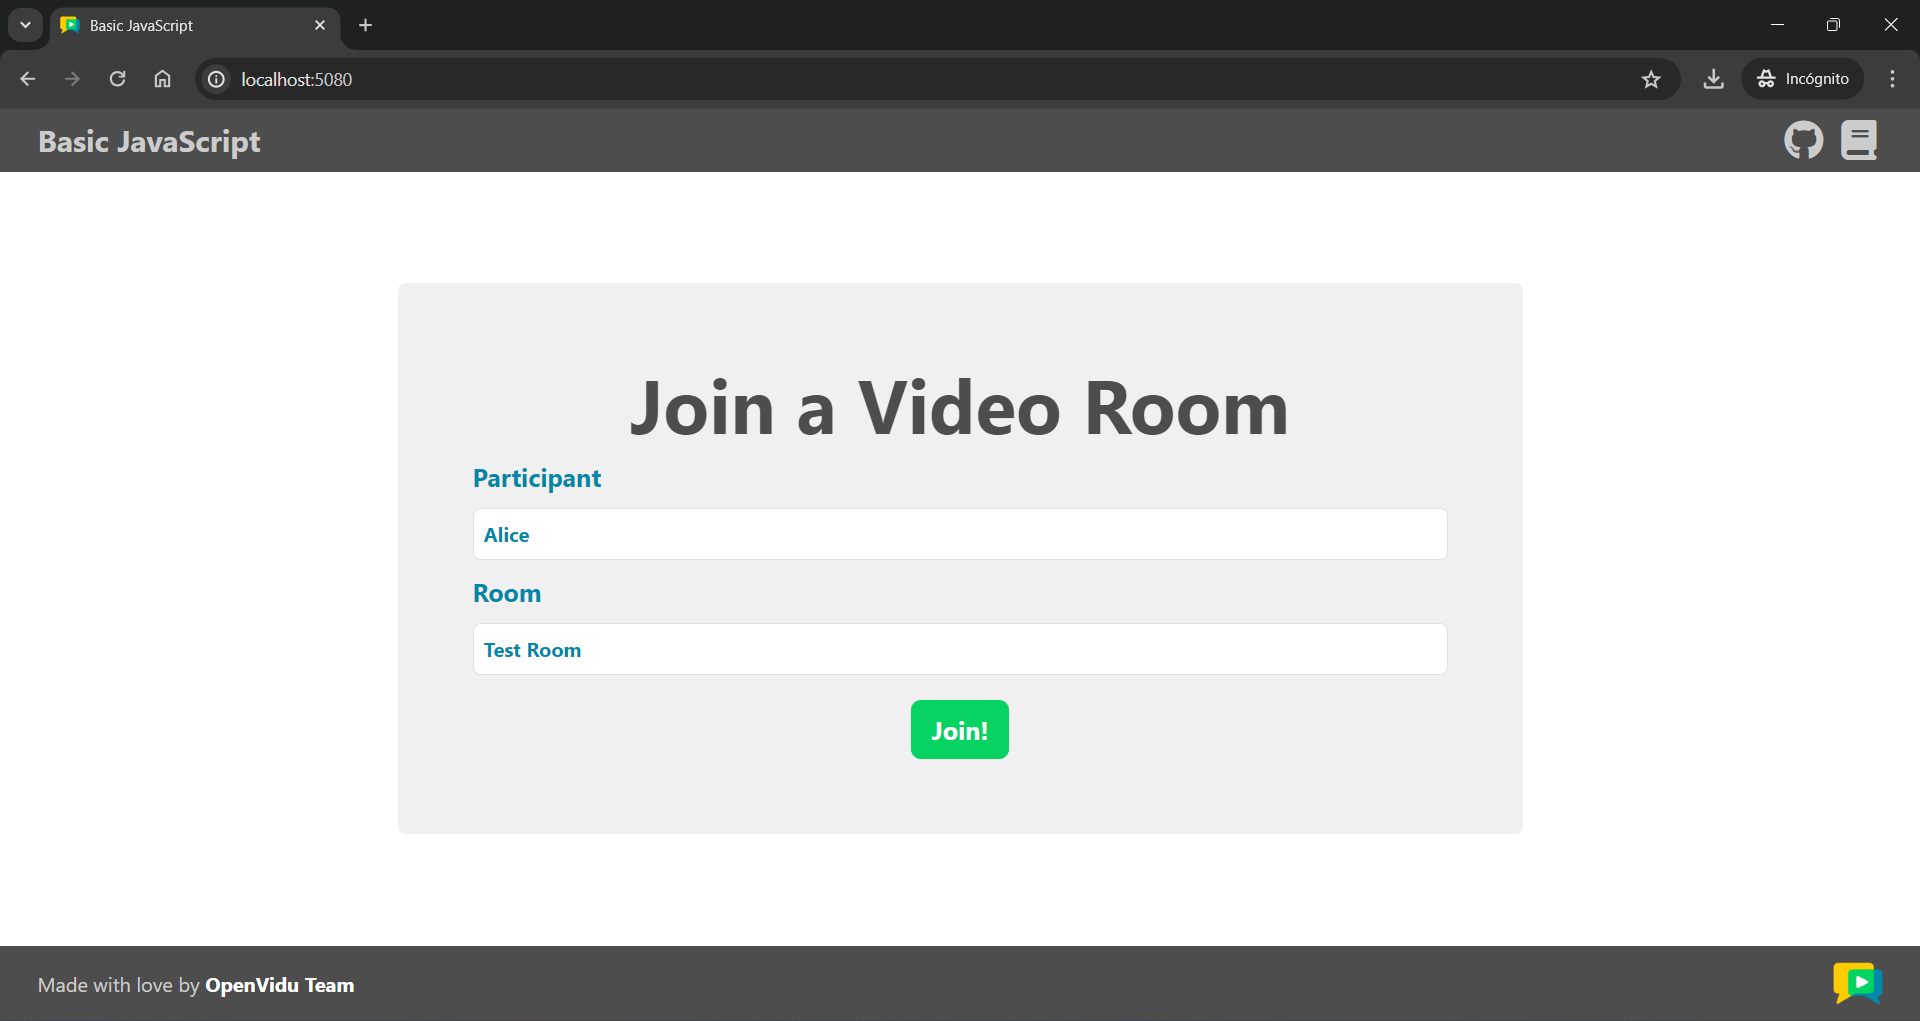
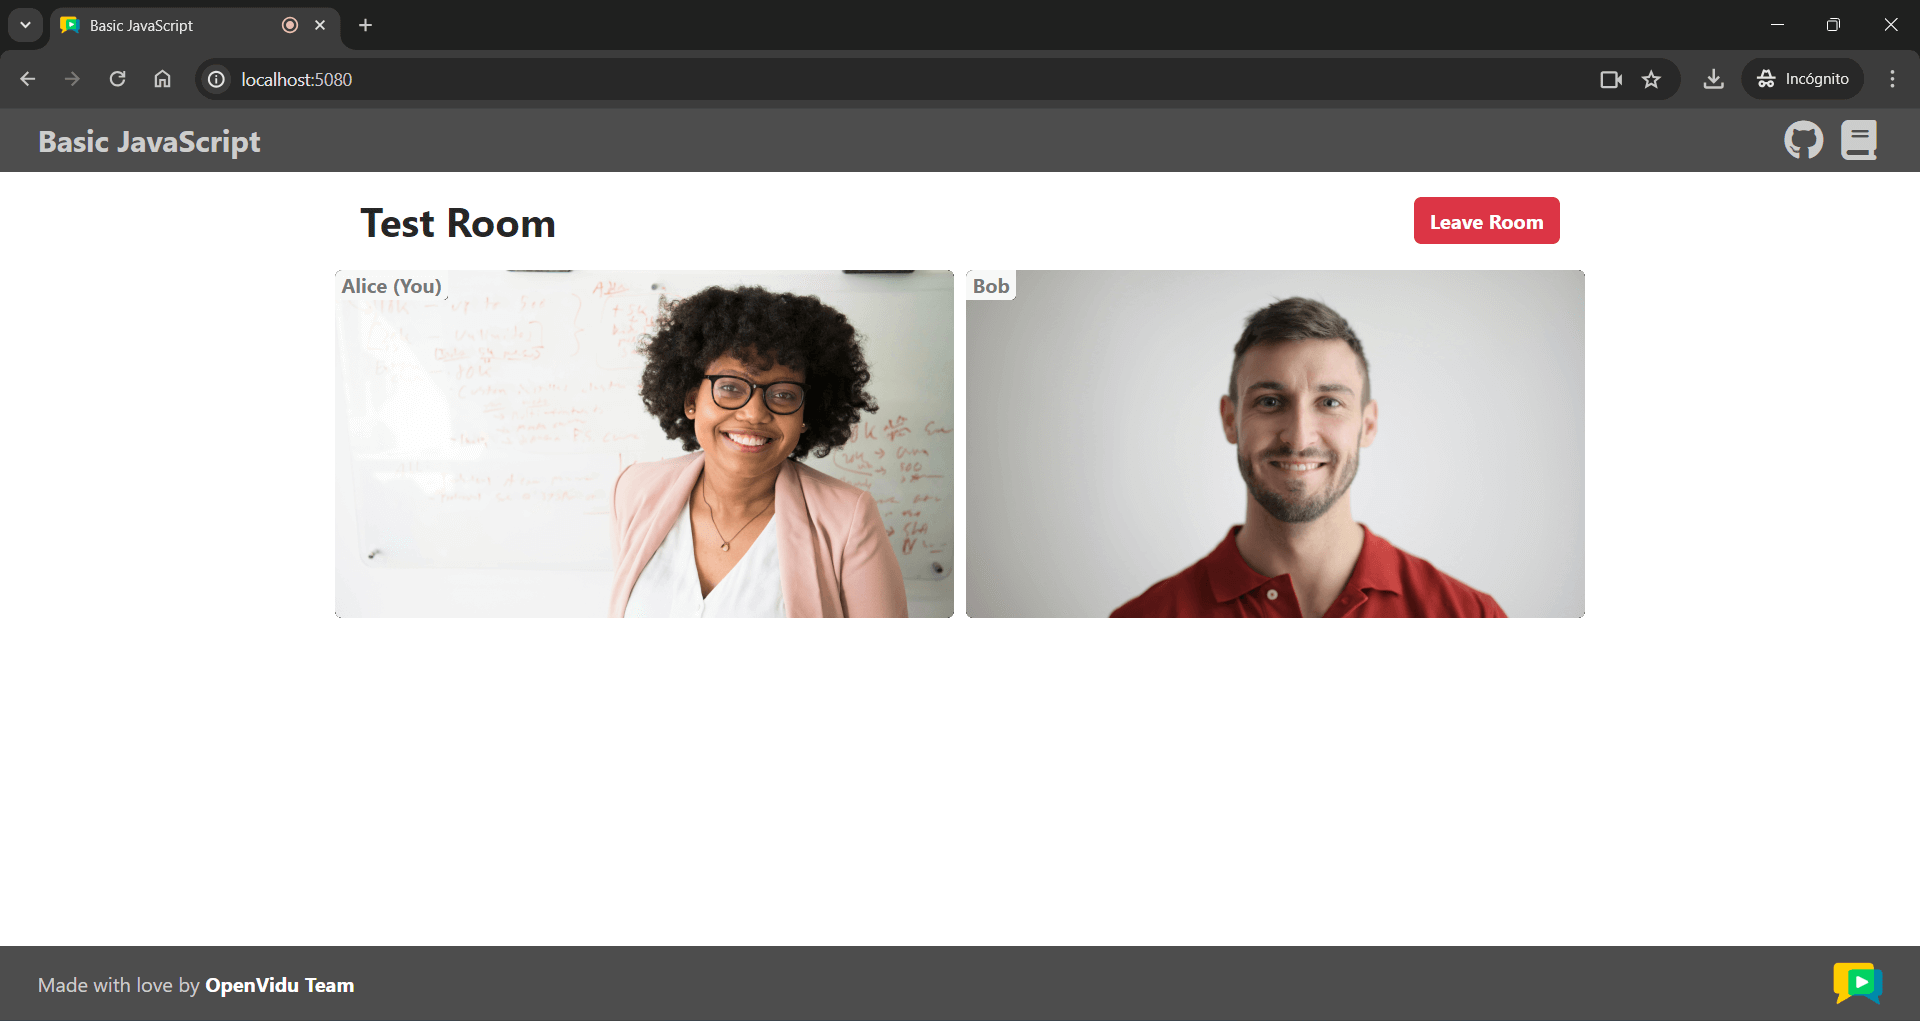
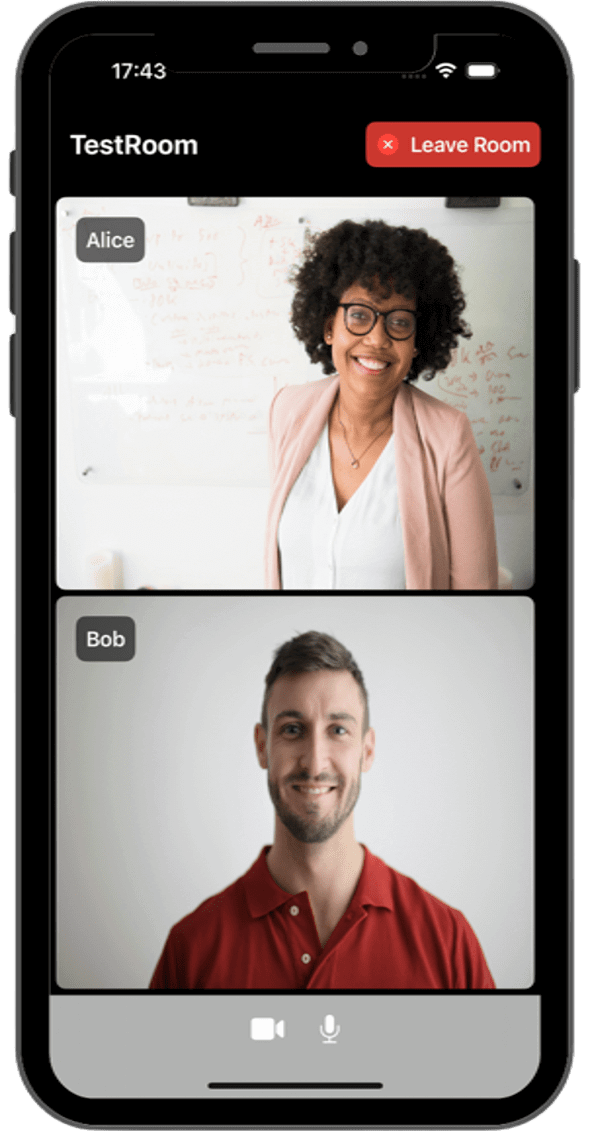
Once the server is up and running, you can test the application by visiting http://localhost:5080. You should see a screen like this:
Accessing your application client from other devices in your local network
One advantage of running OpenVidu locally is that you can test your application client with other devices in your local network very easily without worrying about SSL certificates.
Access your application client through https://xxx-yyy-zzz-www.openvidu-local.dev:5443, where xxx-yyy-zzz-www part of the domain is your LAN private IP address with dashes (-) instead of dots (.). For more information, see section Accessing your local deployment from other devices on your network.
For more information, check the JavaScript tutorial.
To run the client application tutorial, you need Node.js installed on your development computer.
-
Navigate into the application client directory:
-
Install dependencies:
-
Run the application:
Once the server is up and running, you can test the application by visiting http://localhost:5080. You should see a screen like this:


Accessing your application client from other devices in your local network
One advantage of running OpenVidu locally is that you can test your application client with other devices in your local network very easily without worrying about SSL certificates.
Access your application client through https://xxx-yyy-zzz-www.openvidu-local.dev:5443, where xxx-yyy-zzz-www part of the domain is your LAN private IP address with dashes (-) instead of dots (.). For more information, see section Accessing your local deployment from other devices on your network.
For more information, check the React tutorial.
To run the client application tutorial, you need Node.js installed on your development computer.
-
Navigate into the application client directory:
-
Install the required dependencies:
-
Serve the application:
Once the server is up and running, you can test the application by visiting http://localhost:5080. You should see a screen like this:

Accessing your application client from other devices in your local network
One advantage of running OpenVidu locally is that you can test your application client with other devices in your local network very easily without worrying about SSL certificates.
Access your application client through https://xxx-yyy-zzz-www.openvidu-local.dev:5443, where xxx-yyy-zzz-www part of the domain is your LAN private IP address with dashes (-) instead of dots (.). For more information, see section Accessing your local deployment from other devices on your network.
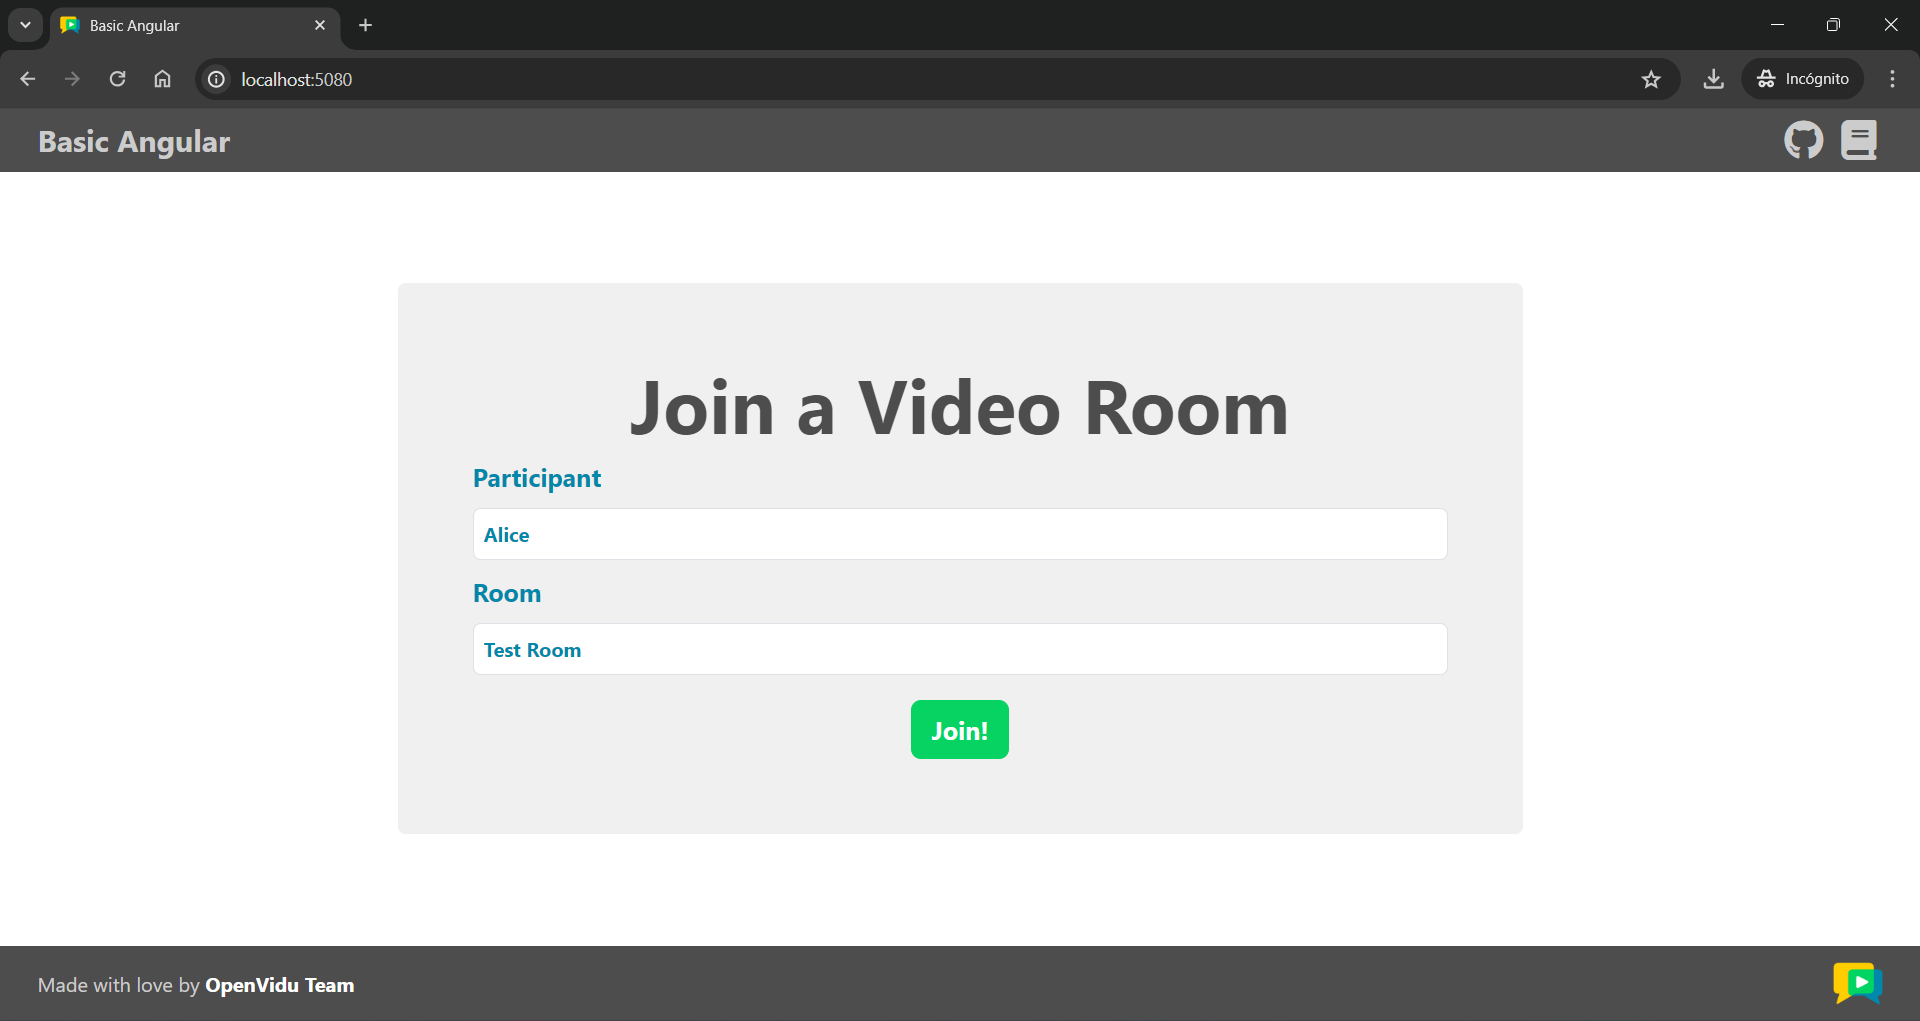
For more information, check the Angular tutorial.
To run the client application tutorial, you need Node.js installed on your development computer.
-
Navigate into the application client directory:
-
Install dependencies:
-
Run the application:
Once the server is up and running, you can test the application by visiting http://localhost:5080. You should see a screen like this:

Accessing your application client from other devices in your local network
One advantage of running OpenVidu locally is that you can test your application client with other devices in your local network very easily without worrying about SSL certificates.
Access your application client through https://xxx-yyy-zzz-www.openvidu-local.dev:5443, where xxx-yyy-zzz-www part of the domain is your LAN private IP address with dashes (-) instead of dots (.). For more information, see section Accessing your local deployment from other devices on your network.
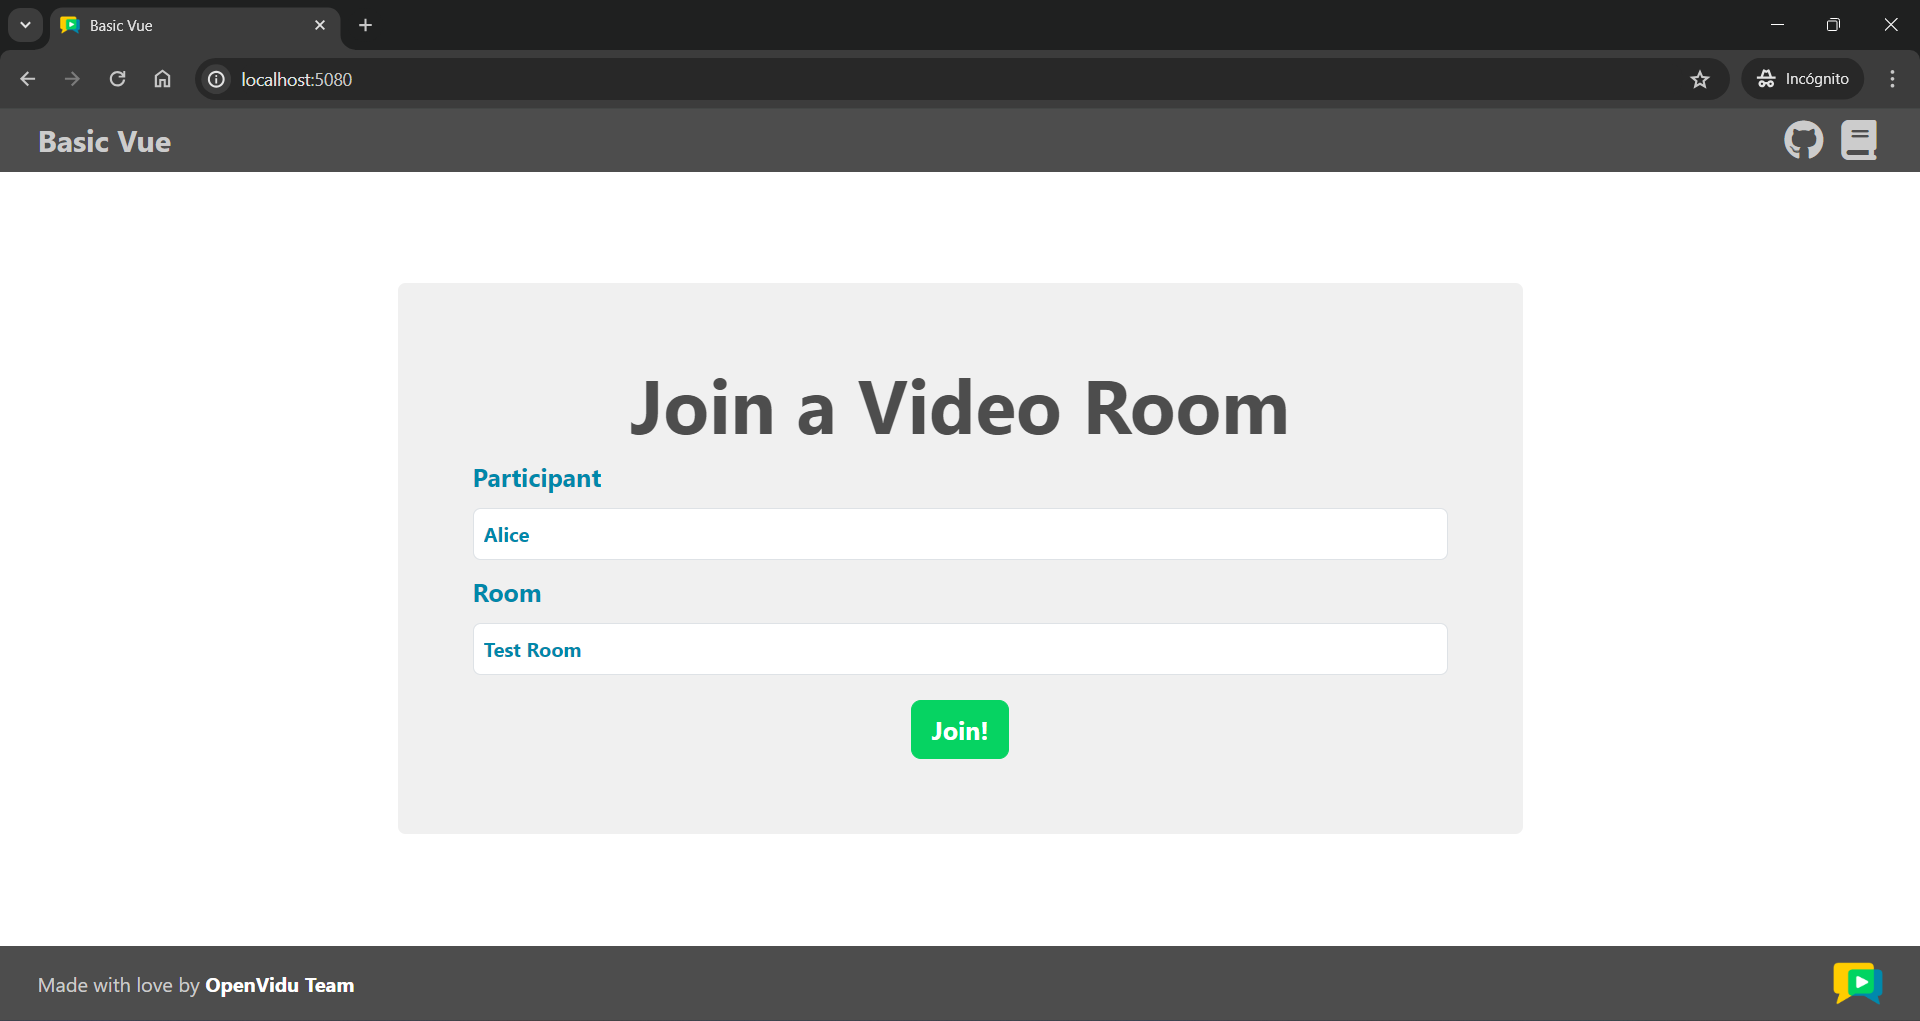
For more information, check the Vue tutorial.
To run the client application tutorial, you need Node.js installed on your development computer.
-
Navigate into the application client directory:
-
Install the required dependencies:
-
Run the application:
The application will seamlessly initiate as a native desktop program, adapting itself to the specific operating system you are using. Once the application is open, you should see a screen like this:
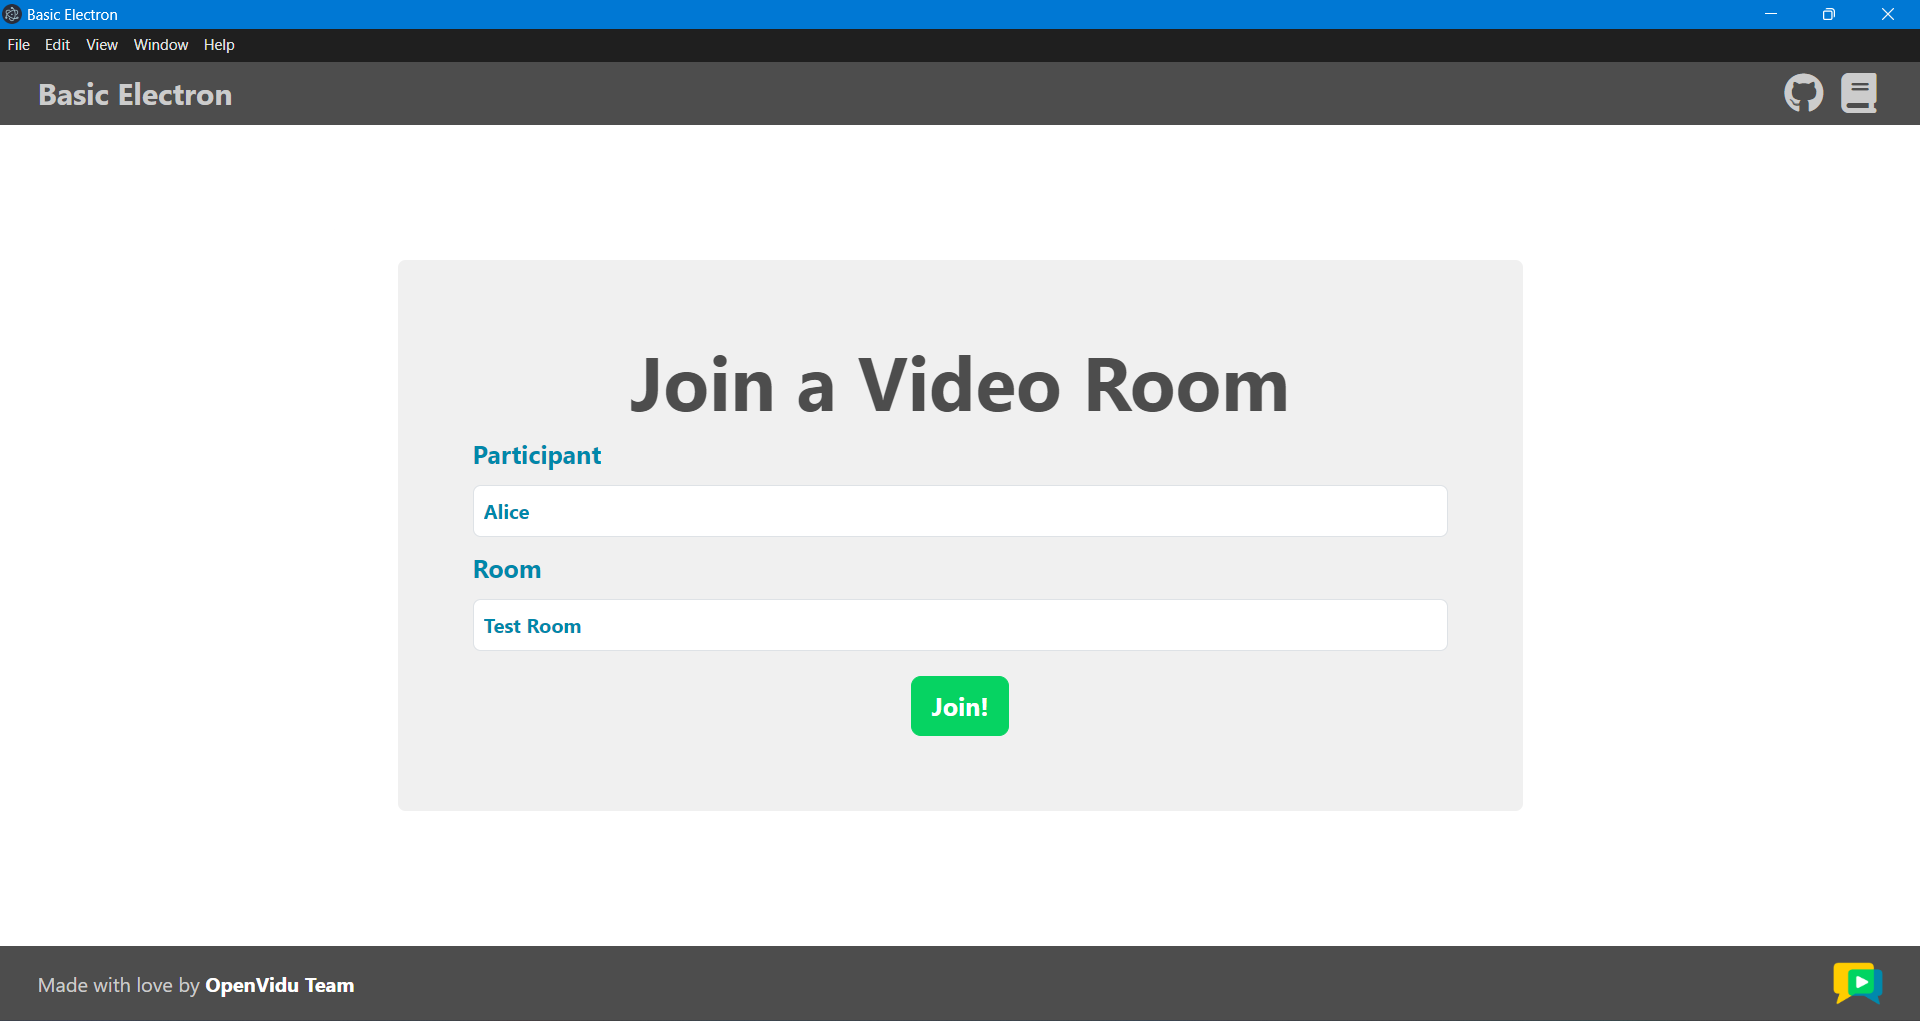
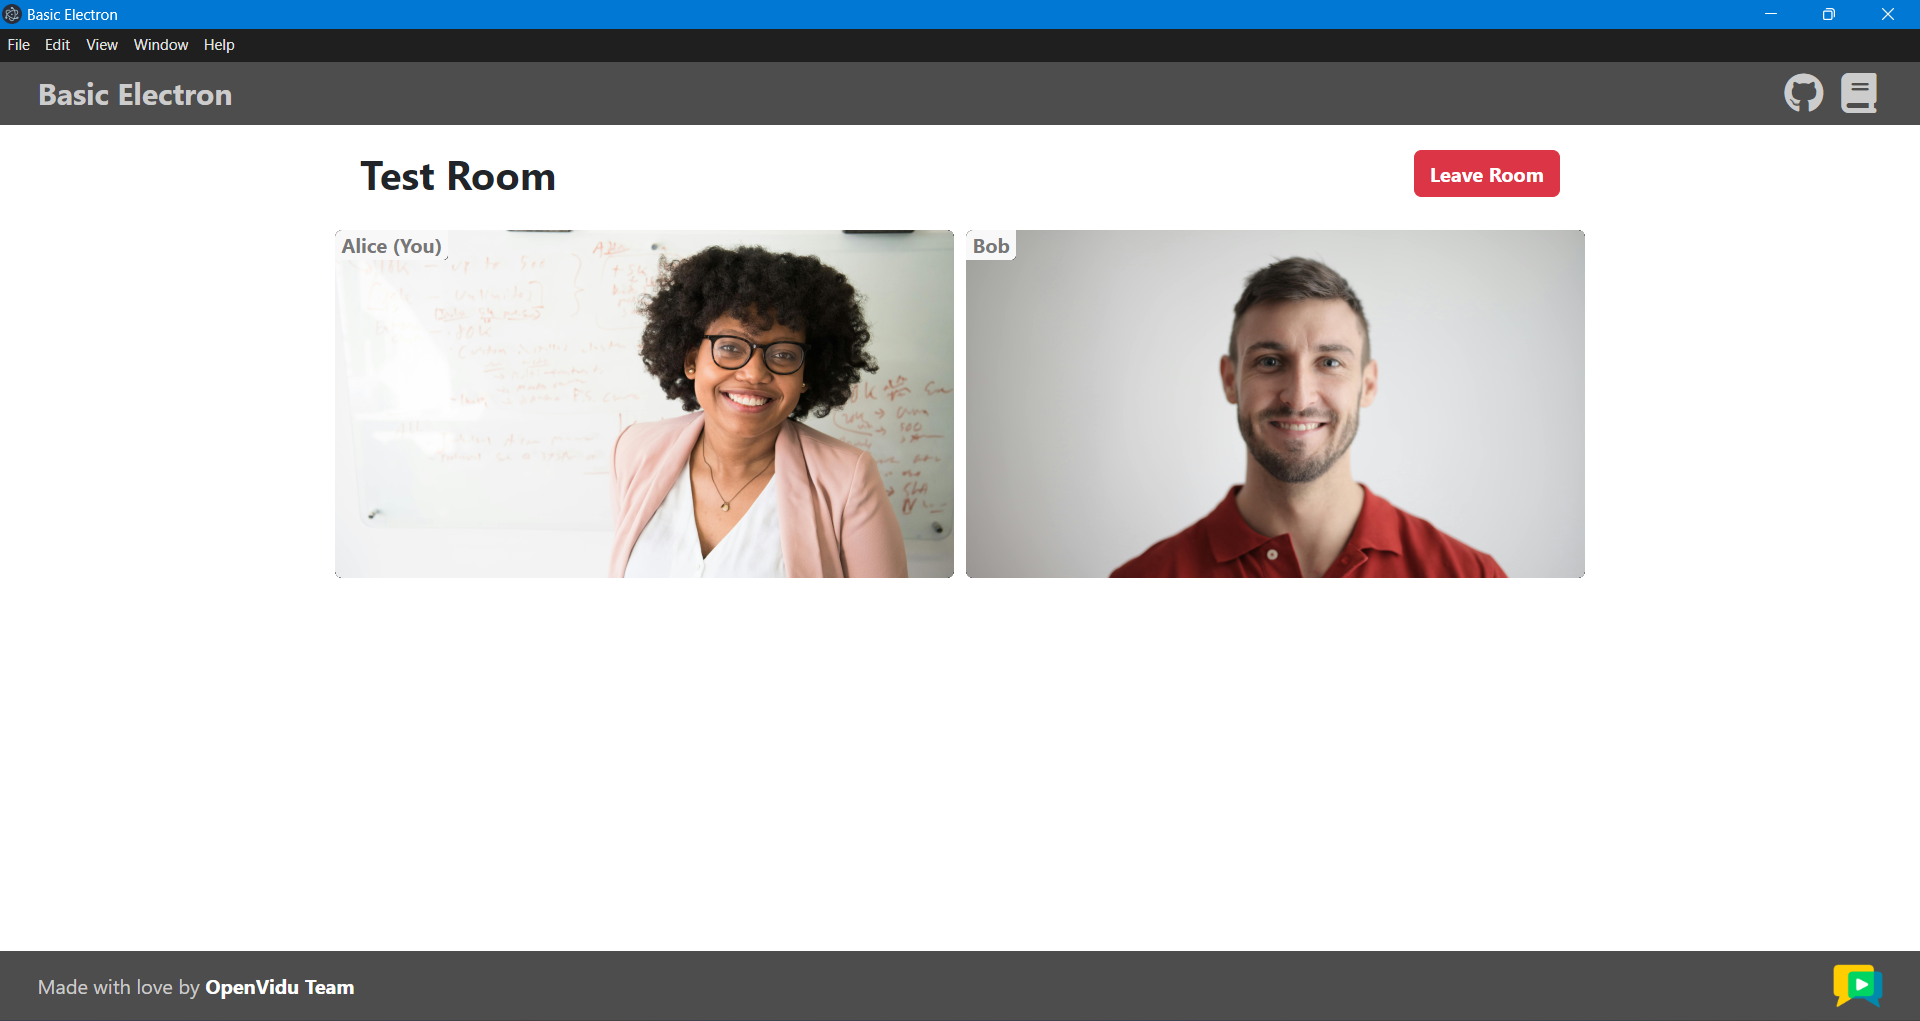
Running your application client from other devices in your local network
One advantage of running OpenVidu locally is that you can test your application client with other devices in your local network very easily without worrying about SSL certificates. For more information, see section Accessing your local deployment from other devices on your network.
For more information, check the Electron tutorial.
To run the client application tutorial, you need Node.js installed on your development computer.
-
Navigate into the application client directory:
-
Install the required dependencies:
-
Serve the application:
You have two options for running the client application: browser-based or mobile device-based:
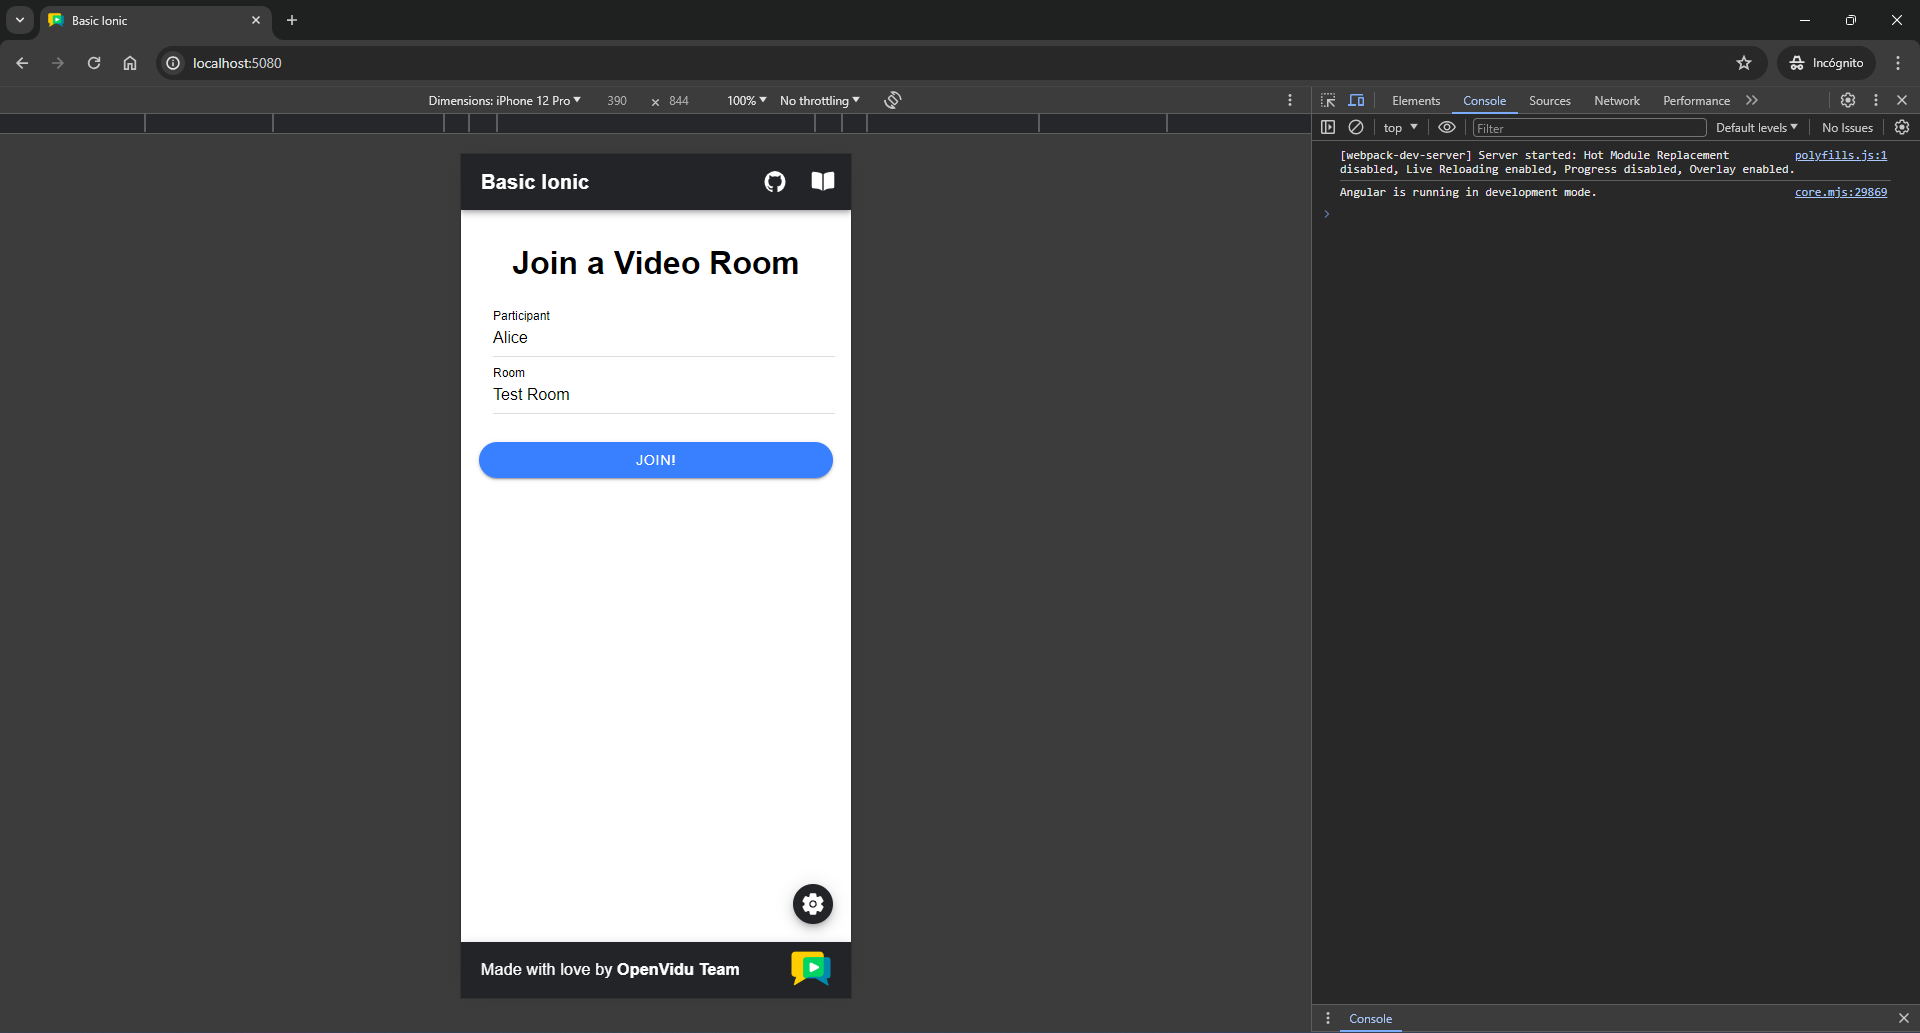
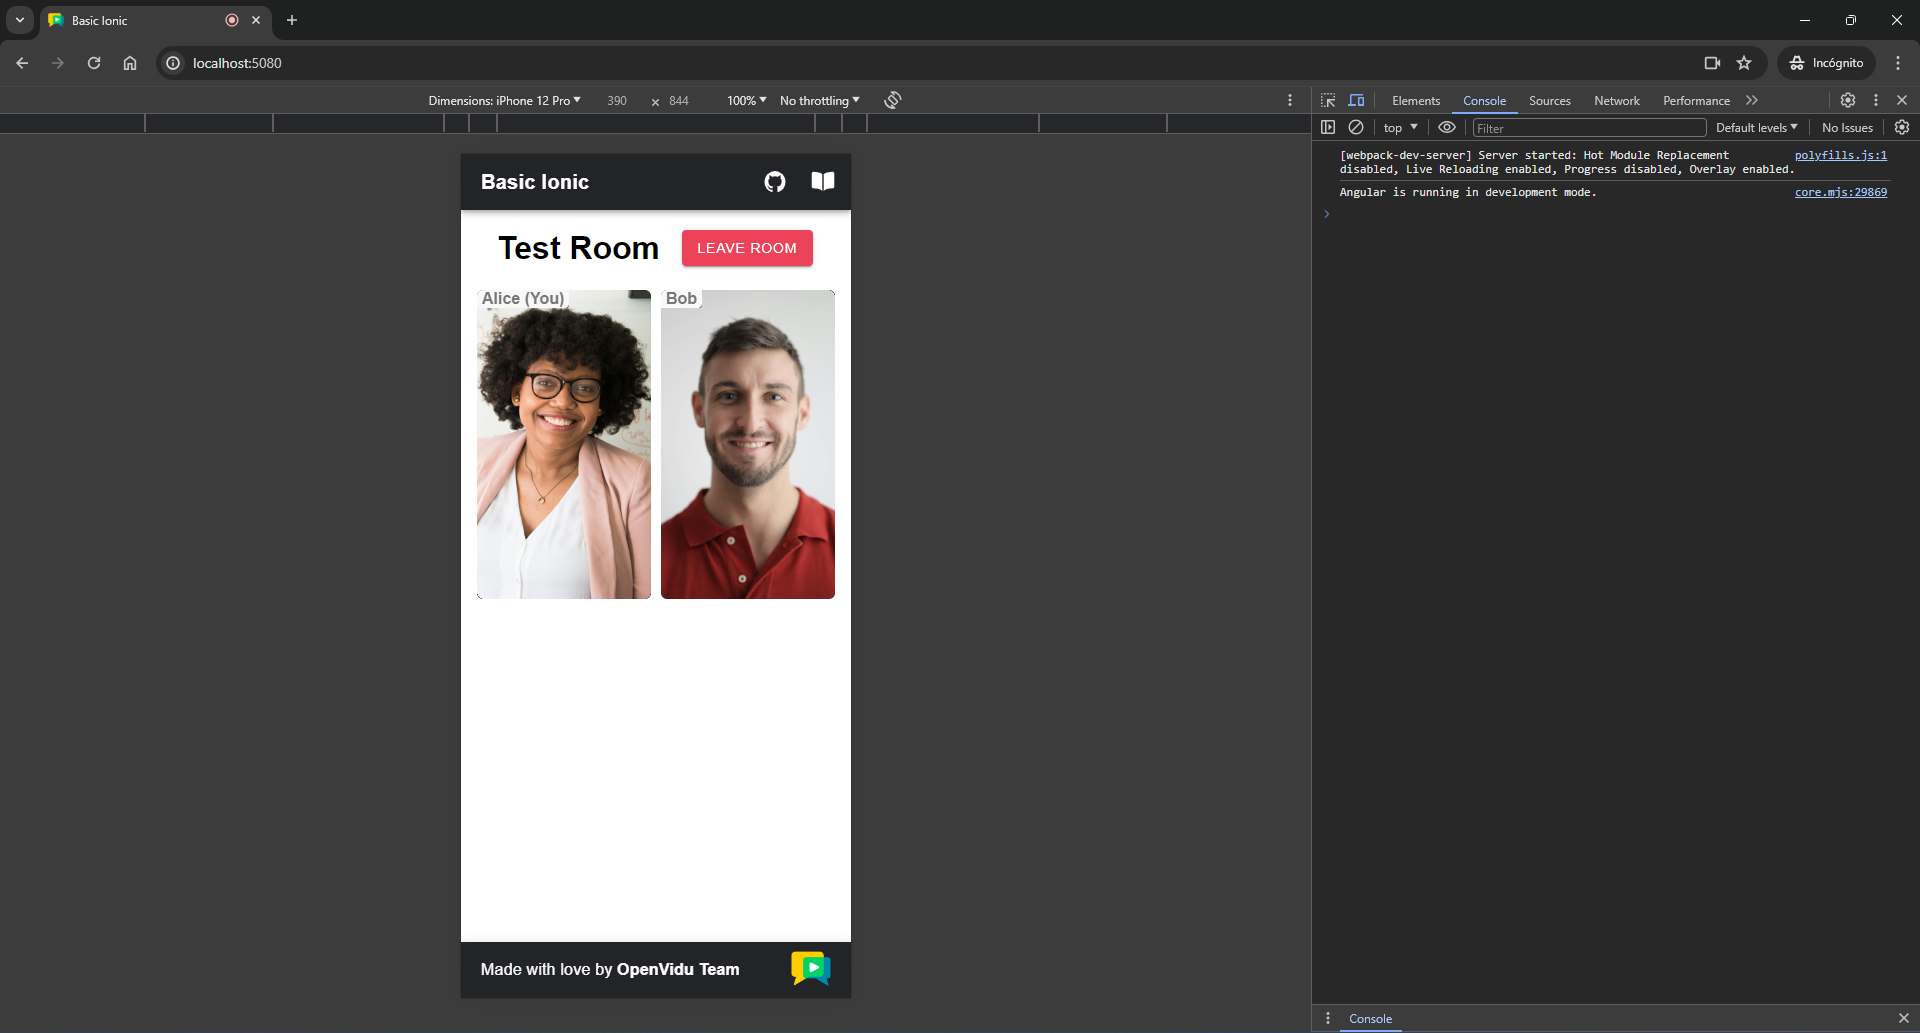
To run the application in a browser, you will need to start the Ionic server. To do so, run the following command:
Once the server is up and running, you can test the application by visiting
http://localhost:5080. You should see a screen like this:Mobile appearance
To show the app with a mobile device appearance, open the dev tools in your browser and find the button to adapt the viewport to a mobile device aspect ratio. You may also choose predefined types of devices to see the behavior of your app in different resolutions.
Accessing your application client from other devices in your local network
One advantage of running OpenVidu locally is that you can test your application client with other devices in your local network very easily without worrying about SSL certificates.
Access your application client through
https://xxx-yyy-zzz-www.openvidu-local.dev:5443, wherexxx-yyy-zzz-wwwpart of the domain is your LAN private IP address with dashes (-) instead of dots (.). For more information, see section Accessing your local deployment from other devices on your network.Running the tutorial on a mobile device presents additional challenges compared to running it in a browser, mainly due to the application being launched on a different device, such as an Android smartphone or iPhone, rather than our computer. To overcome these challenges, the following steps need to be taken:
-
Localhost limitations:
The usage of
localhostin our Ionic app is restricted, preventing seamless communication between the application client and the server. -
Serve over local network:
The application must be served over our local network to enable communication between the device and the server.
-
Secure connection requirement for WebRTC API:
The WebRTC API demands a secure connection for functionality outside of localhost, necessitating the serving of the application over HTTPS.
If you run OpenVidu locally you don't need to worry about this. OpenVidu will handle all of the above requirements for you. For more information, see section Accessing your local deployment from other devices on your network.
Now, let's explore how to run the application on a mobile device:
Requirements
Before running the application on a mobile device, make sure that the device is connected to the same network as your PC and the mobile is connected to the PC via USB or Wi-Fi.
The script will ask you for the device you want to run the application on. You should select the real device you have connected to your computer.
Once the mobile device has been selected, the script will launch the application on the device and you will see a screen like this:
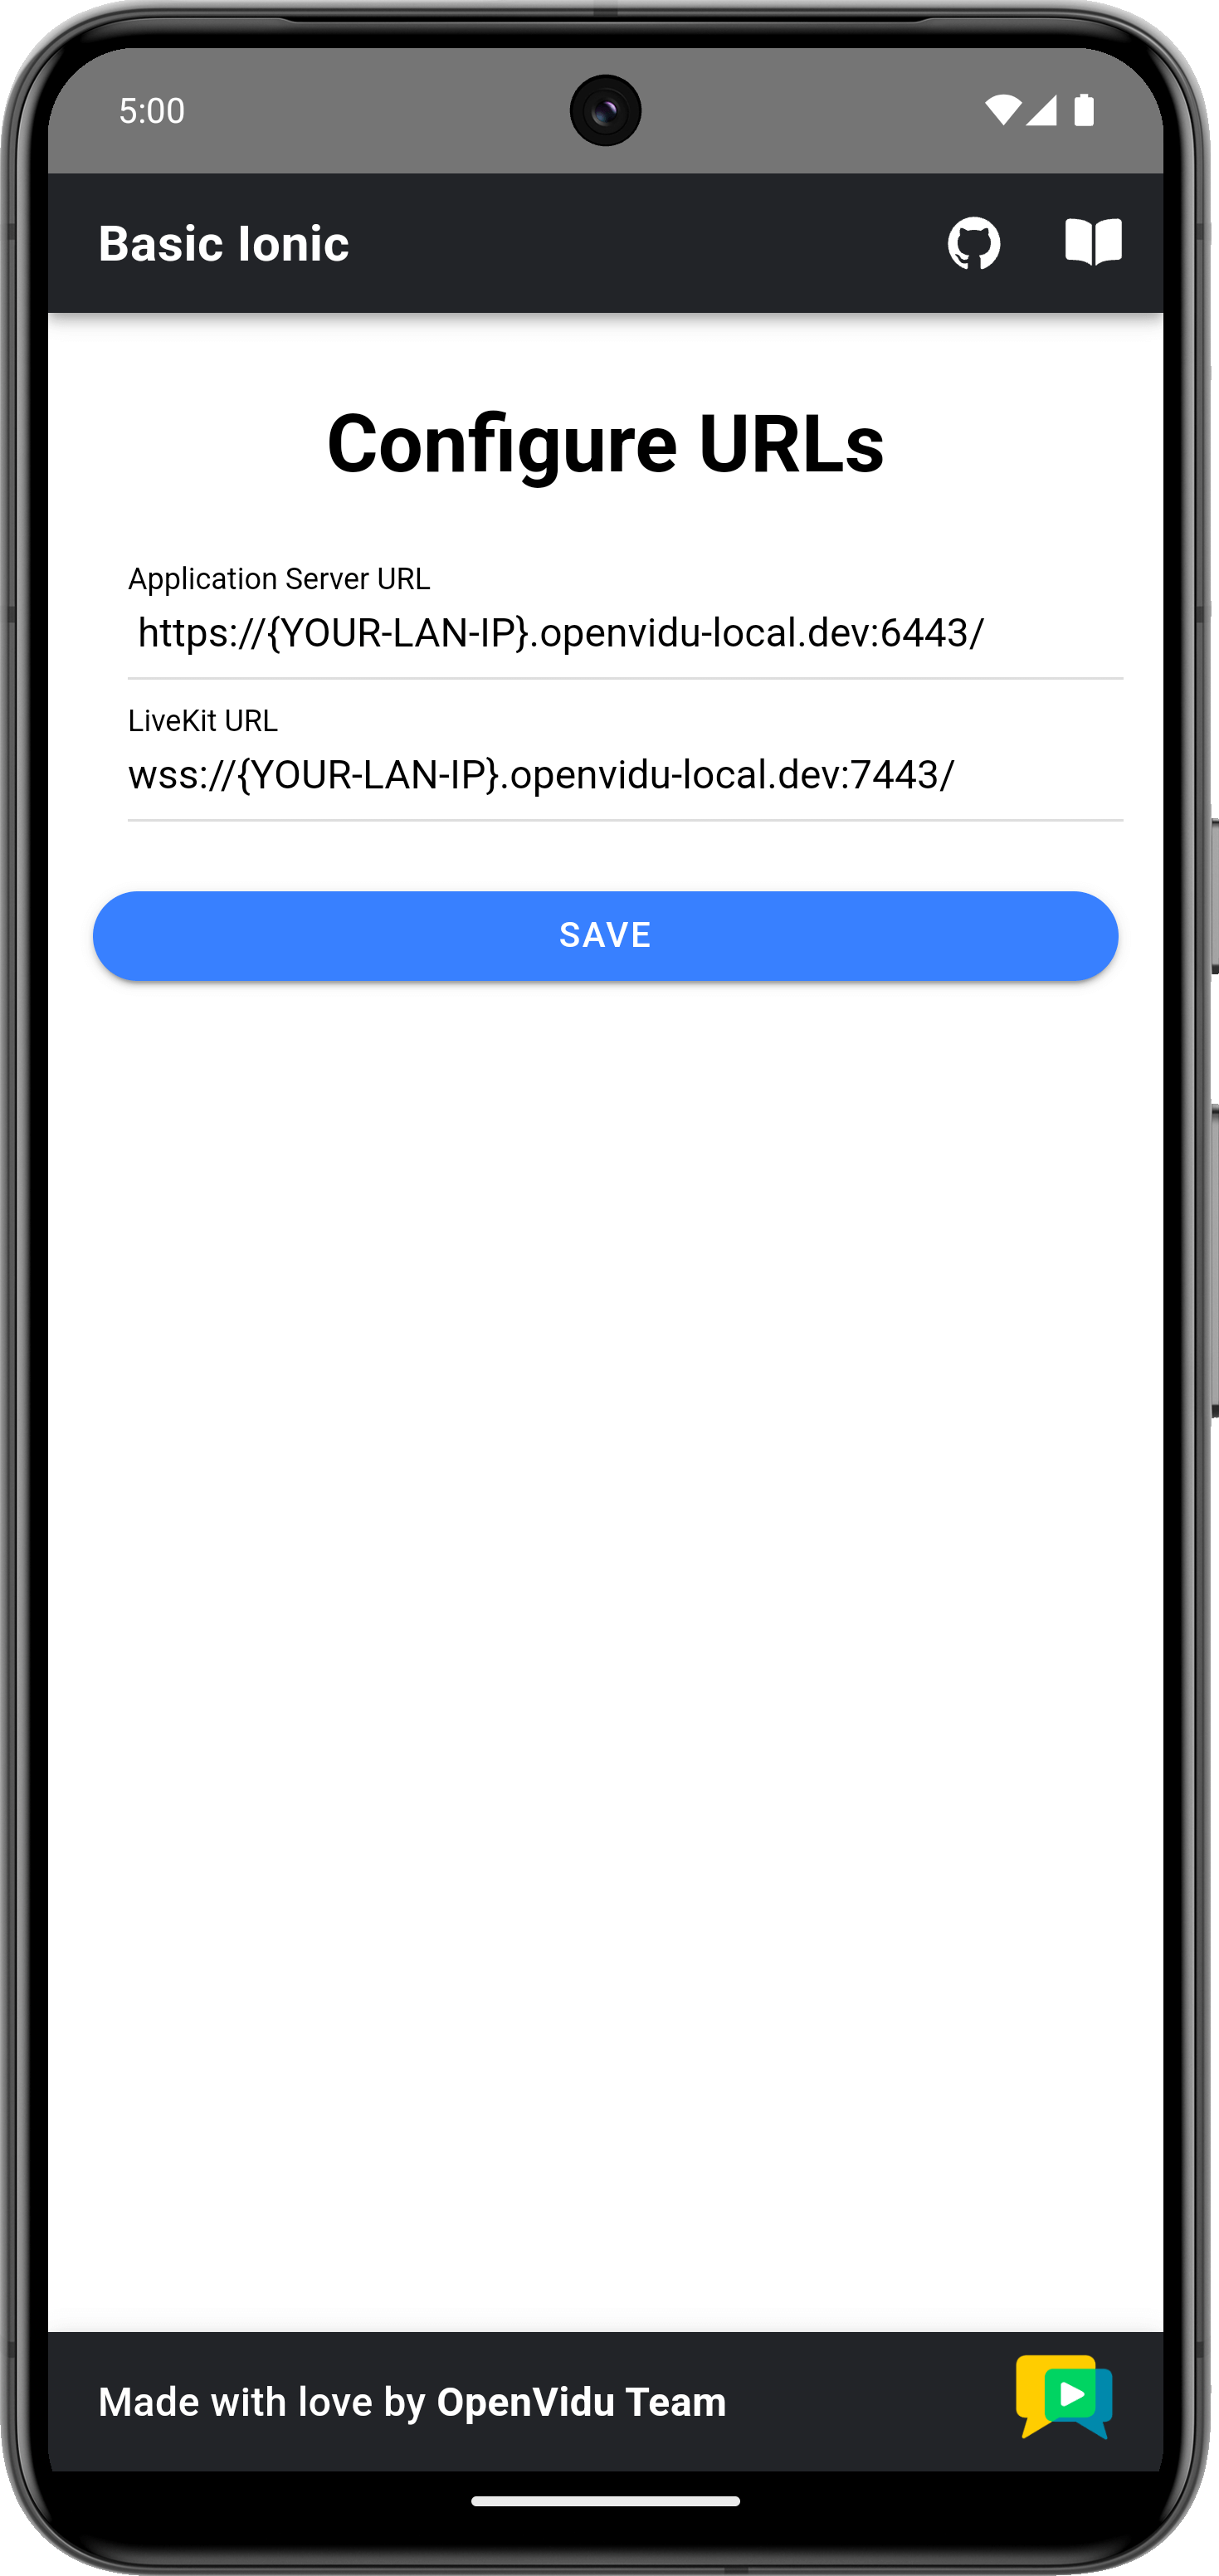
This screen allows you to configure the URLs of the application server and the LiveKit server. You need to set them up for requesting tokens to your application server and connecting to the LiveKit server.
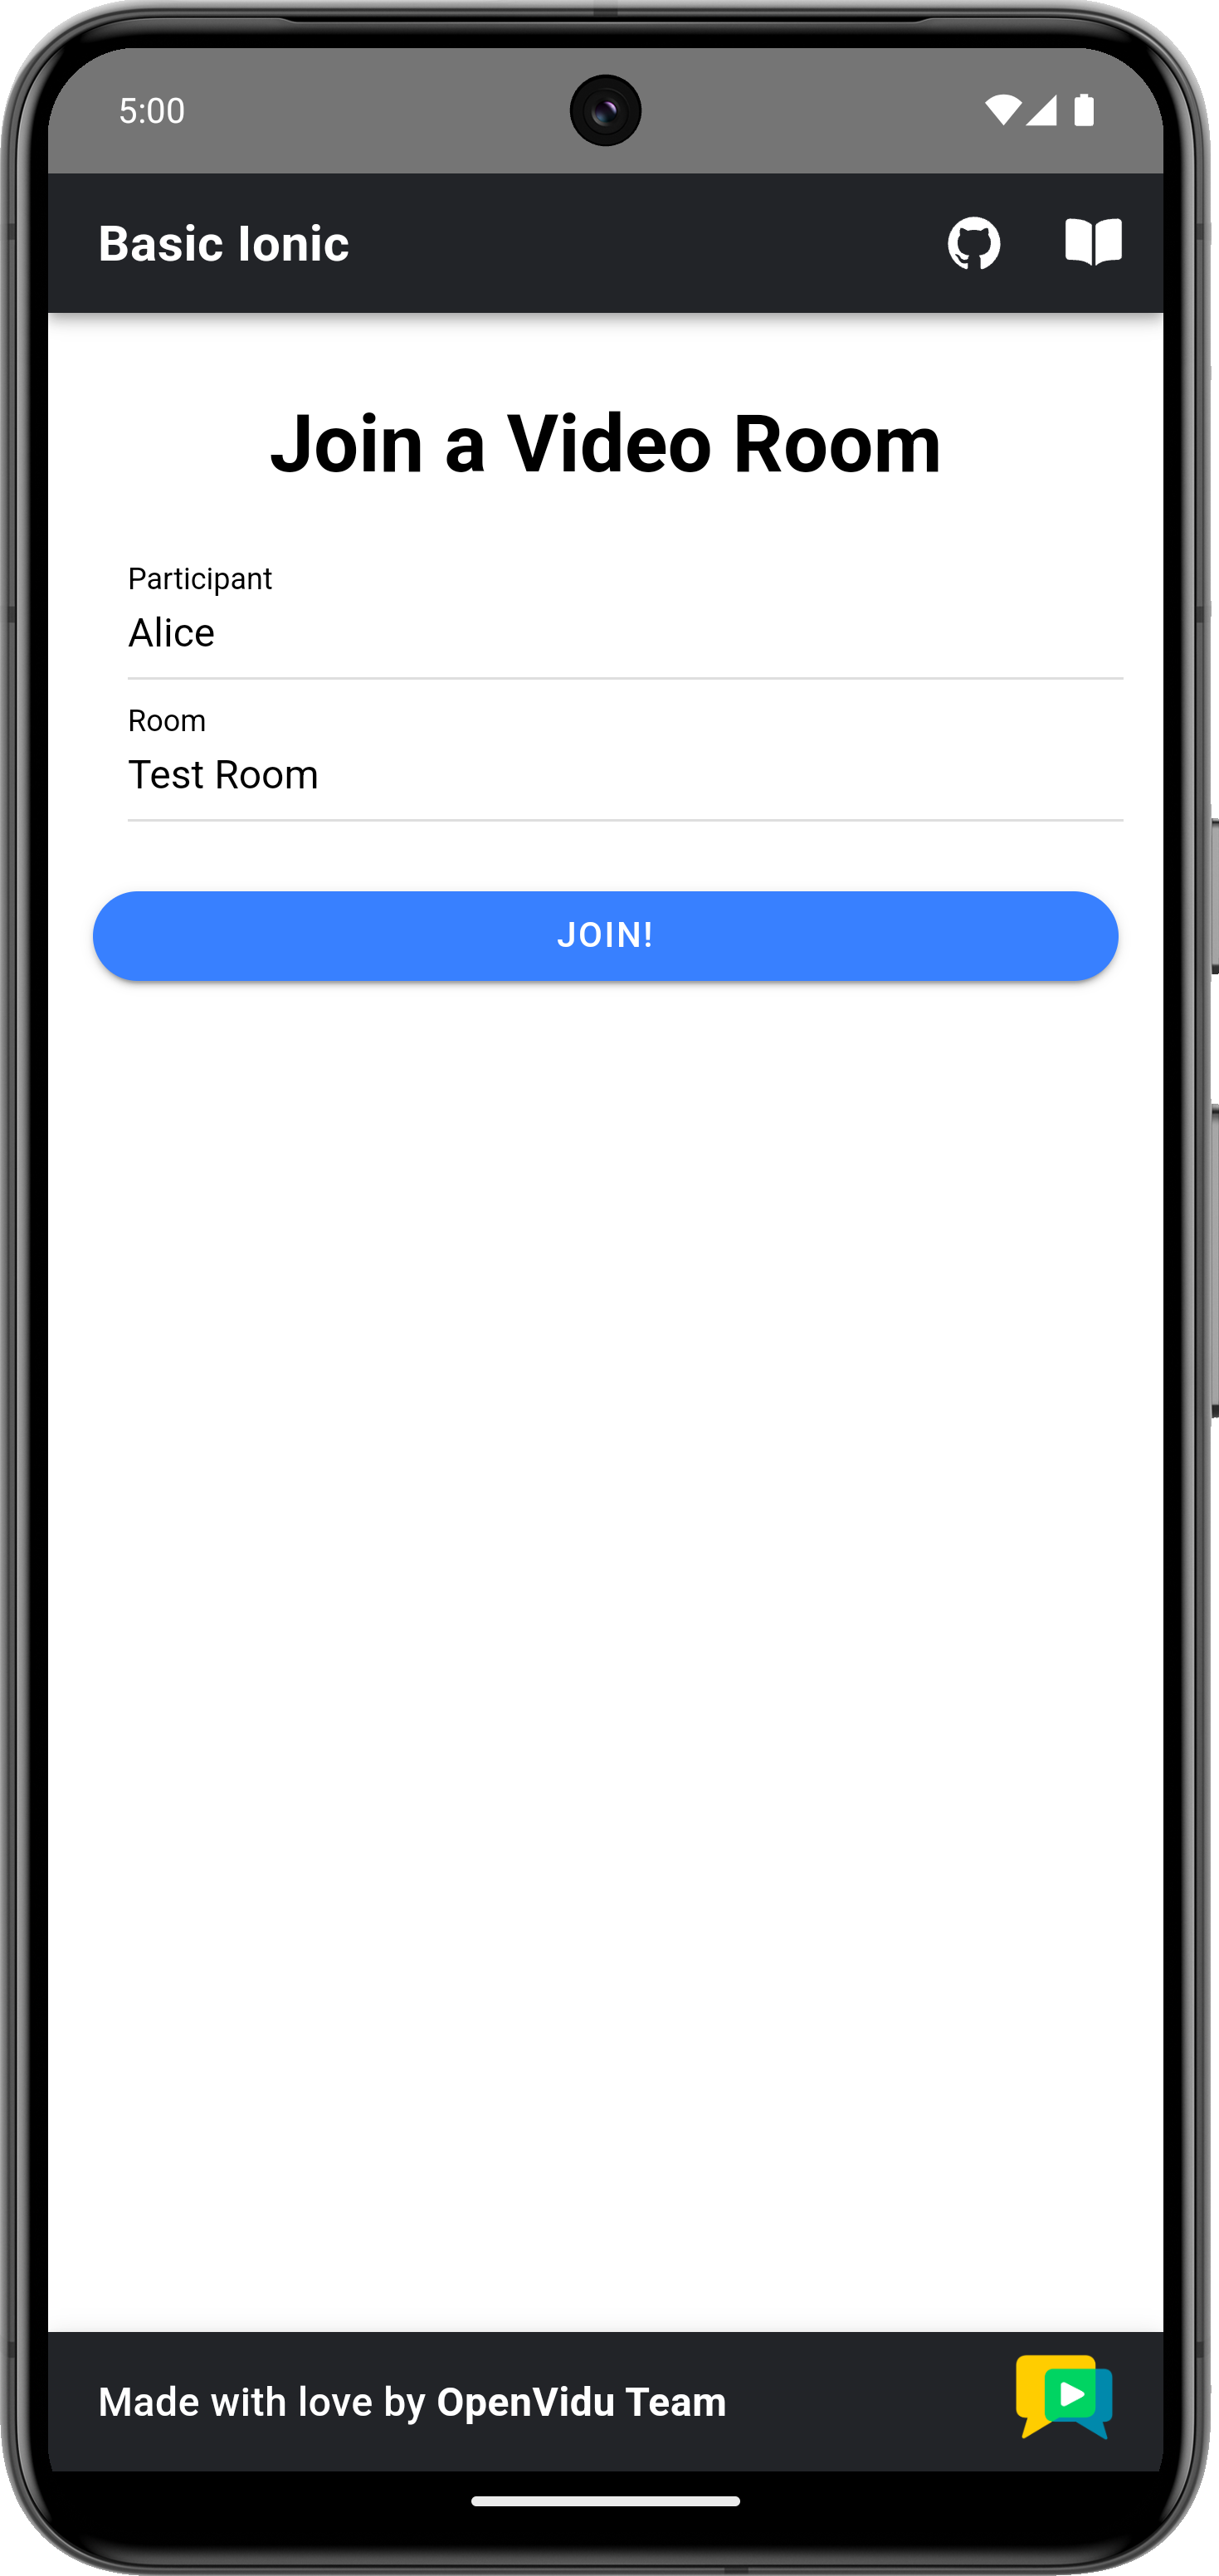
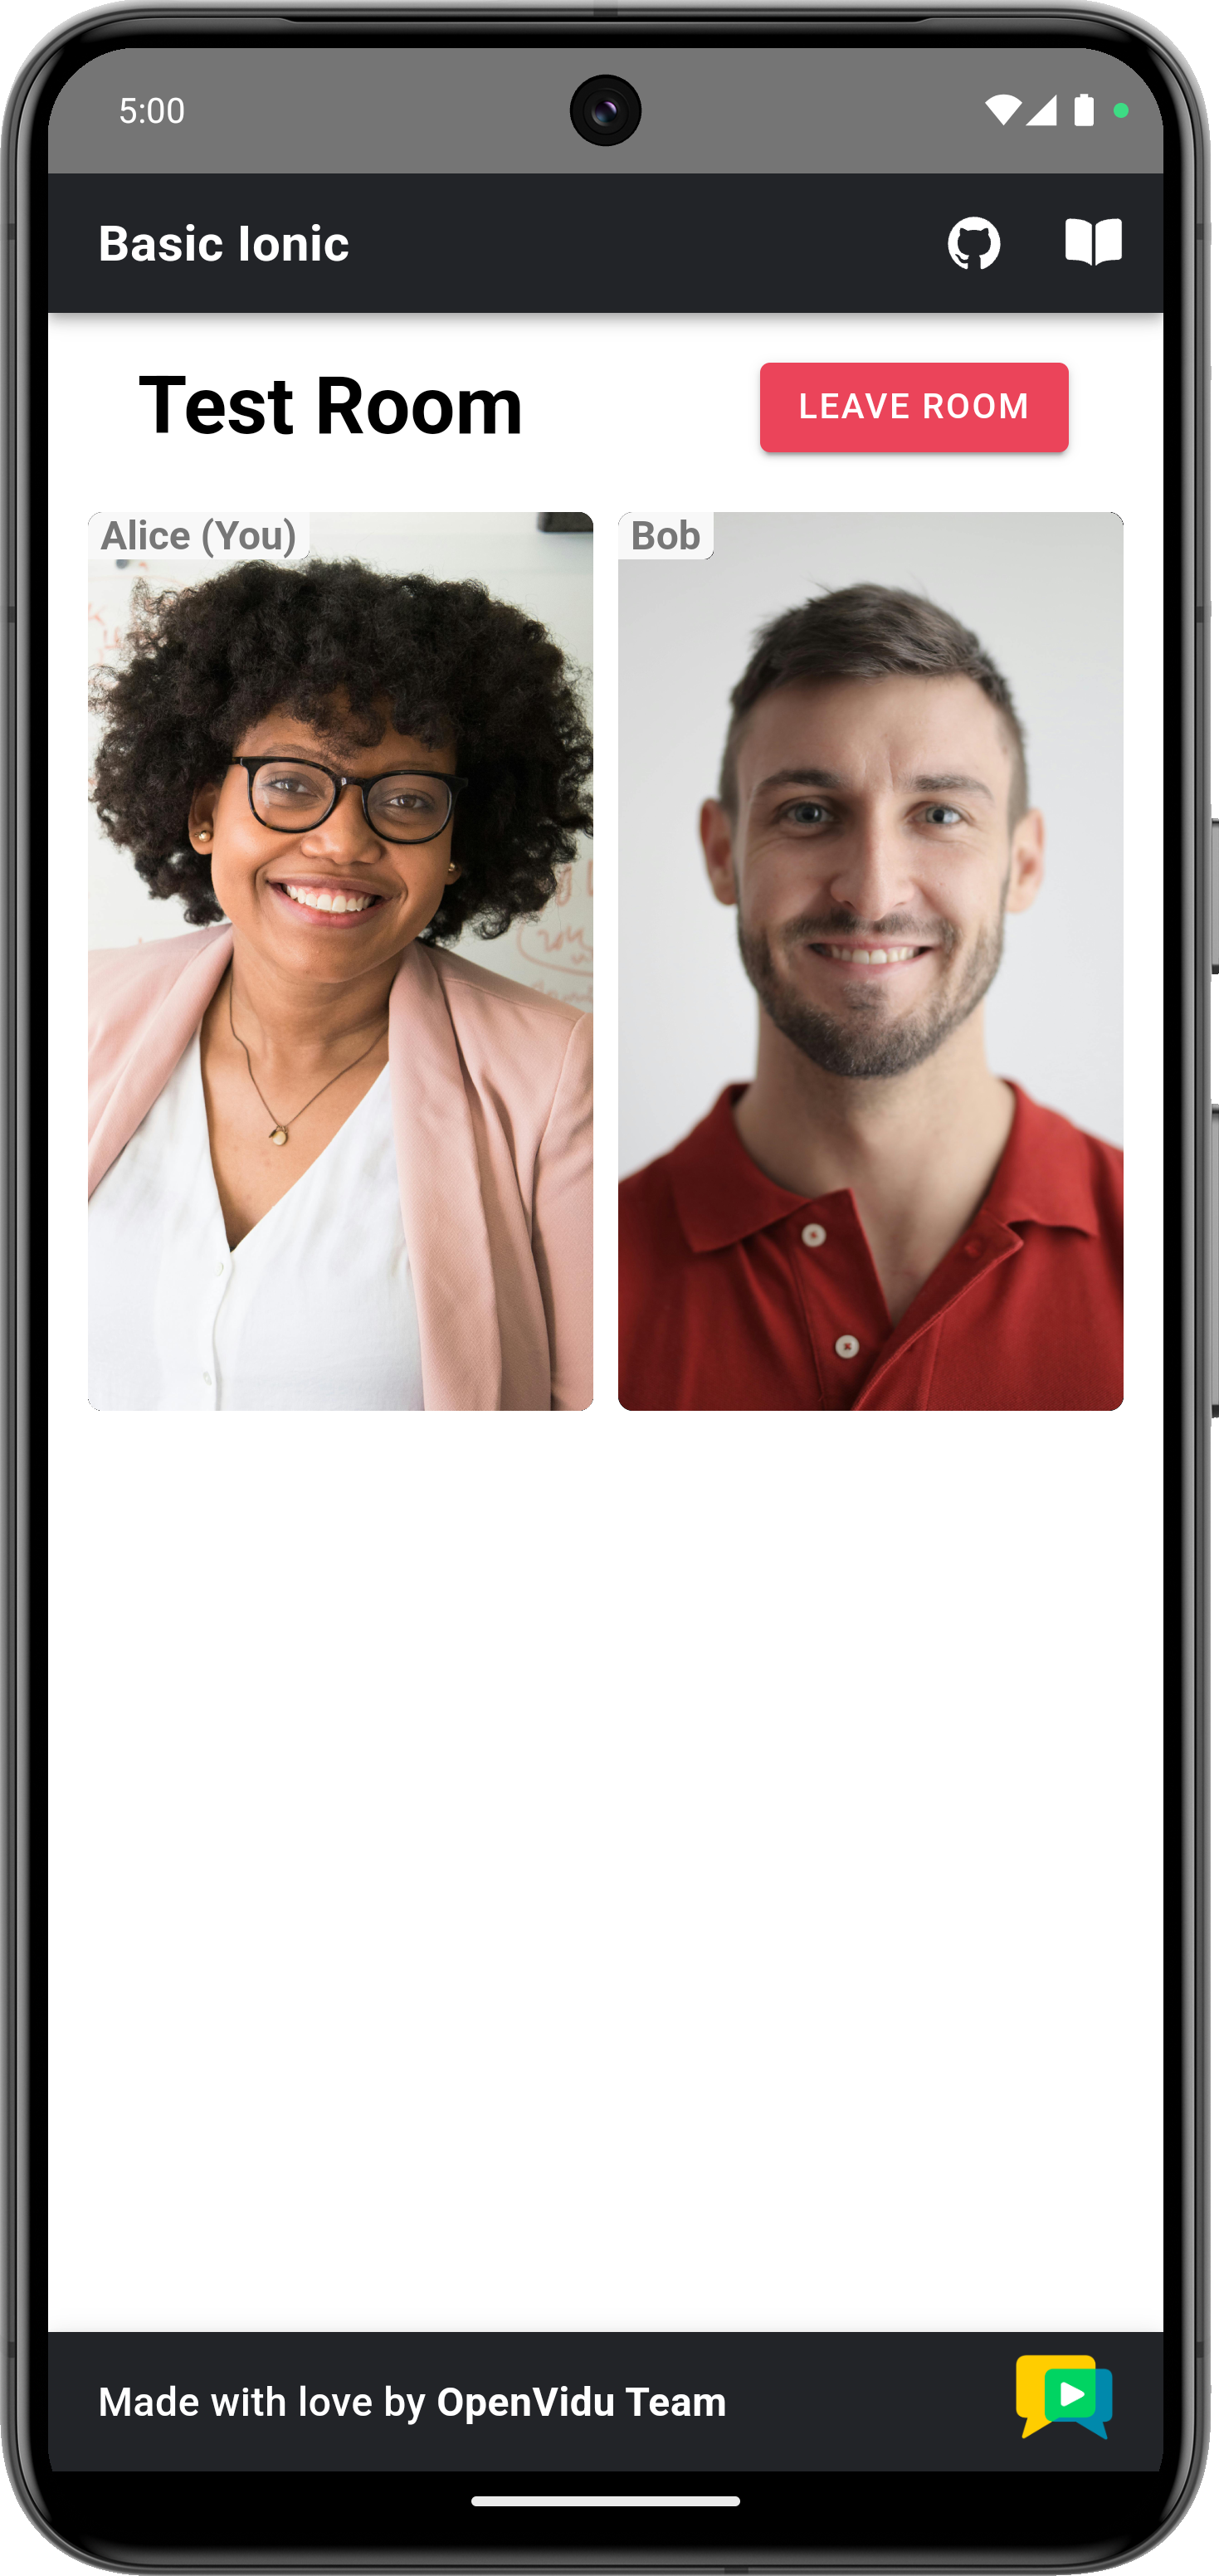
Once you have configured the URLs, you can join a video call room by providing a room name and a user name. After joining the room, you will be able to see your own video and audio tracks, as well as the video and audio tracks of the other participants in the room.
-
For more information, check the Ionic tutorial.
To run the client application tutorial, you need Android Studio installed on your development computer.
-
Open Android Studio and import the project located at
openvidu-livekit-tutorials/application-client/openvidu-android. -
Run the application in an emulator or a physical device by clicking the "Run" button in Android Studio. Check out the official documentation for further information.
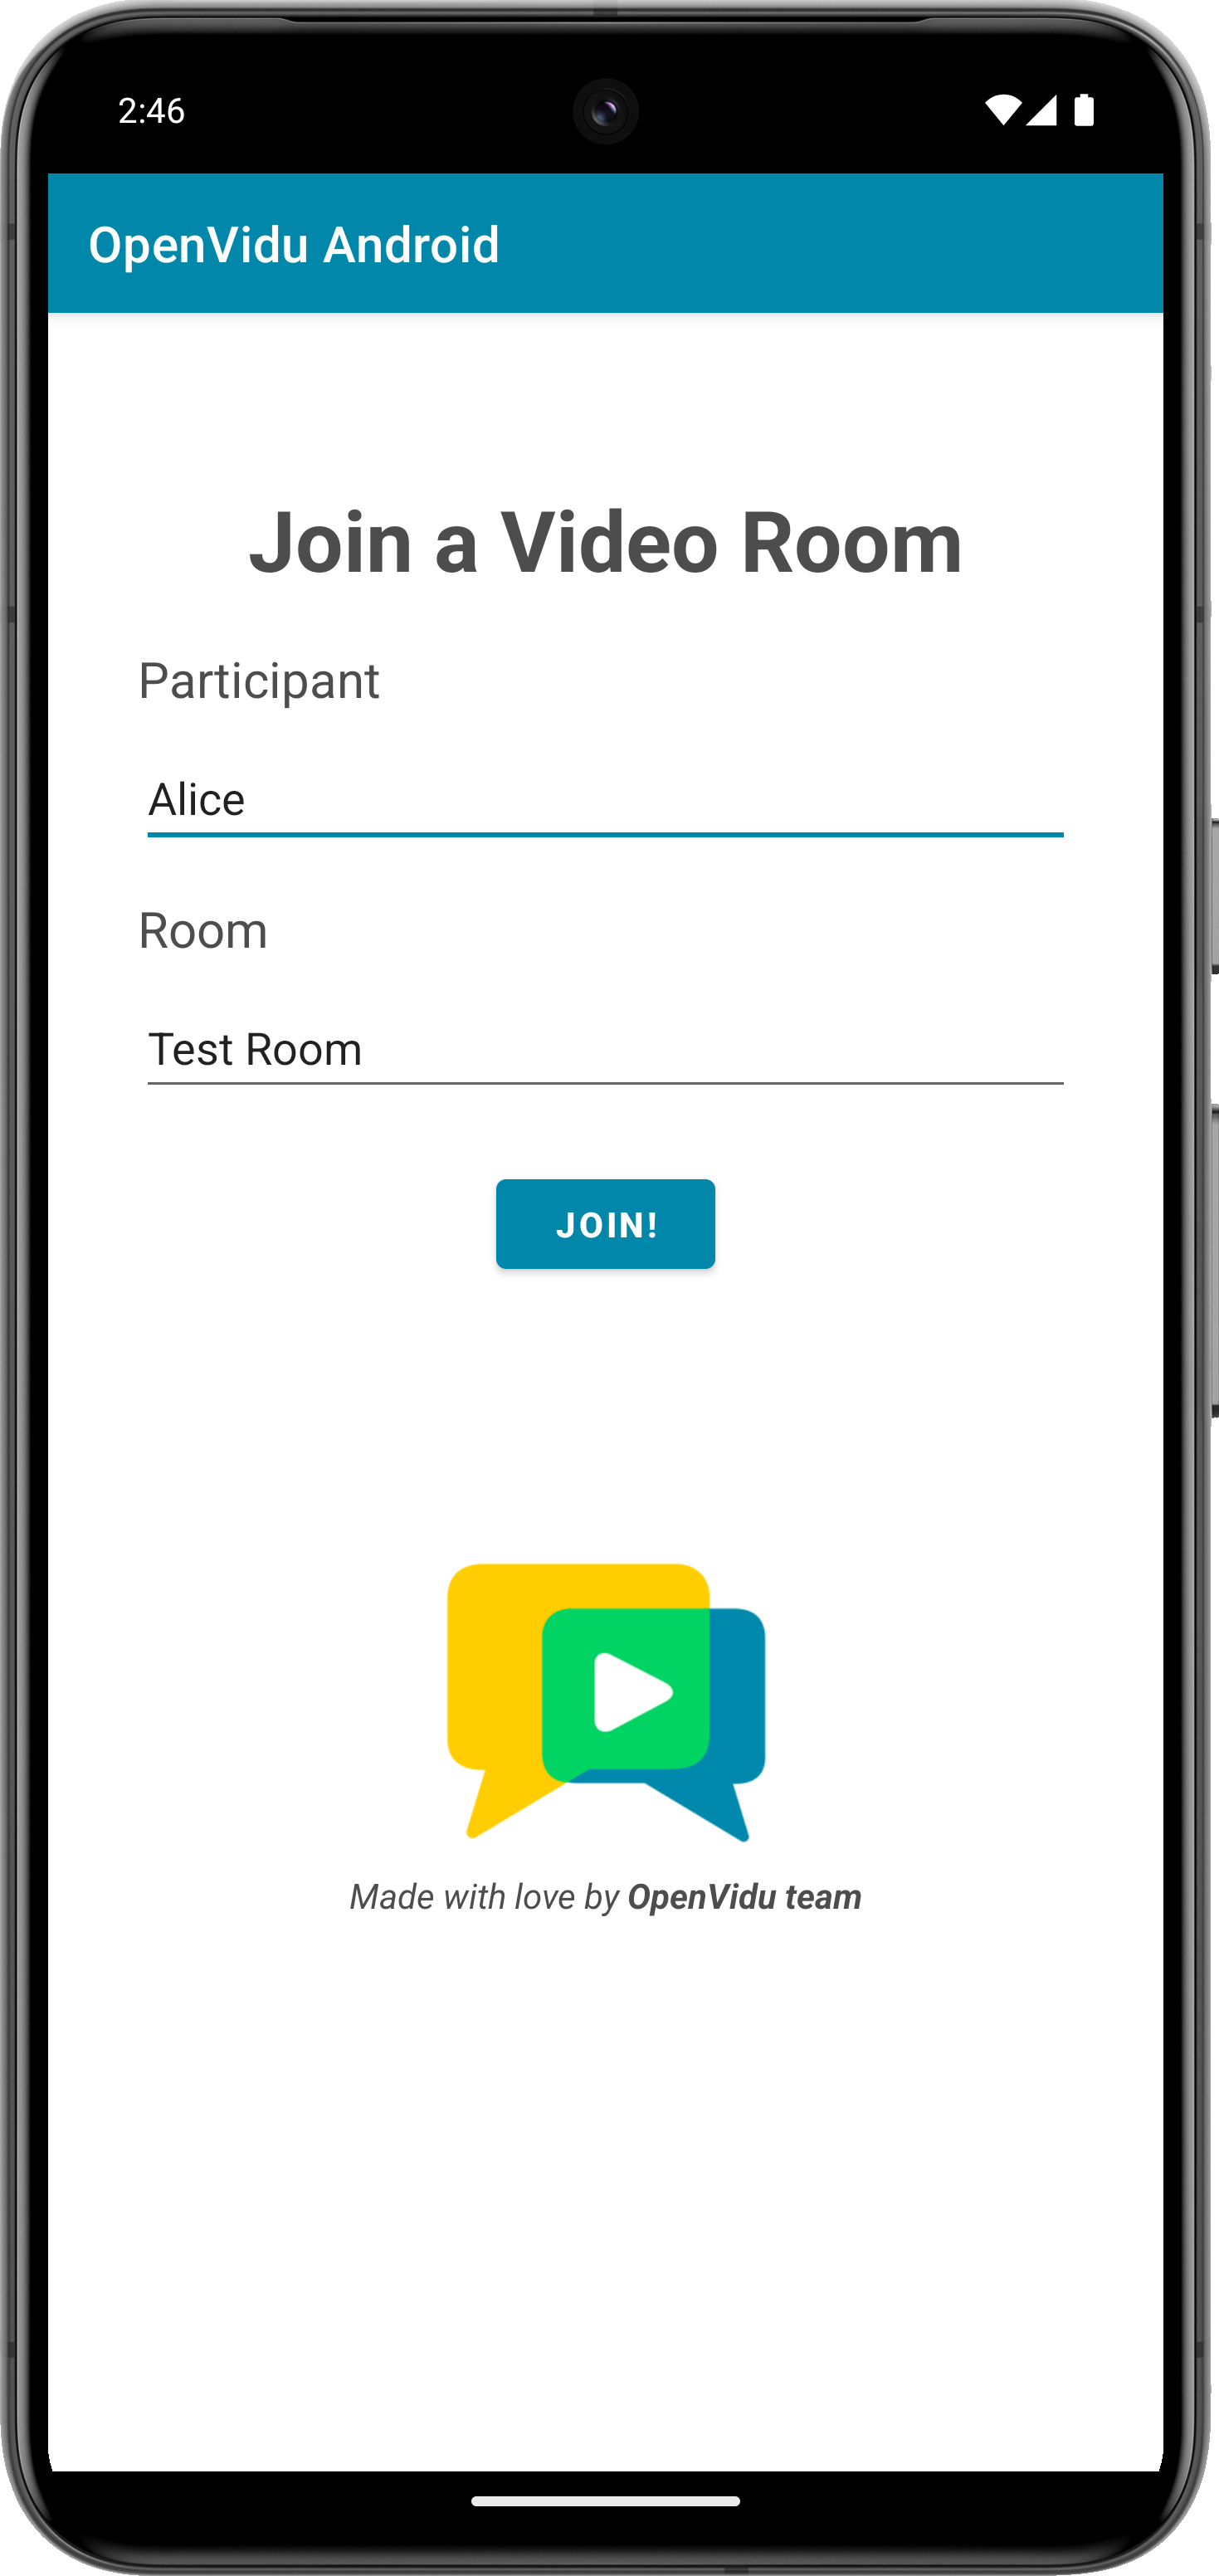
The application will initiate as a native Android program. Once the application is opened, you should see a screen like this:
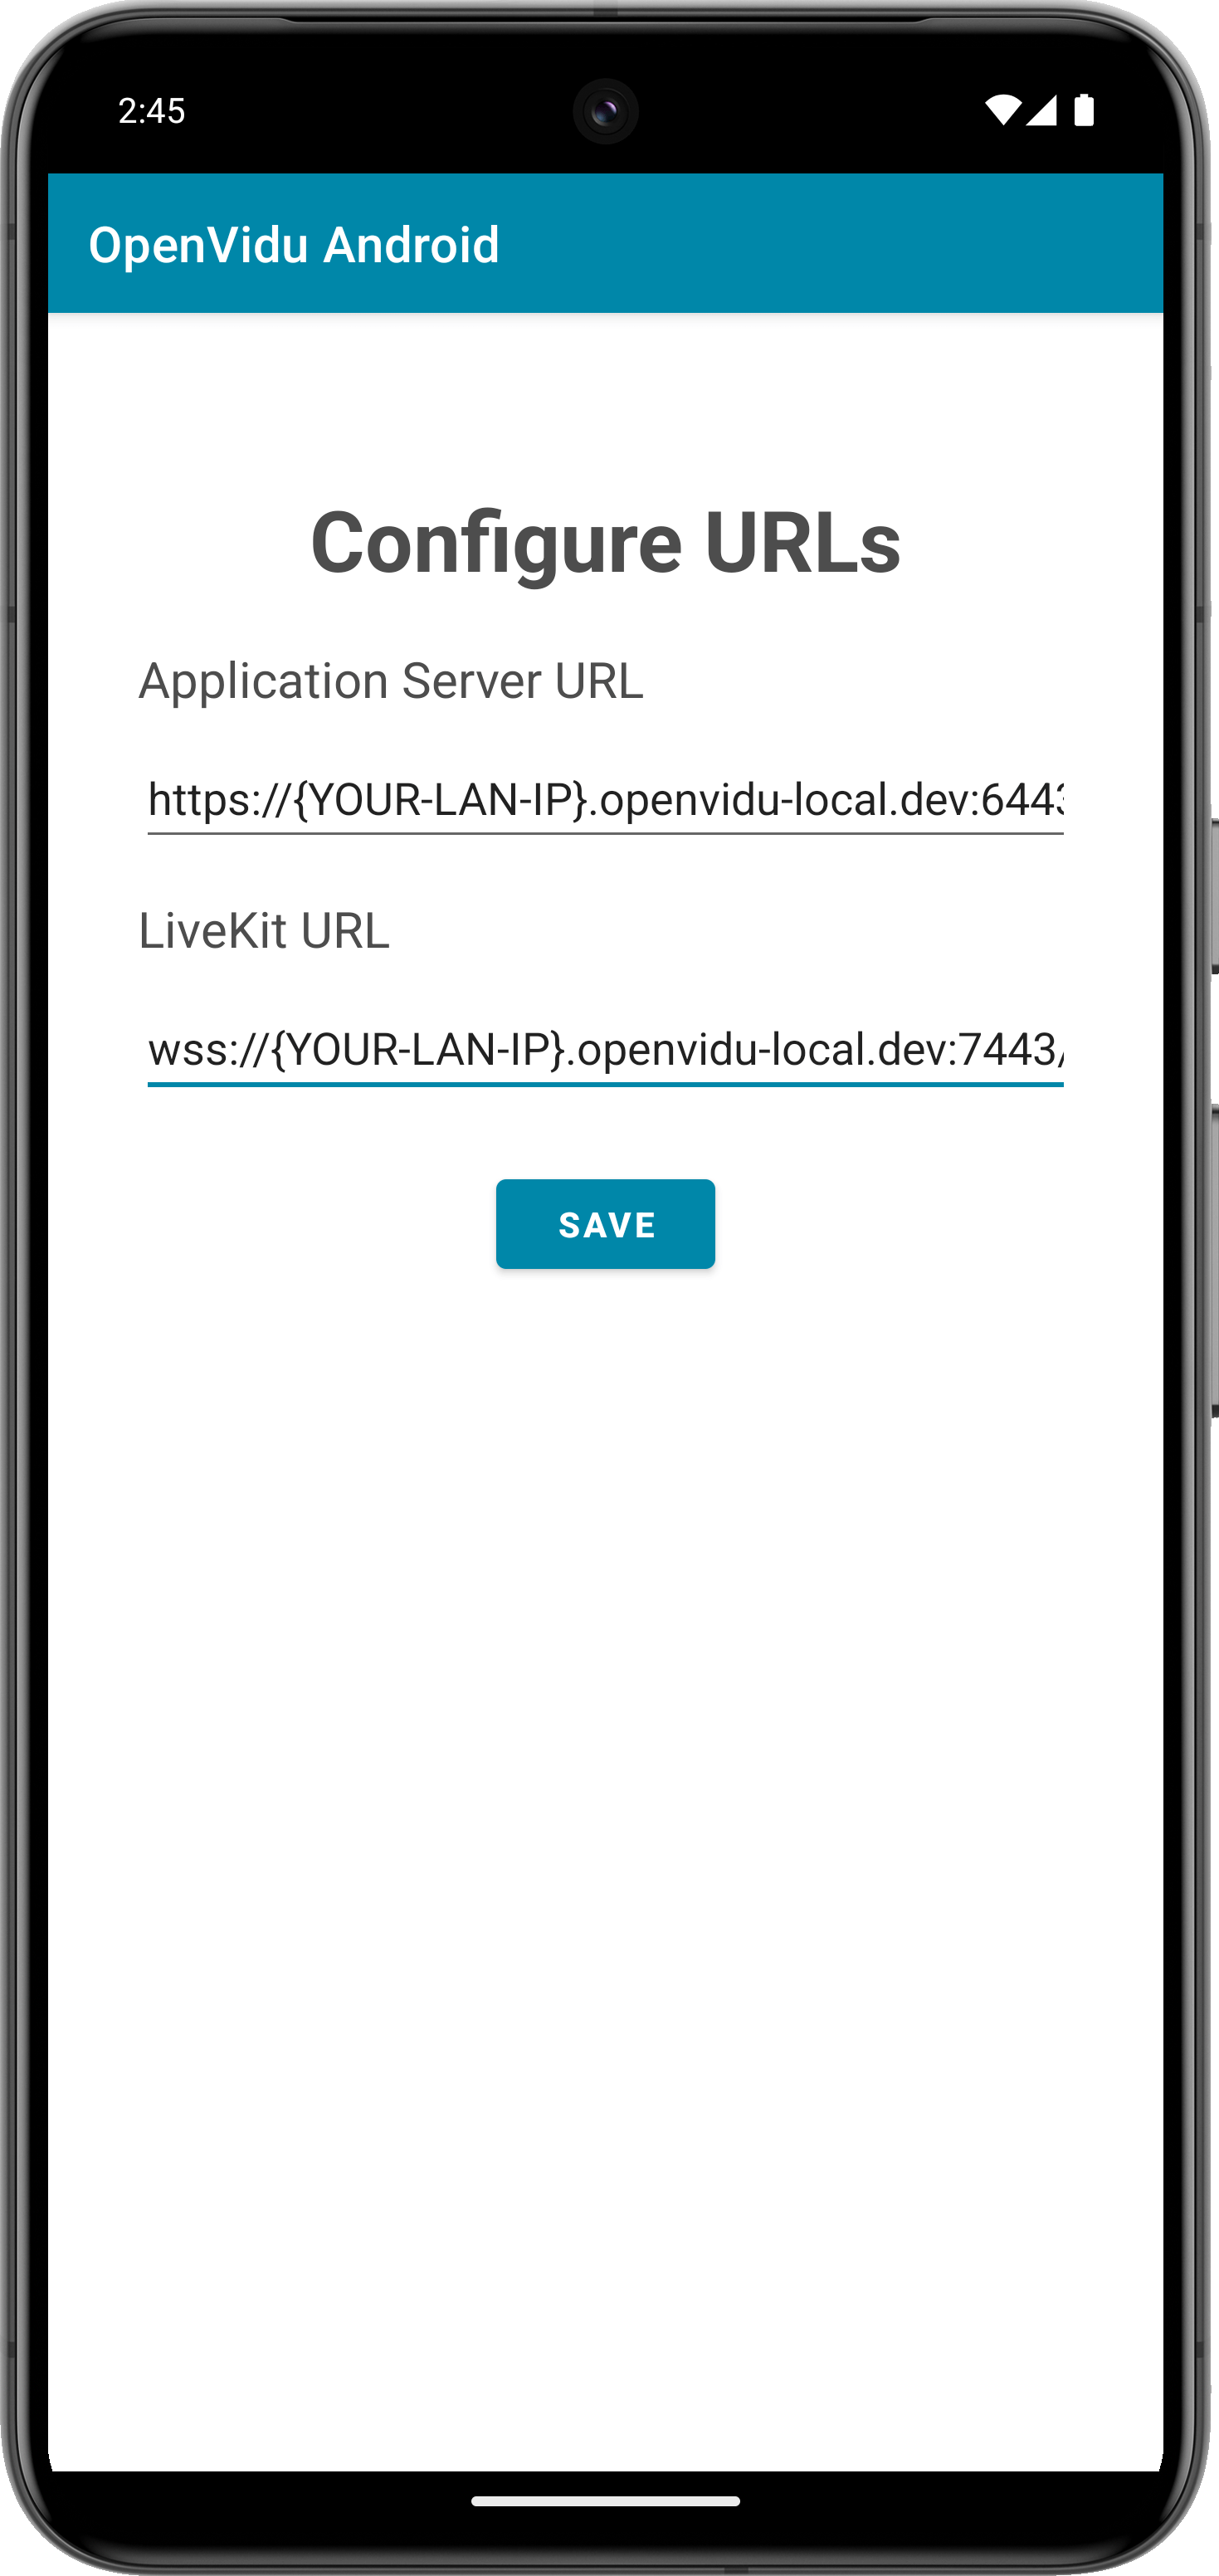
This screen allows you to configure the URLs of the application server and the LiveKit server. You need to set them up for requesting tokens to your application server and connecting to the LiveKit server.
Connecting real Android device to application server running in you local network
One advantage of running OpenVidu locally is that you can test your application client in a real Android device and be able to reach the application server very easily without worrying about SSL certificates if they are both running in the same local network. For more information, see section Accessing your local deployment from other devices on your network.
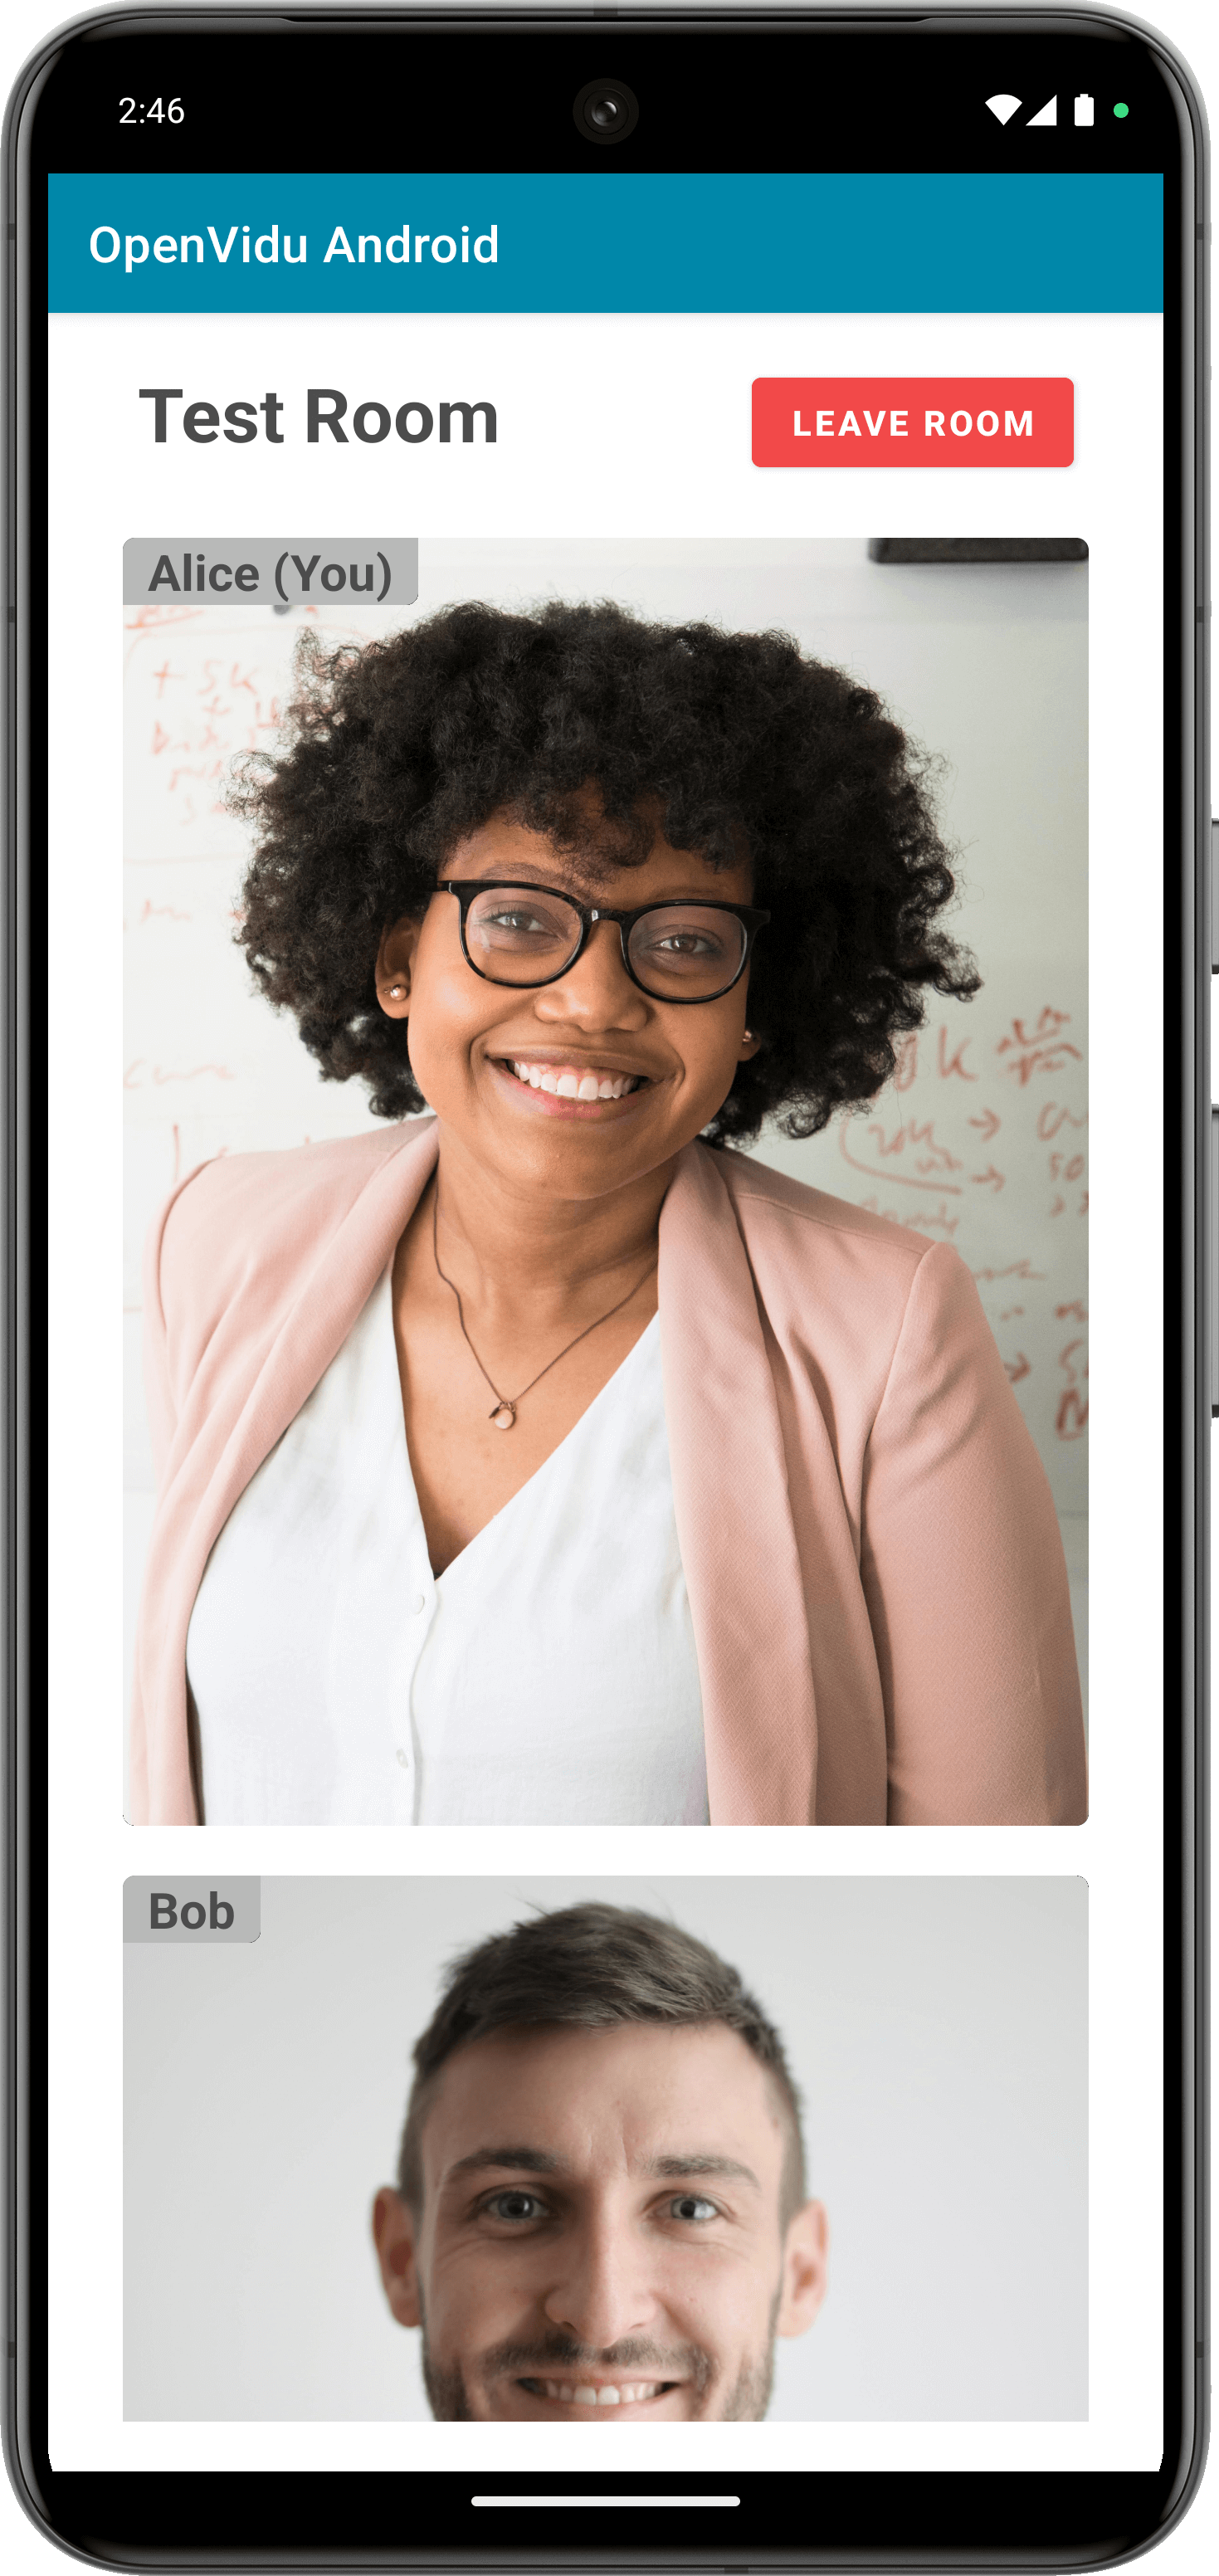
Once you have configured the URLs, you can join a video call room by providing a room name and a user name. After joining the room, you will be able to see your own video and audio tracks, as well as the video and audio tracks of the other participants in the room.
For more information, check the Android tutorial.
To run the client application tutorial, you need Xcode installed on your MacOS.
-
Launch Xcode and open the
OpenViduIOS.xcodeprojthat you can find underopenvidu-livekit-tutorials/application-client/openvidu-ios. -
Run the application in an emulator or a physical device by clicking on the menu Product > Run or by ⌘R.
Emulator limitations
Publishing the camera track is not supported by iOS Simulator.
If you encounter code signing issues, make sure you change the Team and bundle id from the previous step.
The application will initiate as a native iOS application. Once the app is opened, you should see a screen like this:
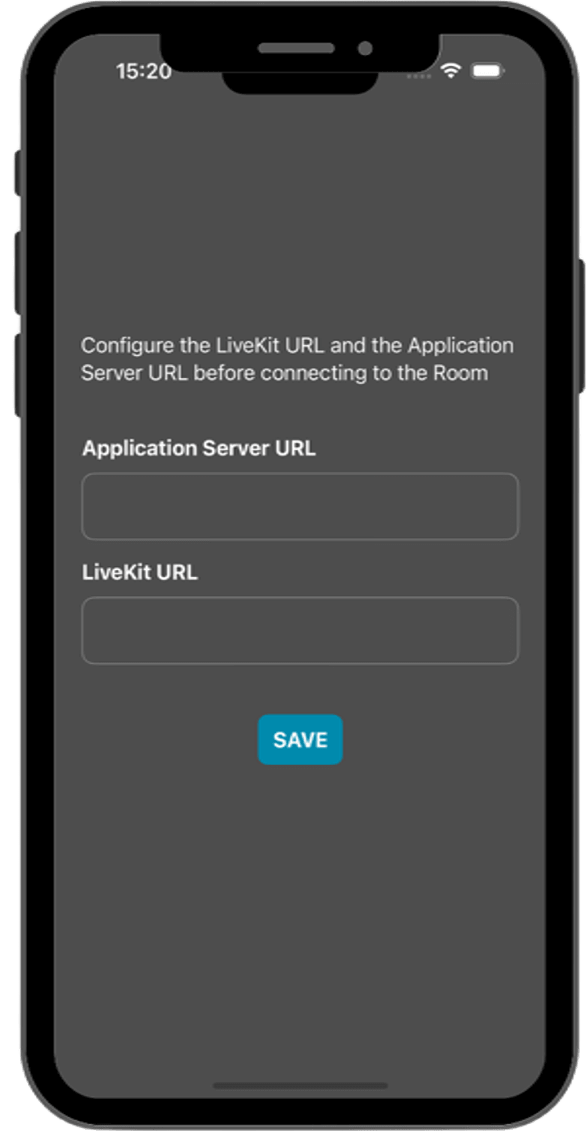
This screen allows you to configure the URLs of the application server and the LiveKit server. You need to set them up for requesting tokens to your application server and connecting to the LiveKit server.
Connecting real iOS device to application server running in you local network
One advantage of running OpenVidu locally is that you can test your application client in a real iOS device and be able to reach the application server very easily without worrying about SSL certificates if they are both running in the same local network. For more information, see section Accessing your local deployment from other devices on your network.
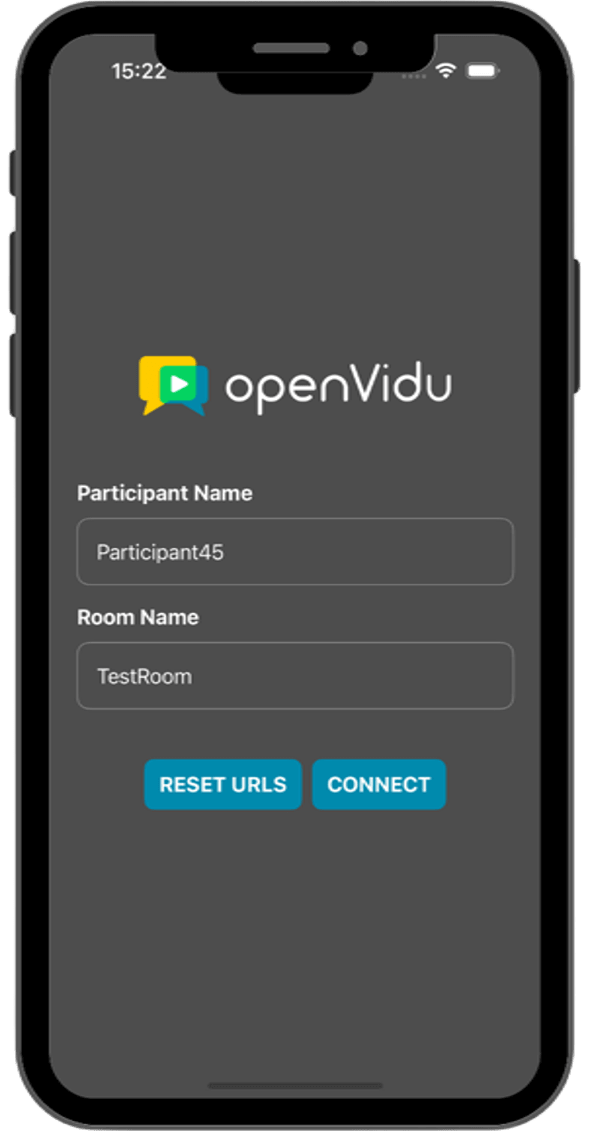
Once you have configured the URLs, you can join a video call room by providing a room name and a user name. After joining the room, you will be able to see your own video and audio tracks, as well as the video and audio tracks of the other participants in the room.
For more information, check the iOS tutorial.
Understanding the code#
The application is a simple Rust app with a single file main.rs that exports two endpoints:
/token: generate a token for a given Room name and Participant name./livekit/webhook: receive LiveKit webhook events.
Let's see the code of the main.rs file:
- Import all necessary dependencies from the Rust LiveKit library.
- Load environment variables from
.envfile. - Enable CORS support.
- Define
/tokenand/livekit/webhookendpoints. - Start the server listening on the specified port.
The main.rs file imports the required dependencies and loads the necessary environment variables:
SERVER_PORT: the port where the application will be listening.LIVEKIT_API_KEY: the API key of LiveKit Server.LIVEKIT_API_SECRET: the API secret of LiveKit Server.
Then CORS support is enabled and the endpoints are defined. Finally the axum application is initialized on the specified port.
Create token endpoint#
The endpoint /token accepts POST requests with a payload of type application/json, containing the following fields:
roomName: the name of the Room where the user wants to connect.participantName: the name of the participant that wants to connect to the Room.
- A new
AccessTokenis created providing theLIVEKIT_API_KEYandLIVEKIT_API_SECRET. - We set participant's name and identity in the AccessToken.
- We set the video grants in the AccessToken.
room_joinallows the user to join a room androomdetermines the specific room. Check out all Video Grants . - We convert the AccessToken to a JWT token.
- Finally, the token is sent back to the client.
The endpoint first obtains the roomName and participantName parameters from the request body. If they are not available, it returns a 400 error.
If required fields are available, a new JWT token is created. For that we use the LiveKit Rust SDK :
- A new
AccessTokenis created providing theLIVEKIT_API_KEYandLIVEKIT_API_SECRET. - We set participant's name and identity in the AccessToken.
- We set the video grants in the AccessToken.
room_joinallows the user to join a room androomdetermines the specific room. Check out all Video Grants . - We convert the AccessToken to a JWT token.
- Finally, the token is sent back to the client.
Receive webhook#
The endpoint /livekit/webhook accepts POST requests with a payload of type application/webhook+json. This is the endpoint where LiveKit Server will send webhook events .
- Create a
TokenVerifierwith theLIVEKIT_API_KEYandLIVEKIT_API_SECRET. This will validate the webhook event to confirm it is actually coming from our LiveKit Server. - Create a
WebhookReceiverwith theTokenVerifier. - Get the
Authorizationheader from the HTTP request. - Obtain the webhook event using the
WebhookReceiver#receivemethod. It expects the raw string body of the request and theAuthorizationheader. - Consume the event as you wish.
We declare as function parameters the map of headers (headers: HeaderMap) and the raw body (body: String) of the HTTP request. We will need both of them to validate and decode the incoming webhook event. We then:
- Create a
TokenVerifierwith theLIVEKIT_API_KEYandLIVEKIT_API_SECRET. This will validate the webhook event to confirm it is actually coming from our LiveKit Server. - Create a
WebhookReceiverwith theTokenVerifier. - Get the
Authorizationheader from the HTTP request. - Obtain the webhook event using the
WebhookReceiver#receivemethod. It expects the raw string body of the request and theAuthorizationheader. - Consume the event as you wish (in this case, we just log it).
Remember to return a 200 OK response at the end to let LiveKit Server know that the webhook was received correctly.
Configure Webhooks
If you are using a production deployment, remember to configure the webhook URL to point to your local application server as explained in the Send Webhooks to a Local Application Server section.