Electron Tutorial#
This tutorial is a simple video-call application built with Electron that allows:
- Joining a video call room by requesting a token from any application server.
- Publishing your camera and microphone.
- Subscribing to all other participants' video and audio tracks automatically.
- Leaving the video call room at any time.
It uses the LiveKit JS SDK to connect to the LiveKit server and interact with the video call room.
Running this tutorial#
1. Run OpenVidu Server#
-
Download OpenVidu
-
Configure the local deployment
-
Run OpenVidu
To use a production-ready OpenVidu deployment, visit the official deployment guide.
Configure Webhooks
All application servers have an endpoint to receive webhooks from OpenVidu. For this reason, when using a production deployment you need to configure webhooks to point to your local application server in order to make it work. Check the Send Webhooks to a Local Application Server section for more information.
2. Download the tutorial code#
3. Run a server application#
To run this server application, you need Node.js installed on your device.
- Navigate into the server directory
- Install dependencies
- Run the application
For more information, check the Node.js tutorial.
To run this server application, you need Go installed on your device.
- Navigate into the server directory
- Run the application
For more information, check the Go tutorial.
To run this server application, you need Ruby installed on your device.
- Navigate into the server directory
- Install dependencies
- Run the application
For more information, check the Ruby tutorial.
To run this server application, you need Java and Maven installed on your device.
- Navigate into the server directory
- Run the application
For more information, check the Java tutorial.
To run this server application, you need Python 3 installed on your device.
-
Navigate into the server directory
-
Create a python virtual environment
-
Activate the virtual environment
-
Install dependencies
-
Run the application
For more information, check the Python tutorial.
To run this server application, you need Rust installed on your device.
- Navigate into the server directory
- Run the application
For more information, check the Rust tutorial.
To run this server application, you need PHP and Composer installed on your device.
- Navigate into the server directory
- Install dependencies
- Run the application
Warning
LiveKit PHP SDK requires library BCMath . This is available out-of-the-box in PHP for Windows, but a manual installation might be necessary in other OS. Run sudo apt install php-bcmath or sudo yum install php-bcmath
For more information, check the PHP tutorial.
To run this server application, you need .NET installed on your device.
- Navigate into the server directory
- Run the application
Warning
This .NET server application needs the LIVEKIT_API_SECRET env variable to be at least 32 characters long. Make sure to update it here and in your OpenVidu Server.
For more information, check the .NET tutorial.
4. Run the client application#
To run the client application tutorial, you need Node.js installed on your development computer.
-
Navigate into the application client directory:
-
Install the required dependencies:
-
Run the application:
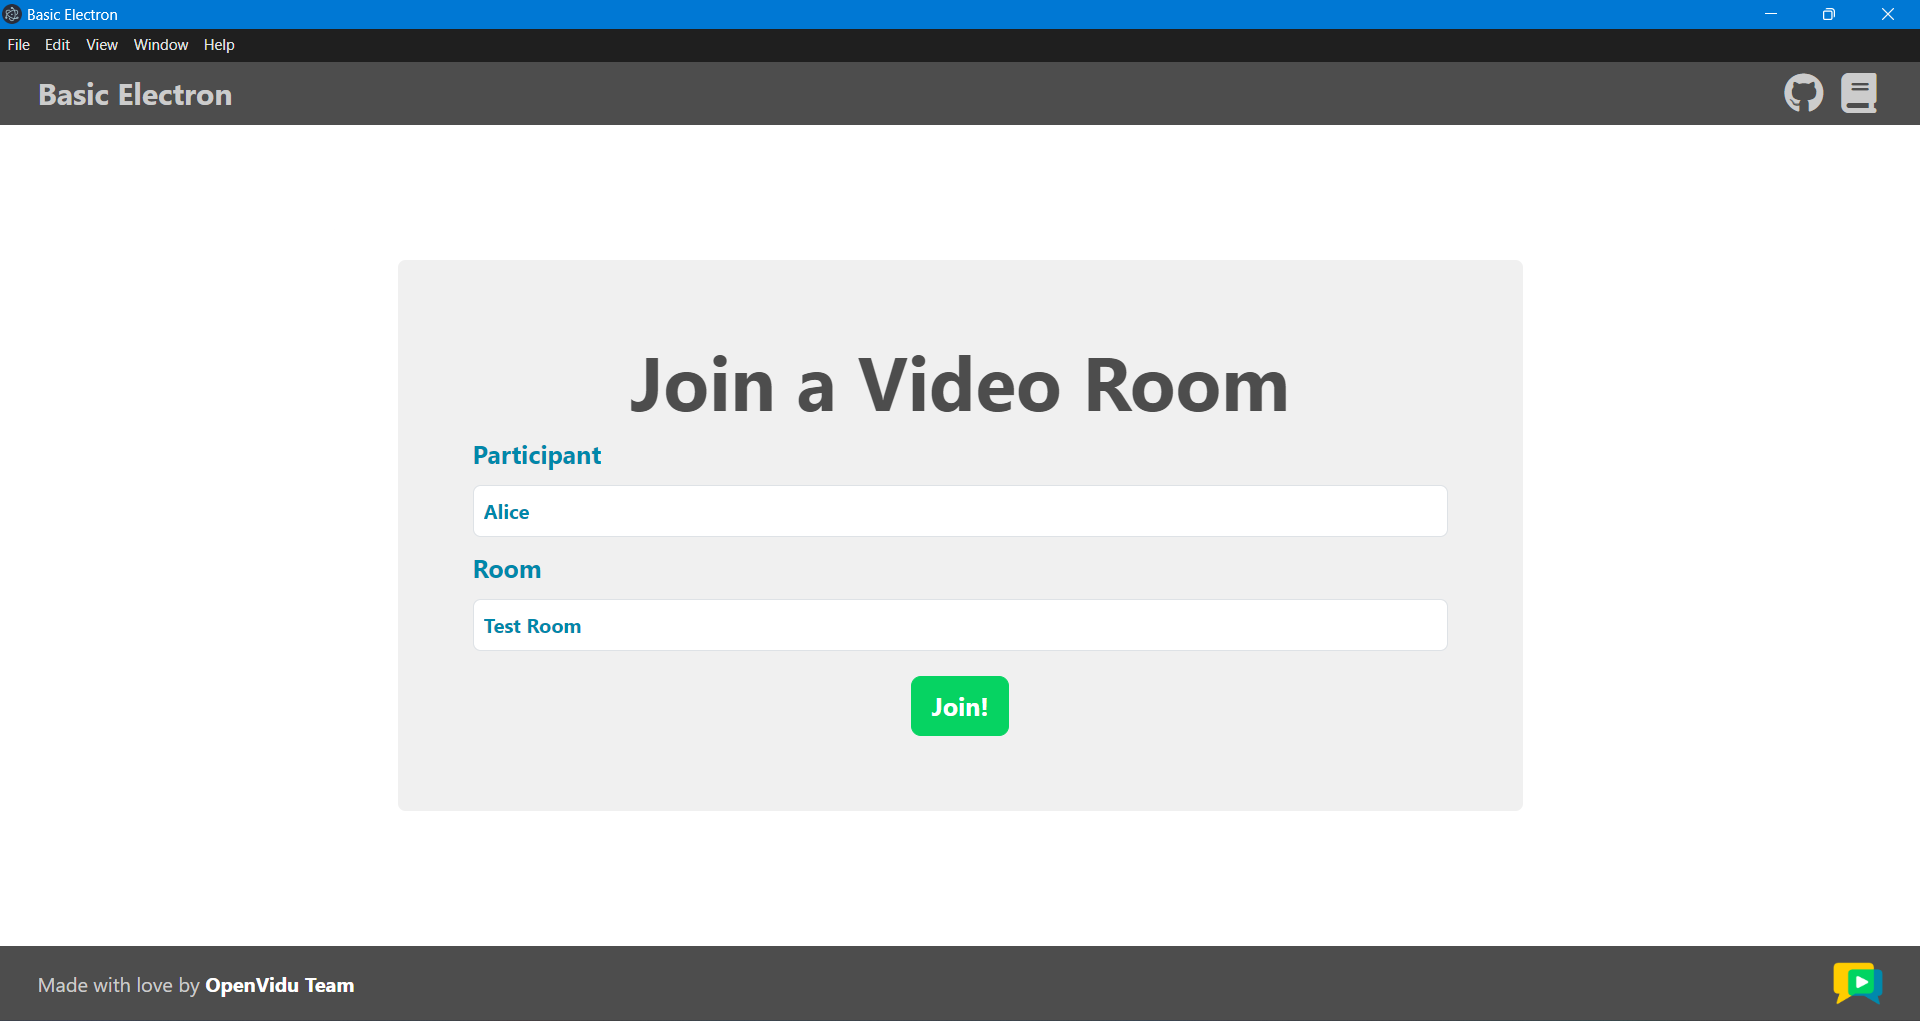
The application will seamlessly initiate as a native desktop program, adapting itself to the specific operating system you are using. Once the application is open, you should see a screen like this:
Running your application client from other devices in your local network
One advantage of running OpenVidu locally is that you can test your application client with other devices in your local network very easily without worrying about SSL certificates. For more information, see section Accessing your local deployment from other devices on your network.
Understanding the code#
This Electron project has been created using electron-forge. As an Electron application, the code is divided into two main parts, the main process and the renderer process. The most important files are located within the src/ directory:
index.js: This file is the entry point (main process) for the Electron application. It creates the main window and loads theindex.htmlfile.app.js: This file constitutes the renderer process code, responsible for the application UI and logic. It uses the LiveKit JS SDK to connect to the LiveKit server and interact with the video call room.index.html: This HTML file is responsible for creating the user interface. It contains the form to connect to a video call and the video call layout.styles.css: This file contains CSS classes that are used to style theindex.htmlpage.
To use the LiveKit JS SDK in an Electron application, you need to install the livekit-client package. This package provides the necessary classes and methods to interact with the LiveKit server. You can install it using the following command:
Now let's see the code of the app.js file:
| <a href='https://github.com/OpenVidu/openvidu-livekit-tutorials/blob/3.6.1/application-client/openvidu-electron/src/app.js#L1-L7' target='_blank'>app.js</a> | |
|---|---|
- Import the
RoomandRoomEventclasses from thelivekit-clientpackage. - The URL of the application server.
- The URL of the LiveKit server.
- The room object, which represents the video call room.
The app.js file defines the following variables:
APPLICATION_SERVER_URL: The URL of the application server. This variable is used to make requests to the server to obtain a token for joining the video call room.LIVEKIT_URL: The URL of the LiveKit server. This variable is used to connect to the LiveKit server and interact with the video call room.room: The room object, which represents the video call room.
Configure the URLs
You should configure APPLICATION_SERVER_URL and LIVEKIT_URL constants with the correct URLs depending on your deployment.
Joining a Room#
After the user specifies their participant name and the name of the room they want to join, when they click the Join button, the joinRoom() function is called:
- Initialize a new
Roomobject. - Event handling for when a new track is received in the room.
- Event handling for when a track is destroyed.
- Get the room name and participant name from the form.
- Get a token from the application server with the room name and participant name.
- Connect to the room with the LiveKit URL and the token.
- Hide the "Join room" page and show the "Room" page.
- Publish your camera and microphone.
The joinRoom() function performs the following actions:
- It creates a new
Roomobject. This object represents the video call room. -
Event handling is configured for different scenarios within the room. These events are fired when new tracks are subscribed to and when existing tracks are unsubscribed.
RoomEvent.TrackSubscribed: This event is triggered when a new track is received in the room. It handles the attachment of the track to the HTML page, assigning an ID, and appending it to thelayout-containerelement. If the track is of kindvideo, avideo-containeris created and participant data is appended as well.
- Attach the track to an HTML element.
RoomEvent.TrackUnsubscribed: This event occurs when a track is destroyed, and it takes care of detaching the track from the HTML page and removing it from the DOM. If the track is avideotrack,video-containerwith the participant's identity is removed as well.
<a href='https://github.com/OpenVidu/openvidu-livekit-tutorials/blob/3.6.1/application-client/openvidu-electron/src/app.js#L123-L126' target='_blank'>app.js</a> These event handlers are essential for managing the behavior of tracks within the video call.
Take a look at all events
You can take a look at all the events in the Livekit Documentation
-
It retrieves the room name and participant name from the form.
-
It requests a token from the application server using the room name and participant name. This is done by calling the
getToken()function:This function sends a POST request using
fetch()to the application server's/tokenendpoint. The request body contains the room name and participant name. The server responds with a token that is used to connect to the room. -
It connects to the room using the LiveKit URL and the token.
- It updates the UI to hide the "Join room" page and show the "Room" layout.
- It publishes the camera and microphone tracks to the room using
room.localParticipant.enableCameraAndMicrophone(), which asks the user for permission to access their camera and microphone at the same time. The local video track is then added to the layout.
Leaving the Room#
When the user wants to leave the room, they can click the Leave Room button. This action calls the leaveRoom() function:
- Disconnect the user from the room.
- Remove all HTML elements inside the layout container.
- Show the "Join room" page and hide the "Room" layout.
- Call the
disconnect()method on theroomobject when the user closes the tab or navigates to another page.
The leaveRoom() function performs the following actions:
- It disconnects the user from the room by calling the
disconnect()method on theroomobject. - It removes all HTML elements inside the layout container by calling the
removeAllLayoutElements()function. - It shows the "Join room" page and hides the "Room" layout.
The window.onbeforeunload event is used to ensure that the user is disconnected from the room before the page is unloaded. This event is triggered when the user closes the tab or navigates to another page.