Angular Tutorial#
This tutorial is a simple video-call application built with Angular that allows:
- Joining a video call room by requesting a token from any application server.
- Publishing your camera and microphone.
- Subscribing to all other participants' video and audio tracks automatically.
- Leaving the video call room at any time.
It uses the LiveKit JS SDK to connect to the LiveKit server and interact with the video call room.
Running this tutorial#
1. Run OpenVidu Server#
-
Download OpenVidu
-
Configure the local deployment
-
Run OpenVidu
To use a production-ready OpenVidu deployment, visit the official deployment guide.
Configure Webhooks
All application servers have an endpoint to receive webhooks from OpenVidu. For this reason, when using a production deployment you need to configure webhooks to point to your local application server in order to make it work. Check the Send Webhooks to a Local Application Server section for more information.
2. Download the tutorial code#
3. Run a server application#
To run this server application, you need Node.js installed on your device.
- Navigate into the server directory
- Install dependencies
- Run the application
For more information, check the Node.js tutorial.
To run this server application, you need Go installed on your device.
- Navigate into the server directory
- Run the application
For more information, check the Go tutorial.
To run this server application, you need Ruby installed on your device.
- Navigate into the server directory
- Install dependencies
- Run the application
For more information, check the Ruby tutorial.
To run this server application, you need Java and Maven installed on your device.
- Navigate into the server directory
- Run the application
For more information, check the Java tutorial.
To run this server application, you need Python 3 installed on your device.
-
Navigate into the server directory
-
Create a python virtual environment
-
Activate the virtual environment
-
Install dependencies
-
Run the application
For more information, check the Python tutorial.
To run this server application, you need Rust installed on your device.
- Navigate into the server directory
- Run the application
For more information, check the Rust tutorial.
To run this server application, you need PHP and Composer installed on your device.
- Navigate into the server directory
- Install dependencies
- Run the application
Warning
LiveKit PHP SDK requires library BCMath . This is available out-of-the-box in PHP for Windows, but a manual installation might be necessary in other OS. Run sudo apt install php-bcmath or sudo yum install php-bcmath
For more information, check the PHP tutorial.
To run this server application, you need .NET installed on your device.
- Navigate into the server directory
- Run the application
Warning
This .NET server application needs the LIVEKIT_API_SECRET env variable to be at least 32 characters long. Make sure to update it here and in your OpenVidu Server.
For more information, check the .NET tutorial.
4. Run the client application#
To run the client application tutorial, you need Node.js installed on your development computer.
-
Navigate into the application client directory:
-
Install the required dependencies:
-
Serve the application:
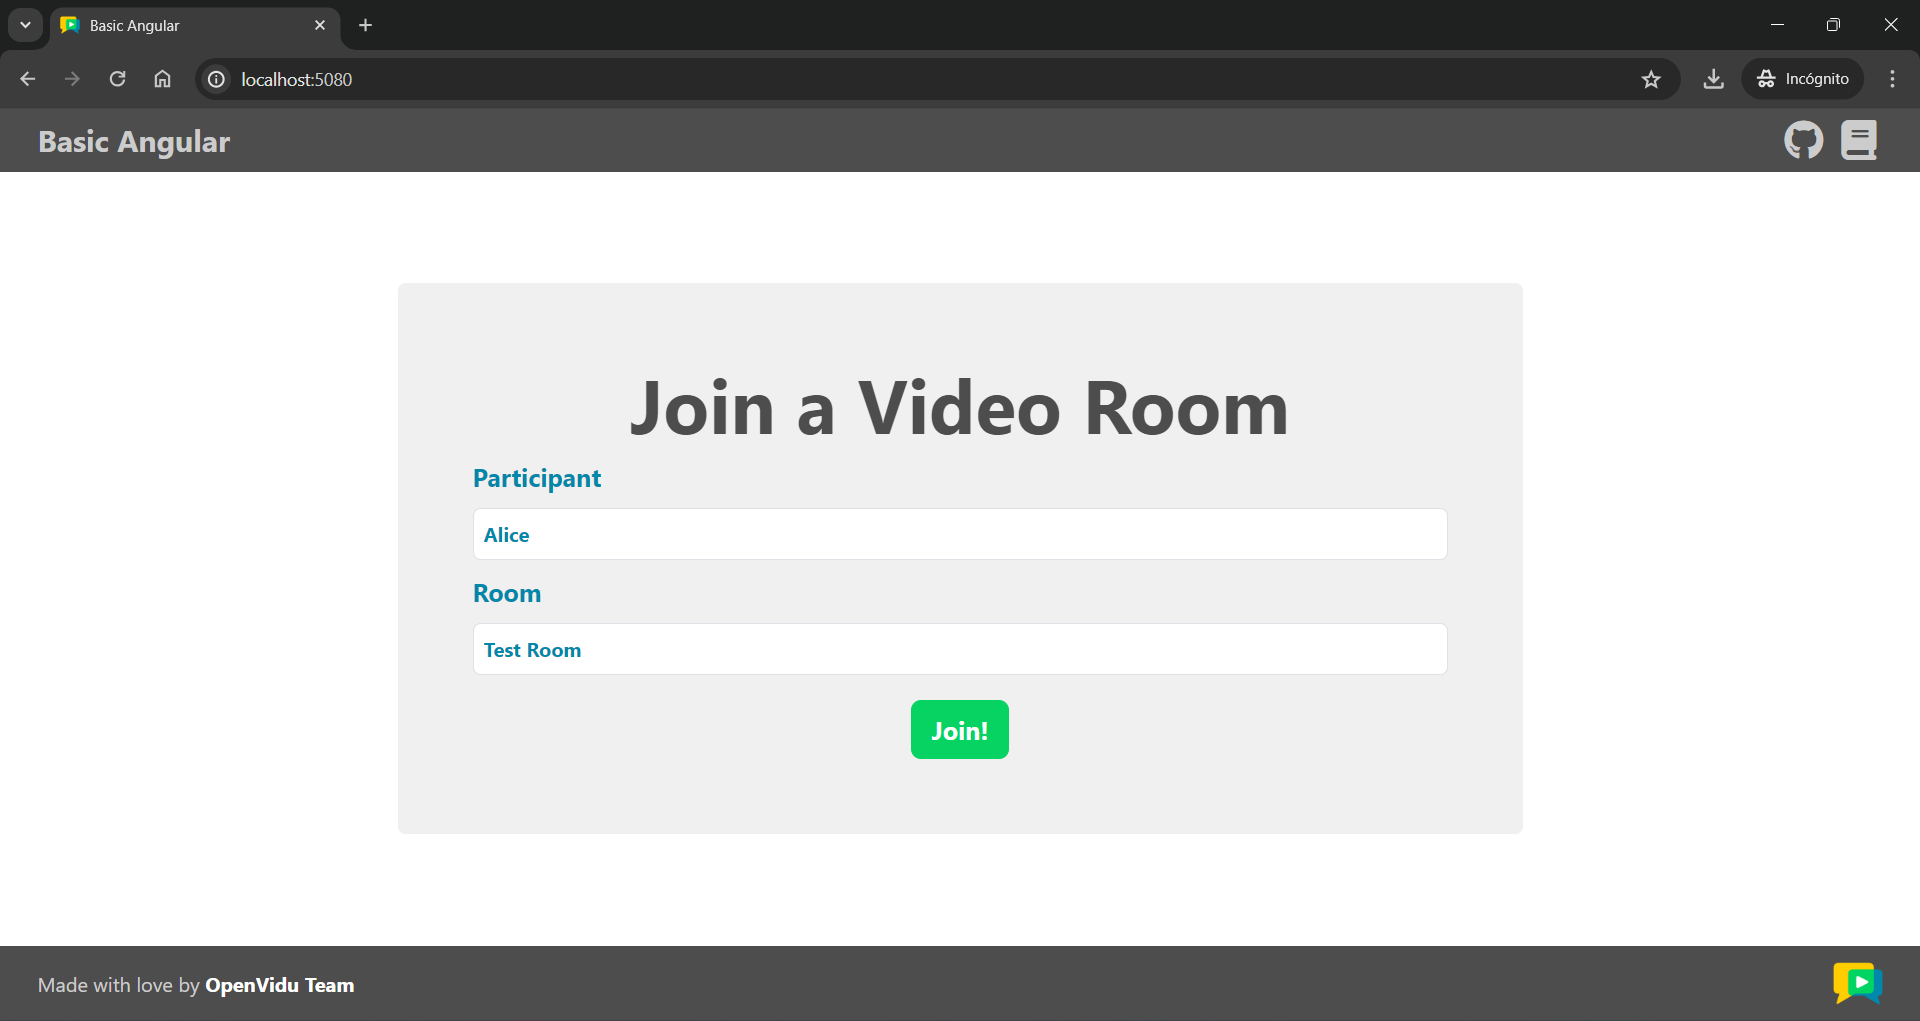
Once the server is up and running, you can test the application by visiting http://localhost:5080. You should see a screen like this:
Accessing your application client from other devices in your local network
One advantage of running OpenVidu locally is that you can test your application client with other devices in your local network very easily without worrying about SSL certificates.
Access your application client through https://xxx-yyy-zzz-www.openvidu-local.dev:5443, where xxx-yyy-zzz-www part of the domain is your LAN private IP address with dashes (-) instead of dots (.). For more information, see section Accessing your local deployment from other devices on your network.
Understanding the code#
This Angular project has been created using the Angular CLI tool. You may come across various configuration files and other items that are not essential for this tutorial. Our focus will be on the key files located within the src/app/ directory:
app.component.ts: This file defines theAppComponent, which serves as the main component of the application. It is responsible for handling tasks such as joining a video call and managing the video calls themselves.app.component.html: This HTML file is associated with theAppComponent, and it dictates the structure and layout of the main application component.app.component.css: The CSS file linked toAppComponent, which controls the styling and appearance of the application's main component.VideoComponent: Component responsible for displaying video tracks along with participant's data. It is defined in thevideo.component.tsfile within thevideodirectory, along with its associated HTML and CSS files.AudioComponent: Component responsible for displaying audio tracks. It is defined in theaudio.component.tsfile within theaudiodirectory, along with its associated HTML and CSS files.
To use the LiveKit JS SDK in an Angular application, you need to install the livekit-client package. This package provides the necessary classes and methods to interact with the LiveKit server. You can install it using the following command:
Now let's see the code of the app.component.ts file:
| app.component.ts | |
|---|---|
| |
TrackInfotype, which groups a track publication with the participant's identity.- The URL of the application server.
- The URL of the LiveKit server.
- Angular component decorator that defines the
AppComponentclass and associates the HTML and CSS files with it. - The
roomFormobject, which is a form group that contains theroomNameandparticipantNamefields. These fields are used to join a video call room. - The room object, which represents the video call room.
- The local video track, which represents the user's camera.
- Map that links track SIDs with
TrackInfoobjects. This map is used to store remote tracks and their associated participant identities.
The app.component.ts file defines the following variables:
APPLICATION_SERVER_URL: The URL of the application server. This variable is used to make requests to the server to obtain a token for joining the video call room.LIVEKIT_URL: The URL of the LiveKit server. This variable is used to connect to the LiveKit server and interact with the video call room.roomForm: A form group that contains theroomNameandparticipantNamefields. These fields are used to join a video call room.room: The room object, which represents the video call room.localTrack: The local video track, which represents the user's camera.remoteTracksMap: A map that links track SIDs withTrackInfoobjects. This map is used to store remote tracks and their associated participant identities.
Configure the URLs
When running OpenVidu locally, leave APPLICATION_SERVER_URL and LIVEKIT_URL variables empty. The function configureUrls() will automatically configure them with default values. However, for other deployment type, you should configure these variables with the correct URLs depending on your deployment.
Joining a Room#
After the user specifies their participant name and the name of the room they want to join, when they click the Join button, the joinRoom() method is called:
| app.component.ts | |
|---|---|
| |
- Initialize a new
Roomobject. - Event handling for when a new track is received in the room.
- Event handling for when a track is destroyed.
- Get the room name and participant name from the form.
- Get a token from the application server with the room name and participant name.
- Connect to the room with the LiveKit URL and the token.
- Publish your camera and microphone.
The joinRoom() method performs the following actions:
-
It creates a new
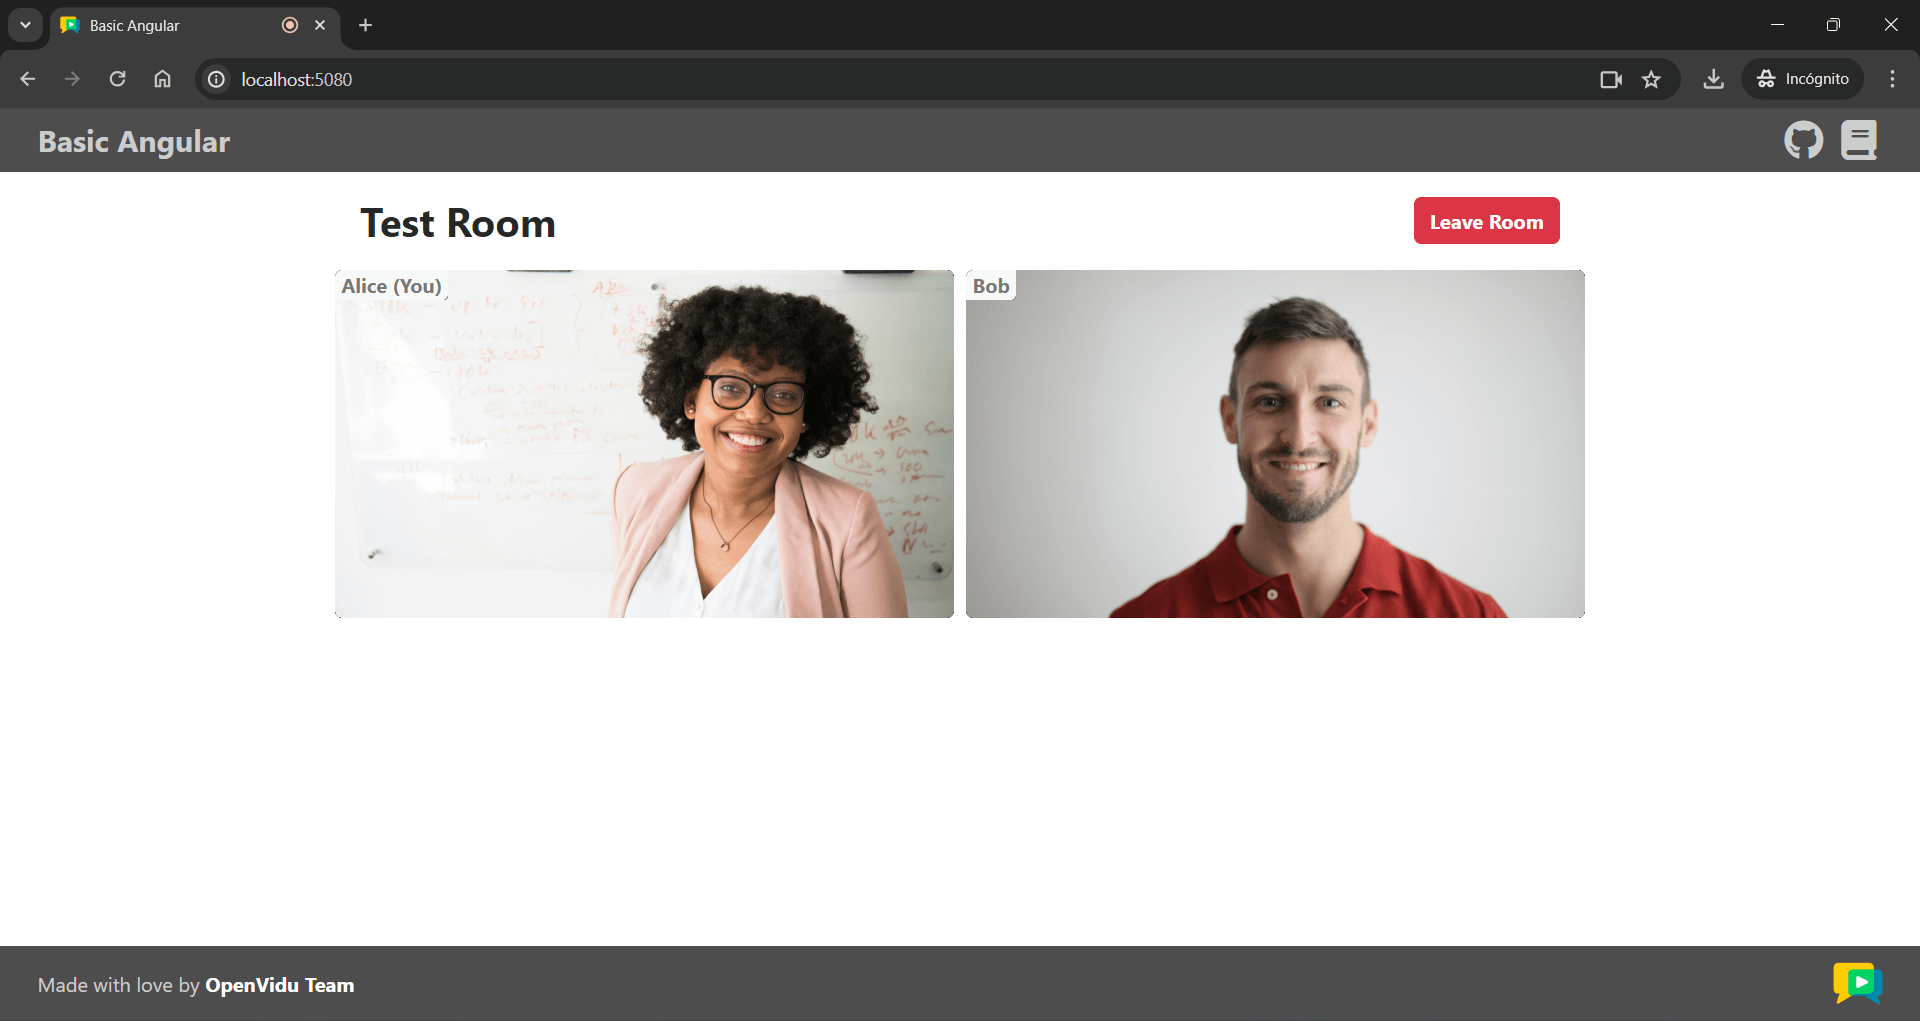
Roomobject. This object represents the video call room.Info
When the room object is defined, the HTML template is automatically updated hiding the "Join room" page and showing the "Room" layout.
-
Event handling is configured for different scenarios within the room. These events are fired when new tracks are subscribed to and when existing tracks are unsubscribed.
-
RoomEvent.TrackSubscribed: This event is triggered when a new track is received in the room. It manages the storage of the new track in theremoteTracksMap, which links track SIDs withTrackInfoobjects containing the track publication and the participant's identity. -
RoomEvent.TrackUnsubscribed: This event occurs when a track is destroyed, and it takes care of removing the track from theremoteTracksMap.
These event handlers are essential for managing the behavior of tracks within the video call. You can further extend the event handling as needed for your application.
Take a look at all events
You can take a look at all the events in the Livekit Documentation
-
-
It retrieves the room name and participant name from the form.
-
It requests a token from the application server using the room name and participant name. This is done by calling the
getToken()method:app.component.ts /** * -------------------------------------------- * GETTING A TOKEN FROM YOUR APPLICATION SERVER * -------------------------------------------- * The method below request the creation of a token to * your application server. This prevents the need to expose * your LiveKit API key and secret to the client side. * * In this sample code, there is no user control at all. Anybody could * access your application server endpoints. In a real production * environment, your application server must identify the user to allow * access to the endpoints. */ async getToken(roomName: string, participantName: string): Promise<string> { const response = await lastValueFrom( this.httpClient.post<{ token: string }>(APPLICATION_SERVER_URL + 'token', { roomName, participantName }) ); return response.token; }This function sends a POST request using HttpClient to the application server's
/tokenendpoint. The request body contains the room name and participant name. The server responds with a token that is used to connect to the room. -
It connects to the room using the LiveKit URL and the token.
- It publishes the camera and microphone tracks to the room using
room.localParticipant.enableCameraAndMicrophone(), which asks the user for permission to access their camera and microphone at the same time. The local video track is then stored in thelocalTrackvariable.
Displaying Video and Audio Tracks#
In order to display participants' video and audio tracks, the app.component.html file integrates the VideoComponent and AudioComponent.
| app.component.html | |
|---|---|
| |
This code snippet does the following:
-
We use the Angular
@ifblock to conditionally display the local video track using theVideoComponent. Thelocalproperty is set totrueto indicate that the video track belongs to the local participant.Info
The audio track is not displayed for the local participant because there is no need to hear one's own audio.
-
Then, we use the Angular
@forblock to iterate over theremoteTracksMap. For each remote track, we create aVideoComponentor anAudioComponentdepending on the track's kind (video or audio). TheparticipantIdentityproperty is set to the participant's identity, and thetrackproperty is set to the video or audio track. Thehiddenattribute is added to theAudioComponentto hide the audio tracks from the layout.
Let's see now the code of the video.component.ts file:
| video.component.ts | |
|---|---|
| |
- Angular component decorator that defines the
VideoComponentclass and associates the HTML and CSS files with it. - The reference to the video element in the HTML template.
- The video track object, which can be a
LocalVideoTrackor aRemoteVideoTrack. - The participant identity associated with the video track.
- A boolean flag that indicates whether the video track belongs to the local participant.
- Attach the video track to the video element when the track is set.
- Detach the video track when the component is destroyed.
The VideoComponent does the following:
-
It defines the properties
track,participantIdentity, andlocalas inputs of the component:track: The video track object, which can be aLocalVideoTrackor aRemoteVideoTrack.participantIdentity: The participant identity associated with the video track.local: A boolean flag that indicates whether the video track belongs to the local participant. This flag is set tofalseby default.
-
It creates a reference to the video element in the HTML template.
- It attaches the video track to the video element when the view is initialized.
- It detaches the video track when the component is destroyed.
Finally, let's see the code of the audio.component.ts file:
| audio.component.ts | |
|---|---|
| |
- Angular component decorator that defines the
AudioComponentclass and associates the HTML and CSS files with it. - The reference to the audio element in the HTML template.
- The audio track object, which can be a
RemoteAudioTrackor aLocalAudioTrack, although in this case, it will always be aRemoteAudioTrack. - Attach the audio track to the audio element when view is initialized.
- Detach the audio track when the component is destroyed.
The AudioComponent class is similar to the VideoComponent class, but it is used to display audio tracks. It attaches the audio track to the audio element when view is initialized and detaches the audio track when the component is destroyed.
Leaving the Room#
When the user wants to leave the room, they can click the Leave Room button. This action calls the leaveRoom() method:
| app.component.ts | |
|---|---|
| |
- Disconnect the user from the room.
- Reset all variables.
- Call the
leaveRoom()method when the user closes the browser window or navigates to another page.
The leaveRoom() method performs the following actions:
- It disconnects the user from the room by calling the
disconnect()method on theroomobject. - It resets all variables.
The window.onbeforeunload event and the ngOnDestroy() lifecycle hook are used to ensure that the user leaves the room when the browser window is closed or the component is destroyed.