OpenVidu Single Node PRO on Oracle Cloud Infrastructure — Step-by-step Guide#
This page explains how to create a VM in Oracle Cloud Infrastructure (OCI), configure networking, and prepare it for OpenVidu Single Node PRO. Installing, administering, and upgrading OpenVidu Single Node PRO itself is covered in the On-Premises documentation.
Overview / prerequisites#
- OCI account with permission to create compute instances and networking resources.
1. Create the VM (compute instance)#
- Log in to your Oracle Cloud Infrastructure account.
- Search for Instances and open it, then click "Create instance".

- Set a name for the instance (for example,
openvidu-singlenode), or keep the default name. - Change the image to Ubuntu "Canonical Ubuntu 24.04".

-
Select the shape for your OpenVidu server. We recommend 1 OCPU or more and at least 4 GB of RAM for OpenVidu to run correctly. Then click "Next".
Note
You can also use ARM-based instances. OpenVidu supports ARM, and the Always Free-eligible tier includes an ARM instance at no cost.
-
In the Security tab, keep the default options and click "Next".
- Create a new
VNICwith a newvirtual cloud networkand a newpublic subnet.
- Scroll down and download the private key for the new instance so that you can connect via SSH. Then click "Next".

- In the Storage tab, select "Specify a custom boot volume size" and set it to 100 GB instead of 50 GB. You can keep 50 GB, but OpenVidu may fail due to insufficient disk space. Then click "Next".

- Review the configuration and click "Create".
2. Attach a public IP address to the instance#
- Open the instance details and go to the VNIC resource, then to the "Networking" tab.

- Open the "IP administration" tab. In the row of the existing IPv4 address, click the three dots menu and select "Edit".

- Select "Ephemeral public IP" and click "Update".

3. Port rules in the network security lists#
OpenVidu and WebRTC require specific inbound rules on the instance network security (OCI NSG or subnet security list) and on the instance firewall (configured later).
The minimum inbound ports to allow must be included in the NSG rules.
- From the instance "Details" page, click the "Virtual cloud network" resource.

- Go to the "Security" tab and click the default security list.

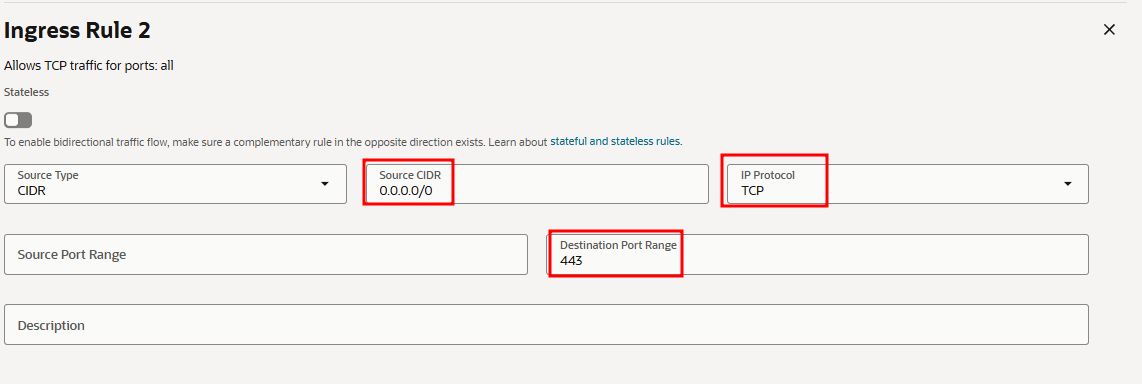
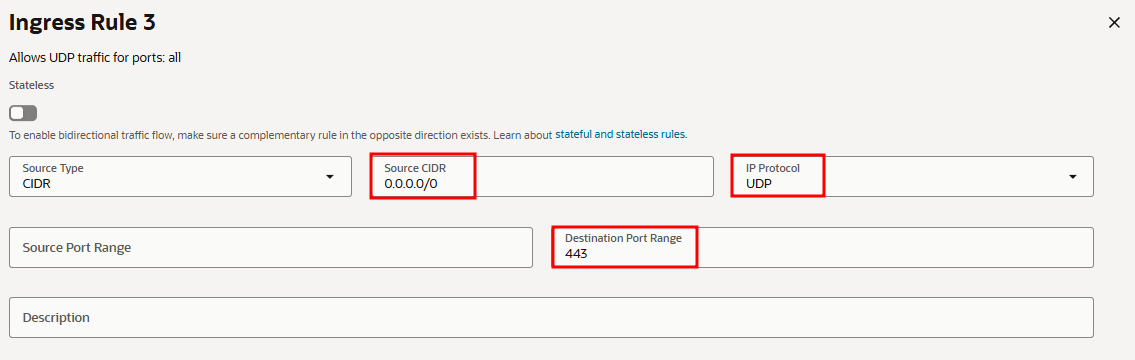
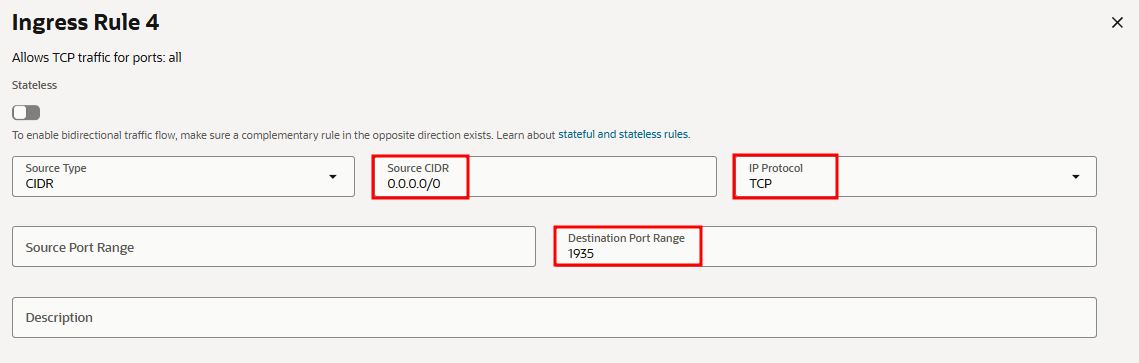
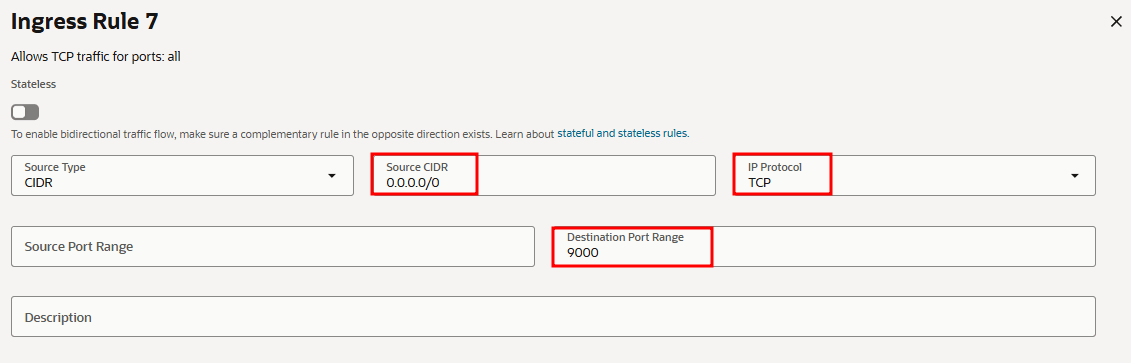
- In the "Security Rules" tab, add the following Ingress rules.
Ingress Rules


4. SSH access, OpenVidu installation, and firewall rules#
Warning
Open the required ports before installing OpenVidu so you avoid connectivity issues.
-
SSH into the instance:
-
Install and start the
firewall-cmdtool: -
Clean the existing
iptablesrules, accept all inputs, disableiptablespersistence at startup, and restart the network service if required: -
Add the required firewall rules:
firewall-cmd --add-port=80/tcp firewall-cmd --permanent --add-port=80/tcp firewall-cmd --add-port=443/tcp firewall-cmd --permanent --add-port=443/tcp firewall-cmd --add-port=443/udp firewall-cmd --permanent --add-port=443/udp firewall-cmd --add-port=1935/tcp firewall-cmd --permanent --add-port=1935/tcp firewall-cmd --add-port=7881/tcp firewall-cmd --permanent --add-port=7881/tcp firewall-cmd --add-port=7885/udp firewall-cmd --permanent --add-port=7885/udp firewall-cmd --add-port=9000/tcp firewall-cmd --permanent --add-port=9000/tcp firewall-cmd --add-port=50000-60000/udp firewall-cmd --permanent --add-port=50000-60000/udp -
Apply the rules and verify that they are correctly configured:
-
Follow the On-Premises install instructions to install OpenVidu PRO on the instance.
sslip.io rate limiting
sslip.io is currently experiencing Let's Encrypt rate limiting issues, which may prevent SSL certificates from being generated. It is recommended to use your own domain name. Check this community thread for troubleshooting and updates.
5. Administration and upgrade#
- For administration of this OpenVidu Single Node PRO deployment, see the On-Premises administration section.
- To upgrade OpenVidu PRO, see the On-Premises upgrade section.