OpenVidu Single Node PRO administration: Azure#
Azure OpenVidu Single Node deployments are internally identical to On Premises Single Node deployments, so you can follow the same instructions from On Premises Single Node documentation for administration and configuration. The only difference is that the deployment is automated with ARM Templates from Azure.
However, there are certain things worth mentioning:
Start and stop OpenVidu through Azure Portal#
You can start and stop all services as explained in the On Premises Single Node section. But you can also start and stop the Virtual Machine instance directly from Azure Portal. This will stop all services running in the instance and reduce Azure costs.
- Go to Azure Portal Dashboard of Azure and enter into the resource group where you deployed OpenVidu Single Node.
- There, you will find the Virtual Machine that runs OpenVidu. Its name should be something like yourstackname-VM-CE. Click on it.
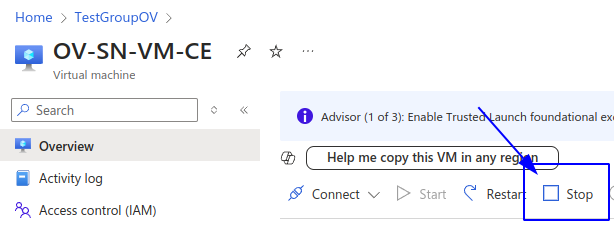
- In the section of the Virtual Machine click on stop button to stop the Virtual Mache (and therefore OpenVidu).
- Go to Azure Portal Dashboard of Azure and enter into the resource group where you deployed OpenVidu Single Node.
- There, you will find the Virtual Machine that runs OpenVidu. Its name should be something like yourstackname-VM-CE. Click on it.
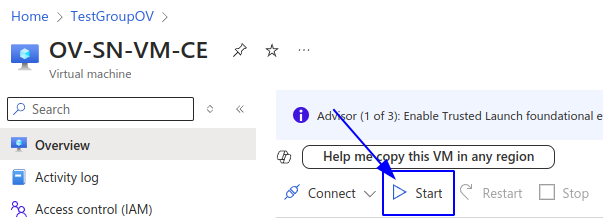
- In the section of the Virtual Machine click on start button to start the Virtual Mache (and therefore OpenVidu).
Change the instance type#
You can change the instance type of the OpenVidu Single Node instance to adapt it to your needs. To do this, follow these steps:
- Go to Azure Portal Dashboard of Azure and enter into the resource group where you deployed OpenVidu Single Node.
- There, you will find the Virtual Machine that runs OpenVidu. Its name should be something like yourstackname-VM-CE. Click on it.
-
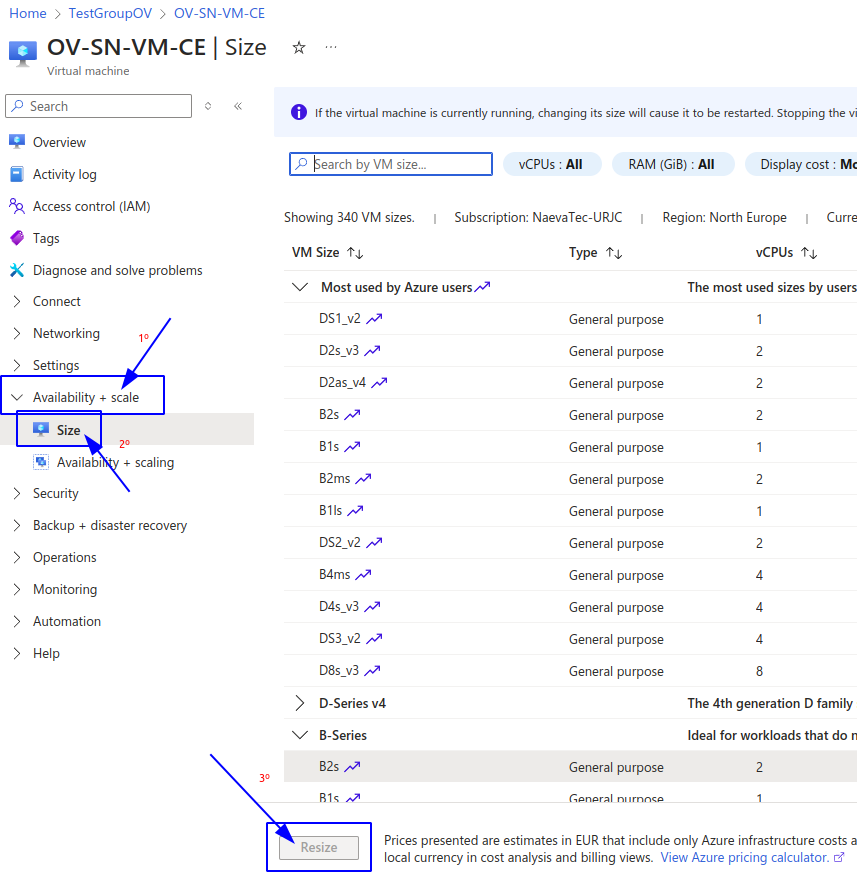
In the left pannel click on "Availability + scale" 🡒 "Size".
-
Select the new instance type and click on "Resize".
Administration and configuration#
Regarding the administration of your deployment, you can follow the instructions in section On Premises Single Node Administration.
Regarding the configuration of your deployment, you can follow the instructions in section Changing Configuration. Additionally, the How to Guides offer multiple resources to assist with specific configuration changes.
In addition to these, an Azure deployment provides the capability to manage global configurations via the Azure portal using Key Vault Secrets created during the deployment:
- Navigate to the Azure Portal Dashboard on Azure.
- Select the Resource Group where you deployed your OpenVidu Single Node Stack.
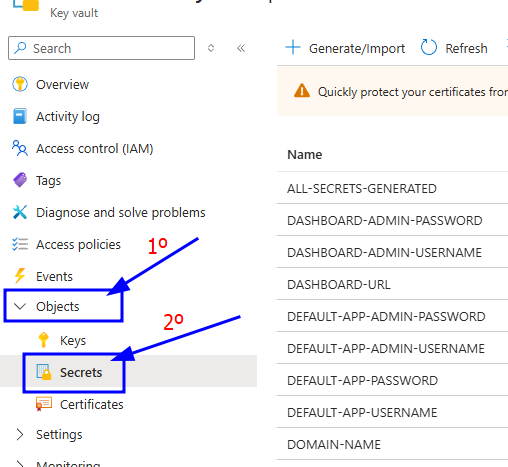
- In the "stackname-keyvault" resource, click on "Objects" 🡒 "Secrets" on the left panel. This will show you all the secrets that are stored in the Key Vault of the OpenVidu deployment.
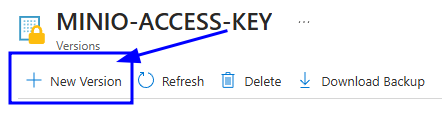
- Click on the desired secret you want to change and click on "New Version".
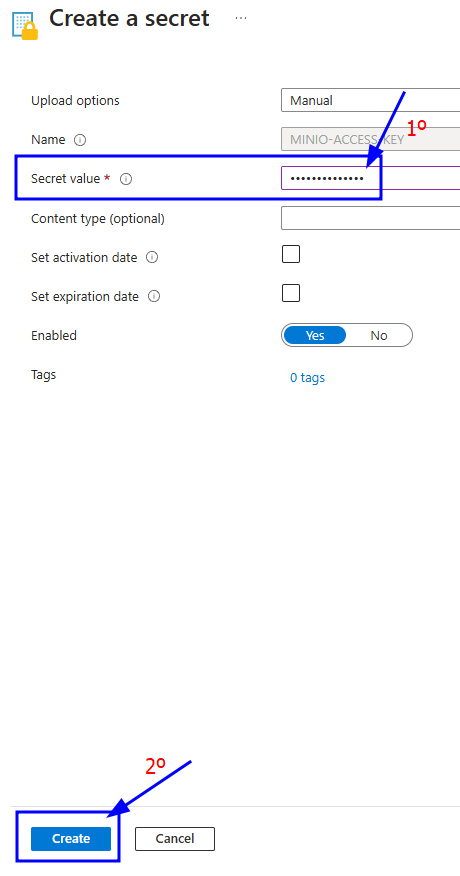
- Enter the new secret value on "Secret Value" filed and click on "Create".
- Go to the Instance resource of OpenVidu and click on "Restart" to apply the changes to the OpenVidu Single Node deployment.
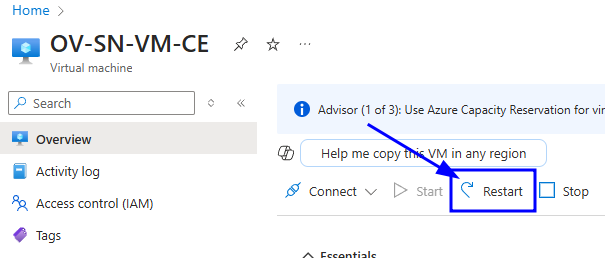
Changes will be applied automatically.